If you want to know how to make fabric look aged, you are really choosing between three moves: staining the colour unevenly, breaking the fibres down so the surface changes, and washing the piece until the factory softness is gone. Staining comes from tea, coffee, paint or dye. Fibre damage comes from sanding, pumice or rubbing. Washing does most of the quiet work on its own. Each takes five minutes to an afternoon, and all of them are cheaper than hunting down genuine antique textiles.
The mistake almost everybody makes once is treating the whole piece at once. Real wear is local. A shirt wears at the collar, the cuffs, the pocket edges and the seat, not across the chest. Work in that order and the result reads as a life rather than a stain.
Table of Contents
- What You Need to Make Fabric Look Aged
- Step-by-Step: Five Ways to Age Fabric
- Step 1: How to Make Fabric Look Aged With Tea or Coffee
- Step 2: Create Faded, Sun-Washed Marks
- Step 3: Add Distressed Fiber Texture
- Step 4: Use Controlled Smoke or Soot Effects
- Step 5: Layer, Dry, and Seal the Aged Finish
- Common Mistakes and How to Fix Them
- Frequently Asked Questions
- What is the easiest way to make fabric look aged?
- How do I age fabric naturally without making it too dark?
- Can I use coffee or tea on a quilt?
- How do I make fabric look worn without making holes?
- Can I use smoke to age fabric for textile art?
- How should I seal fabric after adding an aged effect?
- Conclusion
What You Need to Make Fabric Look Aged
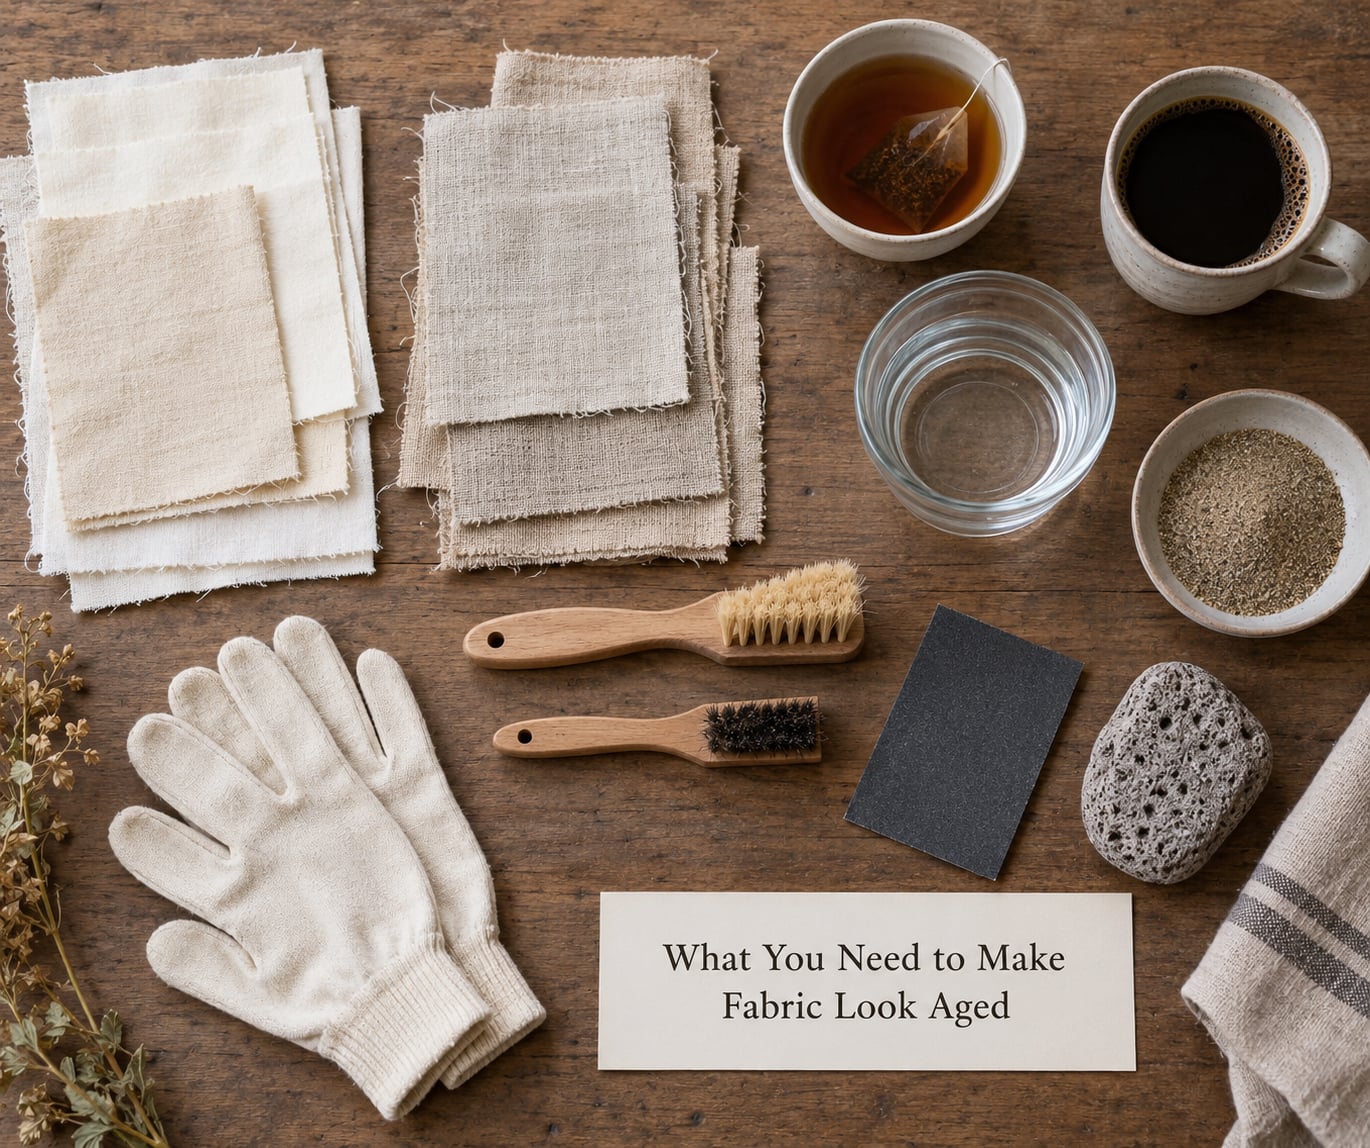
Most of the list is pantry and hardware-store stuff. Tea, instant coffee, plain white vinegar, salt, a sponge, cheap bristle brushes and a drop cloth cover four of the five methods below. You need rubber gloves and something you do not mind ruining, because dye and grime will find the edge of your work surface every time.
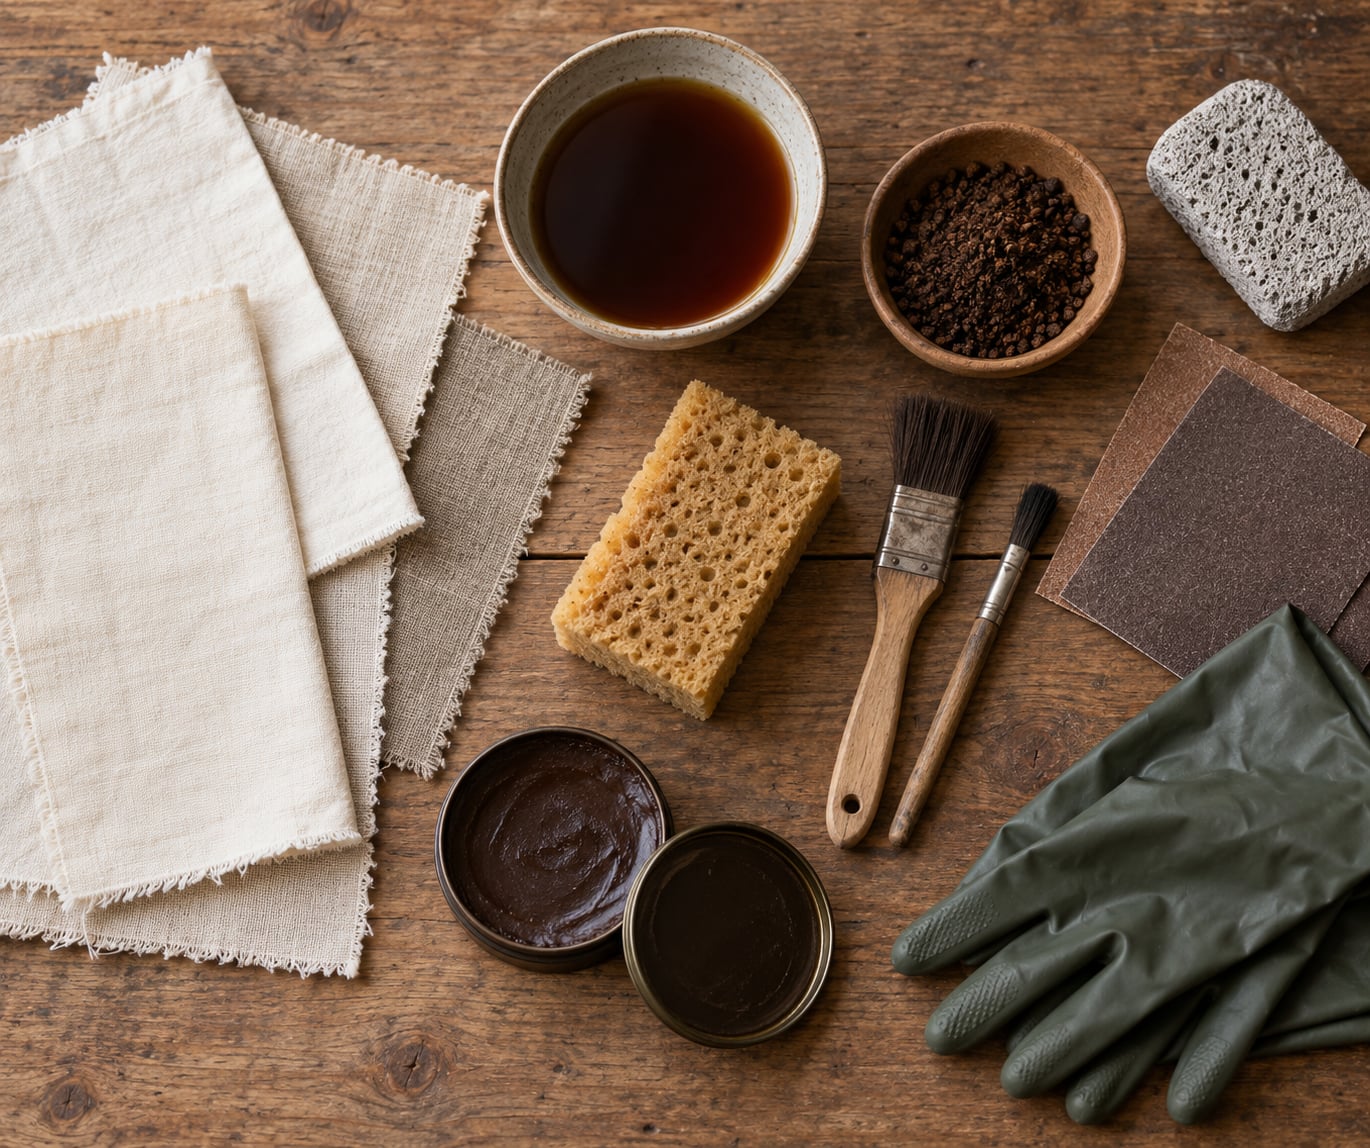
Worth adding if you plan to go beyond a wash: a block of pumice stone, a sheet of coarse sandpaper or a metal rasp, watered-down acrylic or textile paint, an antiquing wax, and brown shoe polish. Those four cover physical distressing and patina, and they are the ones that turn a faded garment into a worn one.
Keep them in separate bins. A brush that has been in tea will muddy your paint, and wax crumbs in a rinse bucket will streak the next swatch. Wash everything between methods.
Two things to prepare before any of it. Wash the fabric first, on a hot cycle, and skip the fabric softener — mill sizing and softener both sit on the surface and block stains, which is why an untreated sample drinks colour and a treated one beads it. Then cut three or four 4-inch swatches from the same fabric, wash one clean piece, and run every method on a separate swatch. Drying changes the colour more than you expect, so decide on the dry result, never the wet one.
Step-by-Step: Five Ways to Age Fabric
Step 1: How to Make Fabric Look Aged With Tea or Coffee
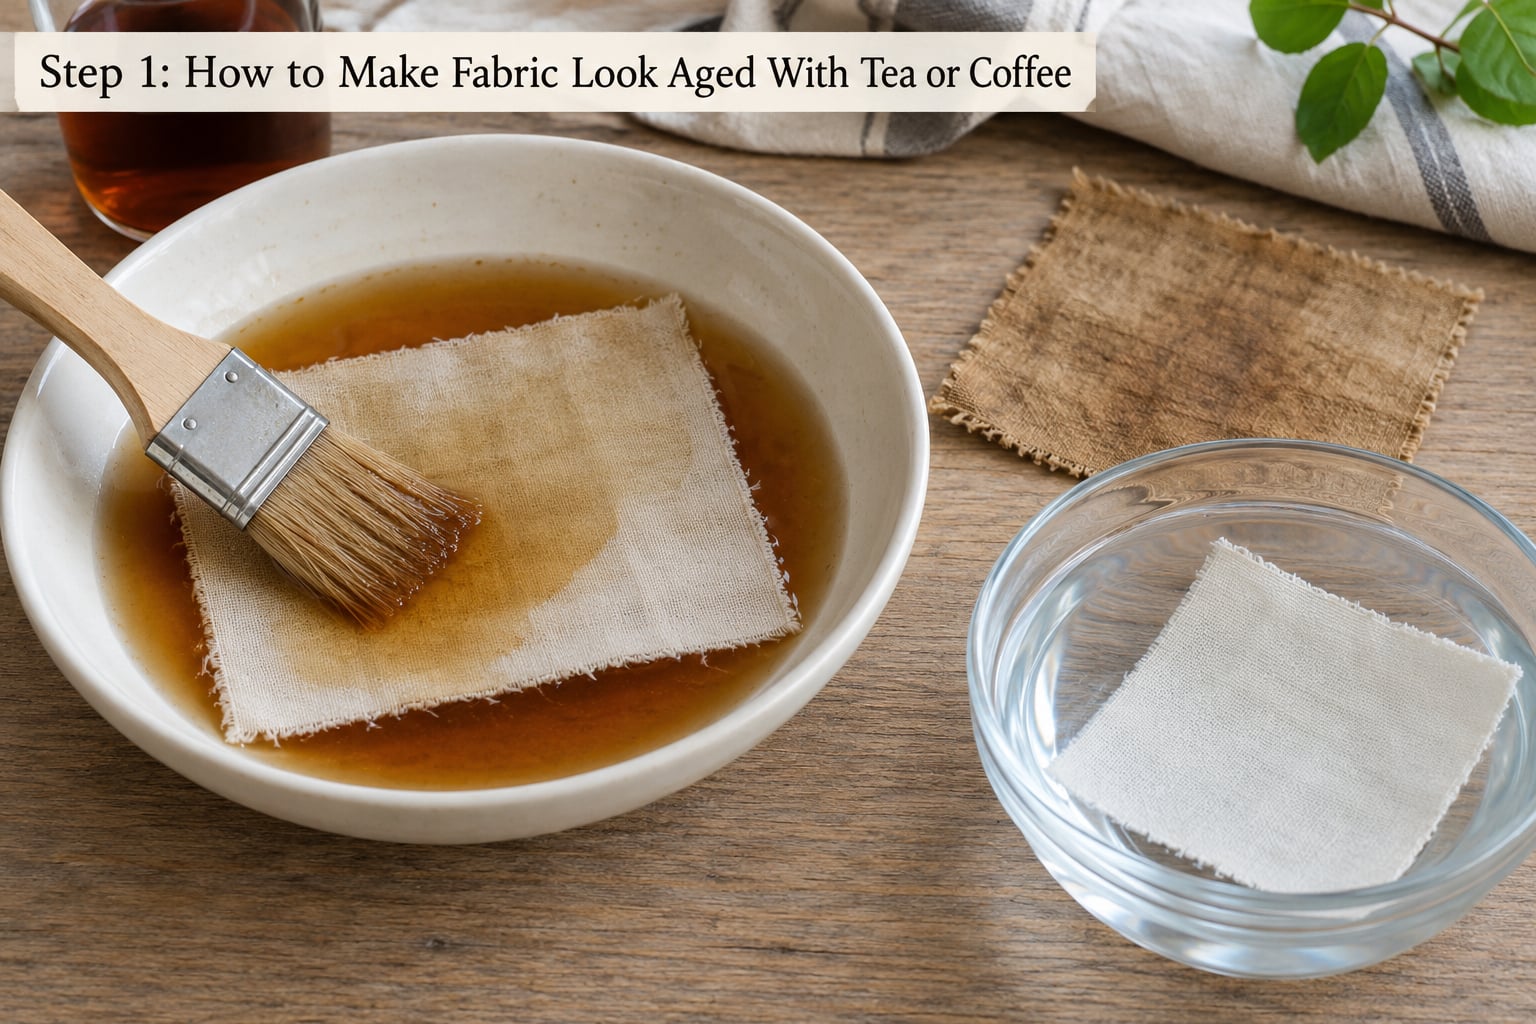
Simmer ten or more tea bags in two cups of water for fifteen minutes, then dilute the result with an equal or greater volume of cold water. Unsweetened black tea, always — sugar leaves a sticky film that pulls bugs, and it is the single most repeated warning in the costume forums.
Apply it one of two ways. For an even tint, submerge the damp fabric for 12 to 15 minutes, then lift it while it is still wet and hang it to drip-dry; hanging is what produces the darker drips and irregular edges that read as age. For control, brush or sponge it on in patches instead.
Strength is the only dial you have. Weak tea over many light passes gives a faded look. Strong tea, applied twice, gives the deep tobacco brown of a garment that has been worn for years. Check by holding the fabric up to a window — a believable aged fabric is lighter than you think in the middle and darker at the edges and seams.
For mottled, blotchy results that look spontaneous, sprinkle dry instant coffee granules onto fabric that is still damp from a weak tea wash. The granules sit where they land and darken as they dry, so the pattern is irregular in a way that no amount of careful brushwork will give you. This is the standard workflow in the miniature-doll community, where even coffee grounds on a baking sheet is the normal way to age small pieces.
Rinse in cold water until the water runs clear, then set the colour with a tablespoon of white vinegar in a cup of water. Vinegar helps the tannin settle into the fibre and gives you a better chance of keeping the effect through a later wash. Hang the fabric in shade rather than in direct sun; drying too fast leaves a ring where the last drop sat.
A word on fibres. Tea and coffee yellow unevenly on synthetics and leave a rust tint on anything polyester-blended, and on wool they can drive the colour toward yellow-green. Cotton and linen take them cleanly, which is why these are the swatch fabrics I reach for first.
Step 2: Create Faded, Sun-Washed Marks
Sun fading is about subtraction, so the technique is the opposite of staining: leave most of the fabric alone. Mix your tea, coffee or weak bleach solution much thinner than before, then dab it on with a sponge in irregular areas rather than brushing it flat.
Work in three or four light passes, drying fully between each one. Two thin passes can be softened with another; one heavy pass cannot. That single rule is the difference between a worn garment and a dirty one.
Protect the highlights. Most of a faded piece should stay close to its original colour, with the lightening concentrated where light would actually hit — sleeve tops, the fold line down a front, the upper back. Masking those areas with low-tack tape before you dab, then peeling it off once the fabric is dry, keeps the fading believable.
If you want the zero-cost version, wet the fabric, hang it outdoors in direct sun for a few hours, bring it in before evening damp sets in, and repeat over several days. It is slow, but the fall-off is gradual in a way that no brush job replicates.
Step 3: Add Distressed Fiber Texture
Colour tells the eye the fabric is old; texture confirms it. Escalate slowly, and only on the areas where a garment would genuinely wear.
Start with a pumice stone on collars, cuffs and pocket mouths. It takes off surface fuzz without thinning the weave. Sandpaper is the next rung — 80 to 120 grit for a softened look, coarser for visible holes. A cheese grater does a fast job of thinning a weave, which is why it keeps showing up in miniature and costume work. A metal rasp or file handles seams and heavier canvas.
Pull individual threads at the edge of a worn area and let them run a centimetre or two, then wash the piece before you trim anything so the edges soften into themselves. Fraying pulled before a wash alone looks cut rather than worn, which is the mistake people ask me about most.
Stop before you see light through the fabric. Sandpaper does not undo. Test on the scrap, and check the back of the cloth after every few passes — the front always looks thinner than it is.
Step 4: Use Controlled Smoke or Soot Effects
Smoke gives you a soot darkening that no liquid stain reproduces, and it is the least controllable method in this guide. If you want it, the soot route is safer and more even.
Mix charcoal or black artist pigment into a thin wash and apply it with a soft brush, heavier at seams, folds and hems, lighter across flat panels. Build two or three translucent layers and let each dry. On costumes that get laundered, heat-set the wash after it dries — a hair dryer held at a distance works, and it is what keeps the grime from washing straight off.
Antiquing wax, pushed into the texture with a cloth and then buffed off the high points, leaves pigment exactly where wear would have taken the colour away. Brown shoe polish diluted with a little water works on cotton and denim for the same effect, and layers well.
For actual smoke, work outdoors, well away from anything flammable, and never in a small room. Keep the fabric moving rather than holding it in the plume, where a heavy deposit turns the whole piece grey. Ventilate properly and treat the airborne soot as the respiratory hazard it is. This is a last resort, not a starting point.
Step 5: Layer, Dry, and Seal the Aged Finish
Every method here wants a dry surface before the next one goes on, and that is where most impatient work falls apart. A full air-dry takes several hours for a small piece and overnight for anything larger.
When it is dry, hold it next to your saved clean swatch under the same light. Look for three things: is the colour uneven in a believable direction, are the highlights still clean, and does the wear sit where wear belongs. Add a second pass of tea or a second coat of patina only where the comparison shows a gap — not across the whole surface.
Then decide whether it needs sealing. Painted muslin for a sign or a hard-wearing art panel wants a sealing medium or fixative so the colour survives handling. For a quilt, a costume you will launder, or anything you want to stay soft, use a light fabric-safe medium and keep it thin; a heavy coat turns aged cotton into board.
Test the sealer on the back of a scrap first. Some mediums leave a yellow or cloudy cast on cellulose fabrics, and once that is dry there is nothing to do about it.
Common Mistakes and How to Fix Them
Blotchy, uneven staining. Usually sizing or a brush that carried too much solution. Wash the fabric without softener first, and wipe the brush between passes instead of reloading it.
Everything came out too dark. Wet fabric reads several shades darker than it will once dry, and this is the most common over-processing trap. Let it dry fully before you judge it, and remember that the lightened version can always be aged again while a too-dark piece cannot be brought back.
The fabric feels thin and weak. You abraded too far or too fast. A load of coarse sandpaper rather than a single pass keeps more of the weave intact, and any method that has gone too deep has to be scrapped and restarted.
Stiffness after sealing. Too much medium, or the wrong kind. Use a flexible textile medium, apply in two thin coats, and skip sealing entirely on pieces that need to stay drapable.
Colour bleeding onto other fabric or the work surface. You skipped the vinegar set or you flooded the piece. Test the colourfastness on a hidden seam, rinse in cold water, and lay down a drop cloth before you start. Nobody has ever aged a fabric successfully while wearing their good trousers.
Clogged, shedding brushes. Coffee and tea leave tannin residue that stiffens bristle. Rinse brushes while you work and never let them sit in a bath overnight.
You aged the whole piece when only the edges needed it. Step back and look at where a garment of that type actually wears. The back panel, the sleeves and the flat of the chest should be barely touched; the collar, cuffs, pocket openings, seams and hems should carry the wear.
Frequently Asked Questions
What is the easiest way to make fabric look aged?
Tea or coffee, without much else. Simmer ten black tea bags in two cups of water for fifteen minutes, dilute with cold water, brush or sponge it onto damp cotton, then rinse in cold water and set with a splash of vinegar. It costs almost nothing, it needs no power tools, and it is easy to control because you can dilute it further at any point. Once you have that down, add pumice or sandpaper at the collar and cuffs to give the colour some texture to sit in.
How do I age fabric naturally without making it too dark?
Dilute more than feels right, and work in thin layers rather than one strong pass. Weak tea brushed on two or three times, drying fully between each coat, will always beat a strong bath applied once. Judge the colour dry, because wet fabric looks several shades darker than the finished result and most over-darkened fabric happens because someone checked too early. Hold the dried piece against your clean swatch and add a second pass only where it looks flat.
Can I use coffee or tea on a quilt?
Yes, on a cotton or cotton-blend quilt top, with two cautions. Test on a hidden seam first, because colour varies with fibre content and a polyester blend can go yellow or orange rather than tan. And avoid soaking a quilt you have already quilted, since liquid wicks into the batting and can leave a tide line that will not wash out. Brush the solution on rather than immersing, rinse with cold water only, and set with vinegar before the piece goes back in a quilt.
How do I make fabric look worn without making holes?
Stay at the top of the tool ladder. A pumice stone takes off surface fuzz, and 120 to 180 grit sandpaper softens a weave, but neither should leave daylight through the cloth if you check the back of the fabric every few passes. The look people are after usually comes from colour and abrasion combined rather than from holes alone, so put the effort into uneven fading first and keep the physical work light. If you do want threadbare areas, build up over several sittings instead of forcing it once.
Can I use smoke to age fabric for textile art?
You can, but treat it as a last resort. Real smoke gives a soot deposit that liquid stains cannot match, yet it is uneven, it stains everything in the room, and it is a respiratory hazard, so it belongs outdoors with good ventilation and away from anything flammable. Most studio artists get the same result more safely by painting charcoal or black pigment into a thin wash and building it in two or three translucent layers, then heat-setting it. That version is repeatable and can be corrected if it goes too dark.
How should I seal fabric after adding an aged effect?
Choose the sealer to match how the piece will be used. Painted muslin for signage or a handled art panel wants a sealing medium or fixative so the colour survives contact. A quilt or a costume that gets laundered wants a light, flexible textile medium applied in two thin coats, or a thorough rinse with no sealer at all. Test on the back of a scrap first, since some mediums leave a yellow or cloudy cast on cellulose fabrics that only shows up as they dry.
Conclusion
Start with three swatches from the same fabric, one clean, and run tea on one and pumice on the other before you touch the piece you care about. Then decide what story the fabric is supposed to tell: sun-faded, worn at the edges, grimy from work, or all three. Build toward it in thin layers, dry fully between each one, and resist going darker than your dry swatch comparison says you should.
That gradual approach is the whole trick to learning how to make fabric look aged without ruining it. Nothing here is expensive or hard, and every stage can be corrected — except the sanding, which is exactly why it goes last.