How to seal a finished art quilt for hanging comes down to order: seal the surface first, let it cure fully, then add the hanging sleeve, rod or hardware. Sealing puts a clear barrier over the painted, dyed or pieced face so dust, handling oils and light do not work into the fibres, and the hanging hardware stays off the wet surface. The whole job takes an afternoon plus drying time, and the risk is low if you test on a scrap of your own fabric first.
Most of what you will read about sealing art is written for oil or acrylic painting on canvas. A quilt is a different substrate: absorbent woven fabric, visible thread, lofted batting, pieced seams. A sealant that behaves beautifully on a sealed canvas panel can sink into a cotton top, pool in a seam, or turn a white background cream. This guide covers both halves of the job, protection and hanging, in the order that avoids rework.
One honest note before you start. A quilt that is purely pieced from undyed cottons, with no paint, dye or surface embellishment, does not need sealing at all. Dust it, sleeve it and hang it. Everything below applies to quilts carrying a painted, dyed, printed, resist or heavily embellished face, which is what most people mean by an art quilt.
Table of Contents
- What You Need
- Step-by-Step: How to Seal a Finished Art Quilt for Hanging
- How to Choose the Right Sealant
- How to Apply the Sealant Without Ruining the Quilt
- How to Dry, Inspect and Prepare the Quilt for Hanging
- Common Mistakes
- Frequently Asked Questions
- Do art quilts need sealing before they are hung?
- What is the best sealer for fabric art?
- Should I seal my art quilt before or after adding a hanging sleeve?
- Does varnish yellow fabric?
- How long should I wait after sealing before hanging the quilt?
- Can a sealed art quilt be framed or mounted?
What You Need
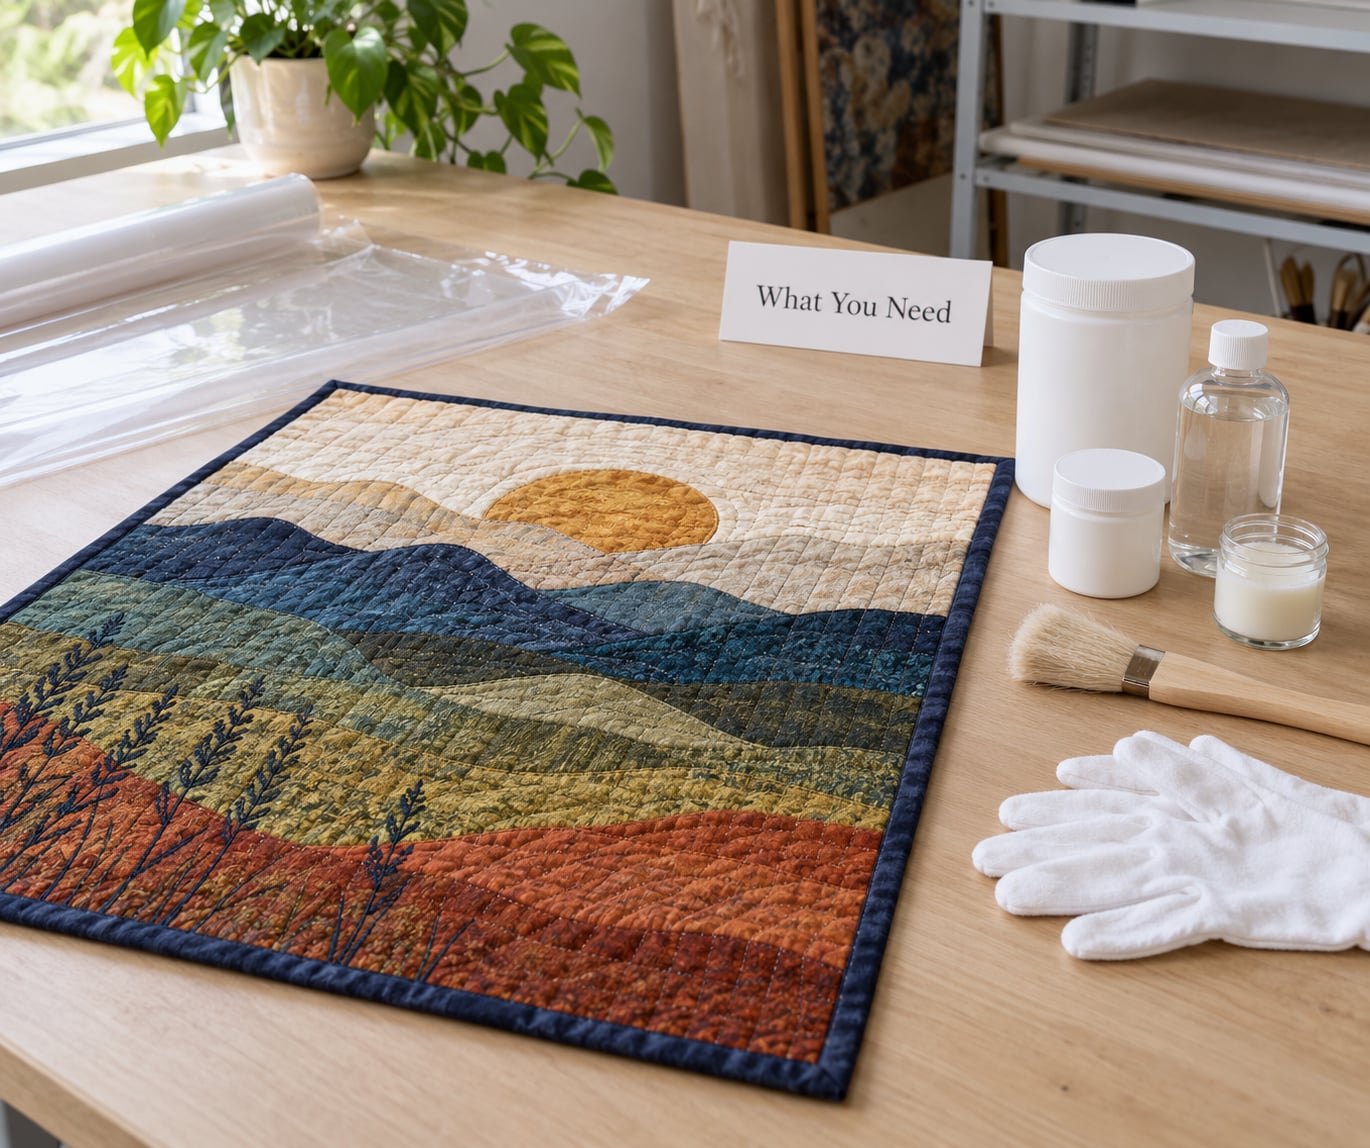
Gather everything before the quilt comes off the design wall. Most ruined surfaces are ruined by impatience, not by the product.
- A chosen sealant matched to your medium, plus a small scrap of the same fabric to test it on. Always buy more than you think you need; a second thin coat is normal.
- A clean, flat work surface larger than the quilt, protected with a sheet of plastic or a clean tablecloth. Seal on the back, not over the design.
- Cotton gloves or clean dry hands. Skin oils transfer to a cured surface faster than most people expect.
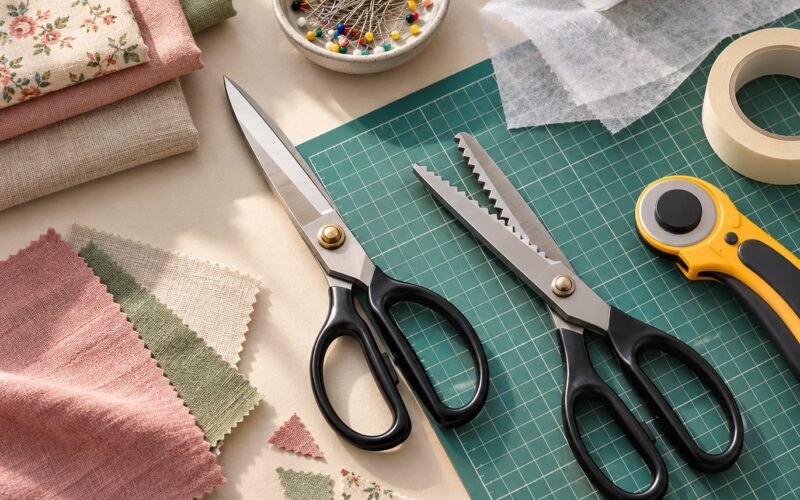
- Soft brushes in two or three widths, a foam roller, or a spray gun for large work. A stiff brush drags on a napped fabric.
- A lint-free cloth or soft brush for dusting the surface immediately before you seal.
- Ventilation and a dust-free room. Open a window, run a fan, close the door to the sewing room with the dryer running.
- Protective sheeting to lay the finished quilt back on while it dries, plus a clean table for the cured quilt.
- Label supplies if the quilt is going to a show: a small fabric label and a permanent fabric marker.
- Hanging hardware, chosen before the sealant cures: sleeve fabric, a dowel or rod, clips, tabs, or a stretcher bar mount.
Set the room to roughly 65 to 75 F (18 to 24 C) and 40 to 60 percent relative humidity before you start. Cool, slow drying invites cloudiness; warm, fast drying can leave a surface that feels like it has set but is still soft underneath.
Step-by-Step: How to Seal a Finished Art Quilt for Hanging
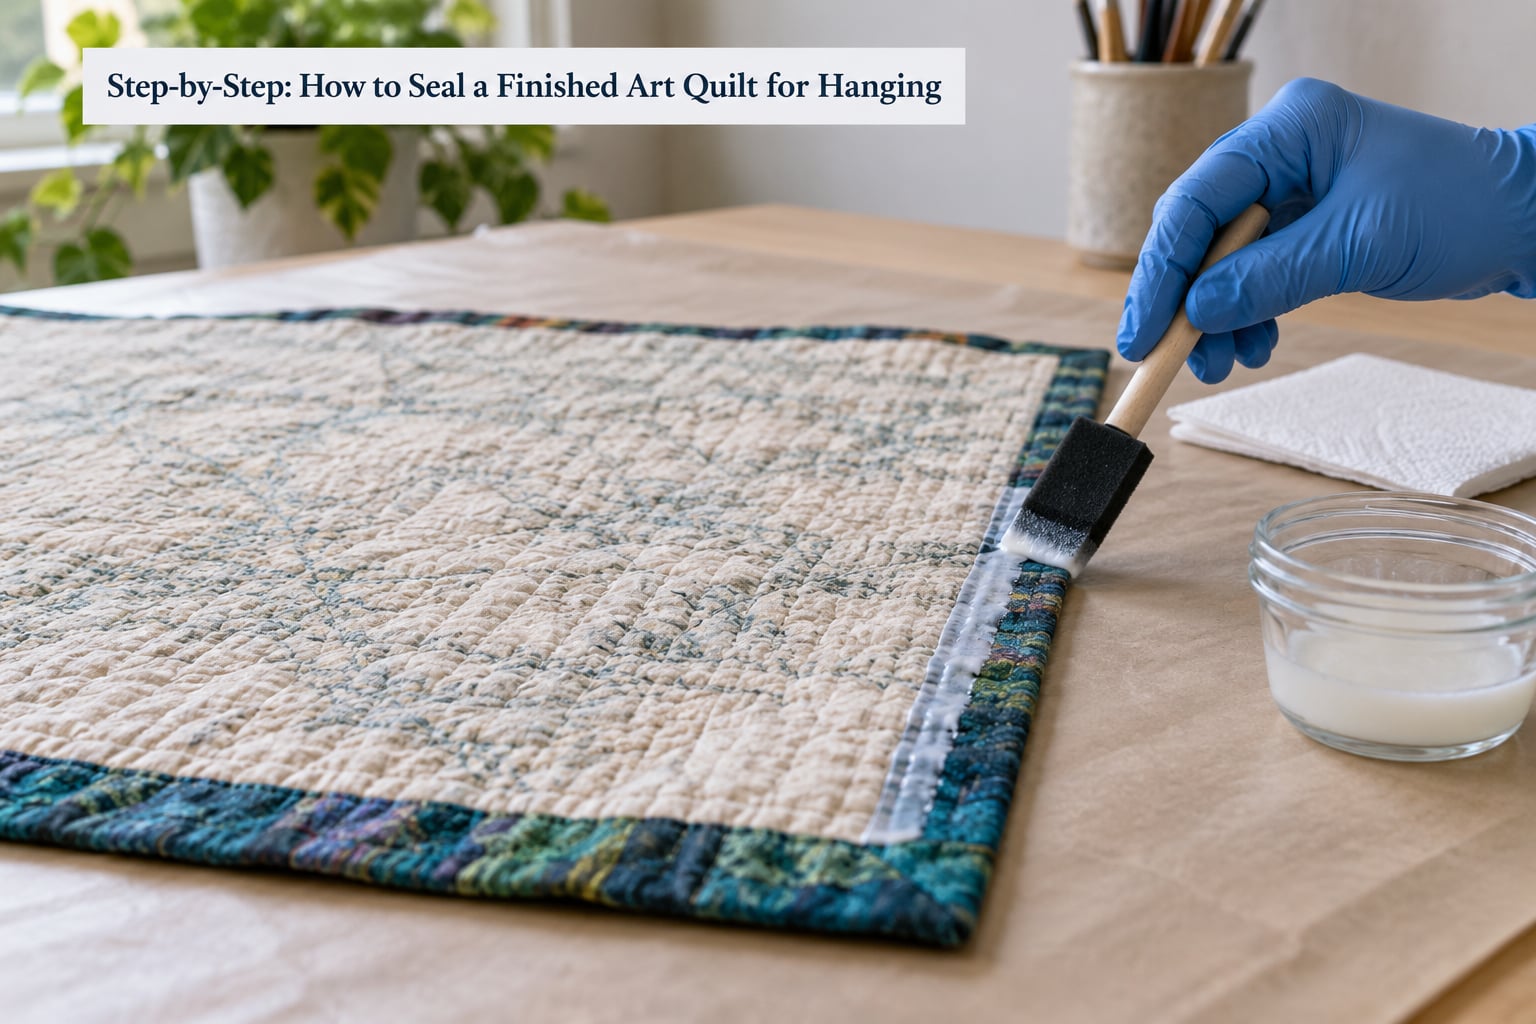
Work in this order. Each step has a check that tells you it worked, so you can stop and fix a problem before moving on.
1. Inspect the surface in good light. Look for loose threads, unfused fibre, beads or trim that could snag, and any area where the medium is still soft. Pull or trim the threads now. You cannot seal a surface that is still moving.
Check: nothing on the face shifts when you gently press it, and there are no stray threads crossing the surface.
2. Decide what actually needs sealing. Painted, dyed, printed, resist-worked or heavily embellished faces all benefit. Plain pieced cotton quilts do not. Beading, mirrors, sequins and any glued-on object change the answer completely, because most sealants are not designed to encapsulate hard objects without going brittle.
Check: you can name the medium on the face and say out loud why you are sealing it.
3. Clean the surface. Vacuum or brush off loose dust with a soft brush, then wipe gently with a barely damp lint-free cloth if the medium is water-based. Never seal over dirt; the sealant locks it in permanently and the discoloration appears within weeks.
Check: the cloth comes away clean and the surface looks matte dry, not damp.
4. Test a swatch from your own fabric. This is the step people skip and regret. Cut a 4 inch square from a leftover of the actual quilt fabric, preferably with a seam running through it, and apply the exact sealant you plan to use. Wait the full cure time the label specifies, not just until it looks dry.
Check: the swatch shows no cloudiness, no colour shift, no bleed to the back, no stiffness you dislike, and the fabric is not brittle when flexed.
5. Decide seal-then-bind or bind-then-seal. If the quilt still needs its binding, bind it first and seal last, so the binding strip and seam allowances are protected along with the face. If the binding is already on, seal the front and leave a narrow clean margin, or seal right up to the binding depending on how the binding was made. Adding the sleeve always comes after the cure.
Check: your quilt is structurally finished. Nothing structural gets sewn through a cured surface.
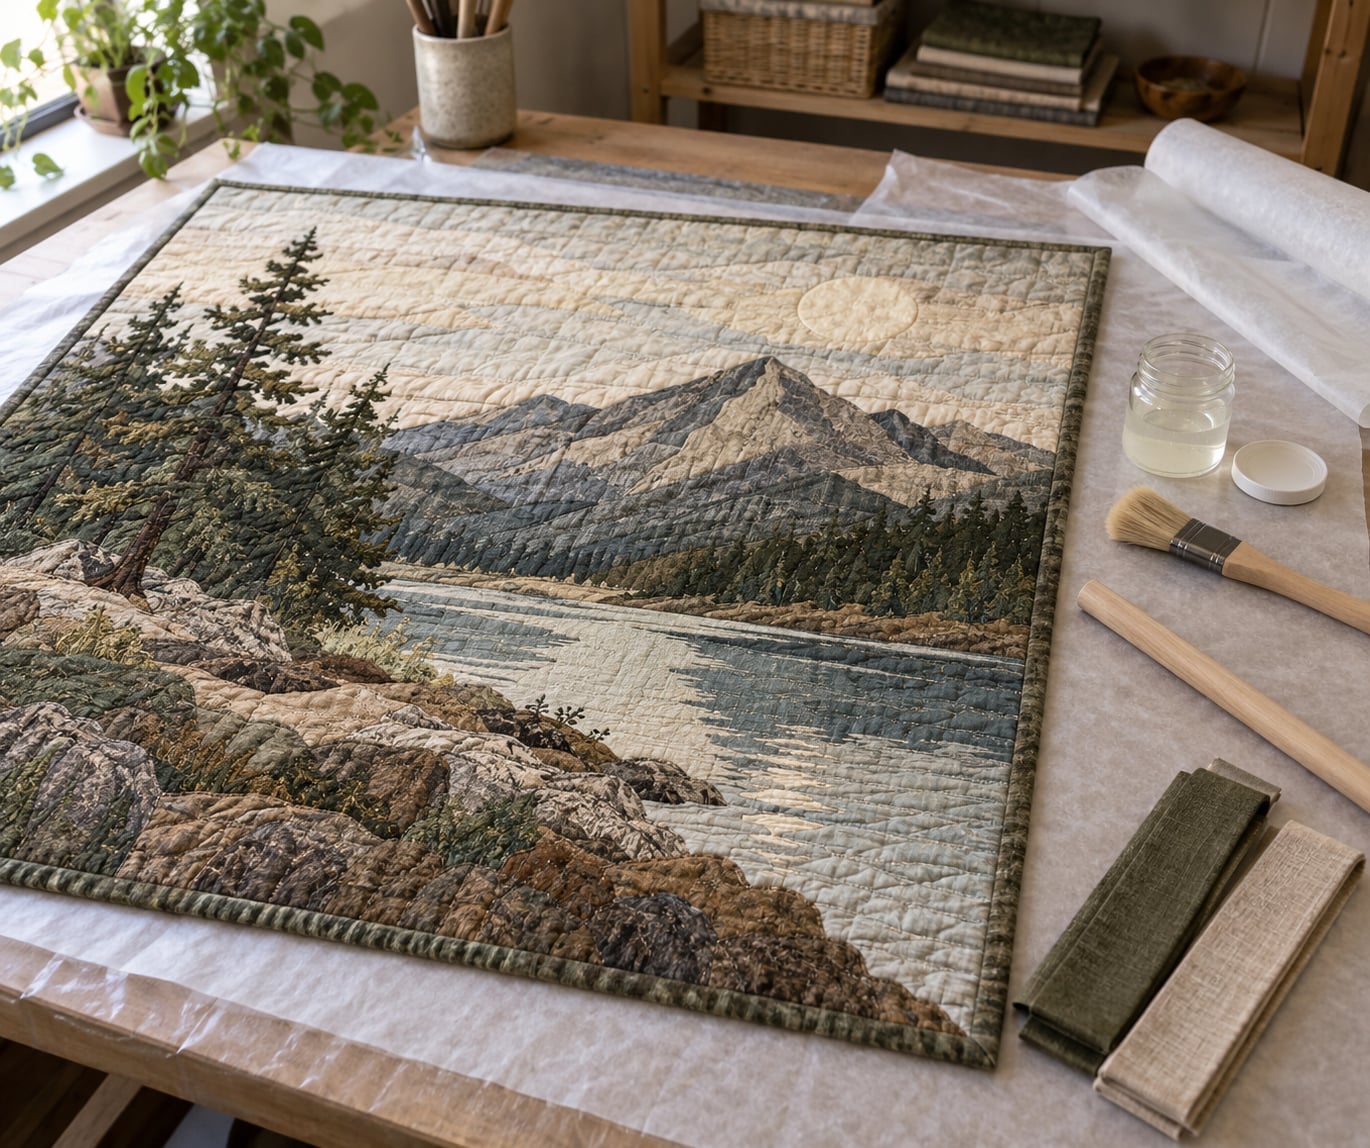
6. Seal the back of the quilt in thin coats. Lay the quilt face down on the protected surface. With a soft brush or foam roller, work from the centre outward in light, even passes. Thin and even beats thick and fast, every time. Keep the coat light enough that you can still feel the weave through it.
Check: no shiny puddles, no thick build-up in the valleys between wale lines, and no wet sheen pooling along a seam.
7. Let it cure before you touch it again. Follow the cure time printed on the product, which is longer than the dry-to-touch time and often runs 24 to 72 hours for a full cure. Keep the room ventilated, keep dust off the piece, and do not stack anything on it.
Check: the surface is completely non-tacky and there is no solvent or waxy smell at close range.
8. Add the hanging hardware last. With the cure complete, attach the sleeve, rod, clips or tabs, then hang. Handling a quilt before it cures is how you get a mark, a dent or a sealer fingerprint that cannot be removed.
Check: the quilt hangs flat and even, and the hardware touches the backing or the sleeve rather than the sealed face.
How to Choose the Right Sealant
The whole sealant question comes down to what is on the face of the quilt, how permanent the piece is meant to be, and how much sheen you are happy to live with. Ask four questions of any product before you buy it.
Does it filter UV light? Pigment fades because of light, and no sealant on its own stops that unless it contains a UV absorber. This matters most for commercial print and photographic transfer fabric, which is typically the fastest-fading surface you will hang, and it matters far less for a piece in a north-facing room.
Is it non-yellowing? Some varnishes are resin-based and shift warm yellow with age, which is fatal on a white, cream or pastel quilt. Wax mediums stay clear but gather dust more readily. A water-based archival acrylic varnish is the usual answer for pale work.
Is it archival? Archival or museum-grade means the binder is stable and will not itself become the thing that degrades. It does not mean the sealant makes a quilt conservation-safe, and it never means you can skip a UV filter.
Is it compatible with the medium underneath? This is the criterion most often ignored. A solvent-based varnish applied over a water-based acrylic or gel medium can cloud it, lift it or make it tacky for months.
Now match the product to the surface. Follow the manufacturer’s instructions for every one of these, and test first.
| Quilt surface | Sealant direction | Finish and notes |
|---|---|---|
| Acrylic or fabric paint | Water-based acrylic varnish or matte medium | Matte or satin. Fully compatible and the safest starting point. A thin matte medium often needs nothing over it at all. |
| Watercolor or gouache | Wax-based medium, worked in and buffed | Saturation deepens slightly. Test for darkening first, and keep it out of high humidity. Cold wax needs testing on fabric every time. |
| Mixed media surface | Whichever single product is rated for your most fragile layer | Test on a swatch. Start from the most delicate element and work outward, and consider sealing in stages as you build rather than all at the end. |
| Hand-dyed or resist-dyed plain fabric | Light spray fixative, or no sealant at all | Dye is already fixed. A light fixative helps against crocking and dust; a heavy coat only adds build-up. |
| Commercial print or photographic transfer | Archival acrylic varnish with a UV absorber | The highest-risk surface for fading. Do not skip the UV filter here, and do not seal under direct test light without checking the colours first. |
Sheen is a taste decision with a practical edge. Matte disappears into the fabric. Satin is usually the safest all-round compromise. Gloss and resin catch every light source in the room, show fingerprints, and are the two finishes most likely to look plastic on a piece whose whole appeal is texture.
One warning that comes straight from the canvas world and is wrong for quilts. The claim that a sealant behaves the same on fabric as on a sealed panel does not hold. Fabric is porous and lofted, so the first coat partly disappears into the top rather than sitting on it, and the second coat behaves more like the surface you were expecting. Judge the finish after two thin coats, not one.
Aerosol fixatives and spray varnishes deserve their own caution. The aerosol carries a propellant that pushes sealant through an open weave and can carry colour sideways, so keep the can moving, hold the distance the label specifies, and spray outdoors or into a well-ventilated room. Test the spray pattern on cardboard before it goes anywhere near the quilt.
On reversibility, be honest with yourself about what you want. A wax medium and most water-based mediums can sometimes be lifted with controlled heat or moisture, which matters enormously for a heritage or inherited quilt but is not a reason to use a product that will not hold up. If the piece is a one-off you may never sell, a washable or liftable option is kinder to the future. If it is going on a gallery wall or into a show, durability wins.
How to Apply the Sealant Without Ruining the Quilt
Face the quilt down. This keeps wet medium away from the design and means any mistake happens on the back where it is less visible and easier to lift.
Apply in thin, even coats with a soft brush or a foam roller, working in one direction across the whole piece. Overlap the passes, do not re-wet an area you have already covered, and keep moving so you do not build a ridge at the end of a stroke.
Watch the edges. A brush loaded with medium drags sealant into the side of the binding and into the seam allowance, where it can wick upward. Use a smaller brush, less product, and two light passes rather than one heavy one.
Two things go wrong most often on a quilt. The first is seam bleed, where medium creeps along a stitched line and leaves a glossy or darker streak. The second is pooling, where medium collects in the low spots of the quilting and dries as a hard bead. Both come from too much product in one pass, and both are much easier to prevent with a lighter hand than to fix afterwards.
Take the extra care at embellishments. Beads, buttons, sequins and mirrors need the sealant to stop short of them, or worked around them with a small brush, because a continuous film that hardens over a hard object can crack and lift the surrounding fabric with it.
Give the piece the manufacturer’s full cure time, not the touch-dry time. Touch-dry and cured are different things, and hanging a quilt that is only touch-dry is one of the most common ways people end up with a permanent mark along the top edge.
How to Dry, Inspect and Prepare the Quilt for Hanging
Lay the sealed quilt face down on clean sheeting in a ventilated, dust-free room until it is fully cured. Do not hang it to dry, and do not lay another quilt on top of it. Keep it away from direct sun and away from a heater or vent.
Inspect before hanging. Hold the piece up to a window and look for cloudiness, uneven sheen, a colour shift, any stiff patch, a tacky area, or a persistent smell. Cloudiness usually means the coat went on too thick or the room was too humid. Tackiness after the full cure time means an incompatible pair of layers. A colour shift on a white or pastel area means you start over, and the swatch would have told you.
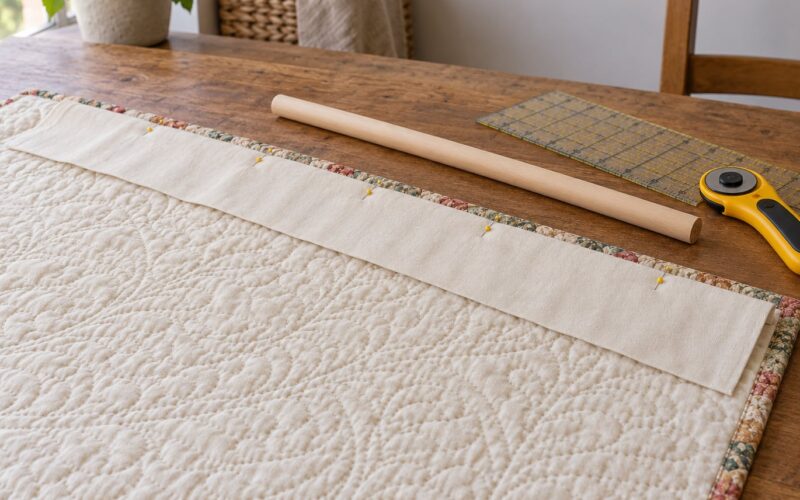
Then add the hardware. The sleeve is the best answer for a finished quilt, a show entry, or anything that will hang for years. Two measurements circulate in quilting groups and both work, which is why the disagreement never ends.
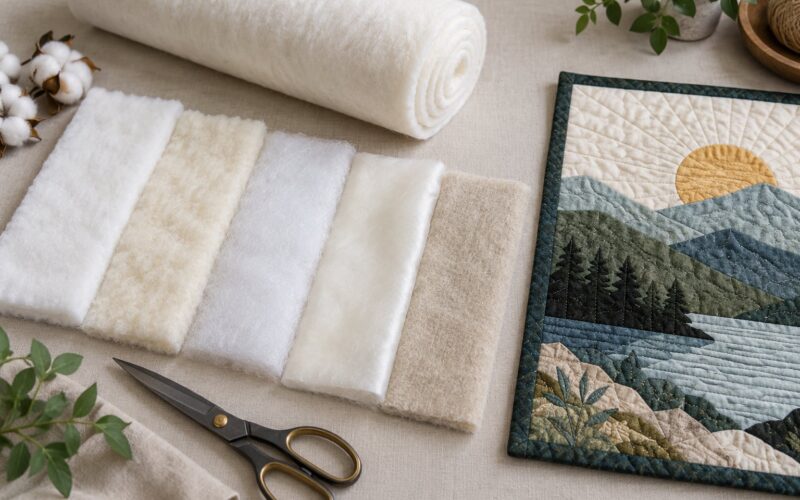
The narrow catch-stitch sleeve is about 2-1/2 inches wide and cut 1 inch shorter than the quilt width, which lets the rod sit inside a channel that spans the full width. The full-width sleeve runs 6 to 10 inches wide and about 2 inches longer than the top edge, with the extra length creating a deep pocket that holds a rod without pressing on the quilt. Use the narrow version for a light quilt where you want the rod hidden, and the deep version for a heavy or heavily quilted piece, where batting loft and quilt weight are what decide the depth.
Position it centred on the quilt backing about 1 inch below the binding, with the seam facing toward the backing so the rod rests flat. Stitch through both the backing and the batting, not just the backing, or the sleeve will pull loose. Hem the ends closed after the rod is inserted, and size the rod about 1 inch longer than the finished sleeve.
The classic failure here is the dowel ridge. A rod that is too thick presses a hard line across the top of the quilt front, and it stays visible from across the room. Two fixes: use a thinner rod, or fold up half an inch of the sleeve’s bottom edge before the final stitching to give the rod extra room to sit lower.
Other methods suit other situations. Clips or a spring clamp work for a small piece you will move often, but anything point-fastened stresses the seams and the fabric will stretch and sag over time, so treat it as temporary. Sewn tabs or corner sleeves work well for a mid-size piece and are the simplest permanent option. A canvas or stretcher bar mount gives you a flat, frameless presentation and keeps the texture, at the cost of adding bulk behind the piece. A frame with non-glare glazing and a spacer so the glass never touches the fibre is the most protected option, and it is the one most often regretted, because the glazing flattens a tactile piece into a flat image.
If your quilt was never bound, the facing or pillowcase method gives a clean edge with no binding strip and works well on a wall piece. Long vertical stabilisers such as fishing line or tulle keep a free-hung piece from swaying toward you and creasing along its length.
Finally, the light. UV exposure is the leading cause of colour loss on a hung textile, and commercial print fabric fades faster than hand-dyed. Keep the piece out of direct sun, rotate it occasionally so one area does not take all the light, and remember that a window that feels dim in the morning can be delivering enough UV to fade a print over a few years.
Common Mistakes
Sealing over dirt and dust. The sealant locks the particles in, and the discoloration shows up within weeks with no way to lift it. Fix: dust with a soft brush and a barely damp cloth, then seal. Prevention: seal on a cleanable surface, and never seal a quilt that has been on the floor or in a car.
Skipping the test swatch. This is the most expensive mistake on the list, because the quilt is already finished and you cannot undo it. Fix: cut a 4 inch square from your own fabric, include a seam, and wait out the full cure time. Prevention: keep leftover fabric from every art quilt specifically for this.
Using a product that was not tested for the medium. A solvent-based varnish over a water-based surface can cloud or lift it. Fix: match the product to the medium, and check whether it needs a separate fixative under a varnish. Prevention: read the compatibility list, not just the finish description.
Applying it too heavily in one pass. Thick coats pool in the quilting valleys, ridge along brush strokes, dry hard, and can stiffen the piece so much that it no longer hangs naturally. Fix: two or three thin coats, letting each one set. Prevention: load the brush lightly and keep moving.
Ignoring the fabric in front of you. Sealant sinks into a loose weave and part-disappears, so the first coat looks like it failed. Fix: expect the first coat to be absorbed, and judge the finish after the second. Prevention: seal an already-painted or dyed surface rather than raw fabric where you can.
Sealing in poor conditions. A cold, humid or dusty room prolongs drying and leaves cloudiness and tackiness. Fix: work at 65 to 75 F (18 to 24 C) and 40 to 60 percent relative humidity, ventilated and dust-free. Prevention: check the room before you open the sealant, not after.
Hanging a stiff, damp or uncured quilt. Rod pressure and handling before the cure leaves a mark along the top edge and dents in the surface. Fix: wait the full cure time, then attach hardware. Prevention: put the sleeve step last on your list, not first.
Using pins or clips as a permanent hanging method. Point fasteners put all the quilt’s weight on a few small areas of fabric, and the seams stretch and sag over years. Fix: use a sleeve, tabs or a mount for anything permanent, and reserve clips for a piece you move often. Prevention: think in years, not weeks, when you choose hardware.
Frequently Asked Questions
Do art quilts need sealing before they are hung?
Only if the surface needs protecting. Painted, dyed, printed, resist-worked or heavily embellished faces benefit from a clear topcoat that keeps dust and handling oils off the fibres and, with a UV absorber, slows light fading. A quilt pieced entirely from plain undyed fabric does not need sealing at all. Dust it, sleeve it and hang it.
What is the best sealer for fabric art?
For acrylic or fabric paint, a water-based acrylic varnish or matte medium is the safest choice, because it is already compatible with the surface underneath. For watercolor or gouache, a wax-based medium worked in and buffed deepens the colour slightly. For a mixed media surface, use whichever single product suits your most fragile layer, and test it on a scrap first.
Should I seal my art quilt before or after adding a hanging sleeve?
Seal first, then hang. Let the sealant reach its full cure time before you sew the sleeve, thread the rod or fit any clips, because handling and rod pressure on a surface that is only touch-dry can leave a mark or a dent that will not lift. If the quilt still needs binding, bind it before sealing so the binding is protected with the face.
Does varnish yellow fabric?
Some resin-based varnishes shift warm yellow with age, which shows badly on a white, cream or pastel quilt, so check the label for a non-yellowing claim and test on a swatch of your actual fabric. Water-based archival acrylic varnishes stay clear. Wax mediums stay clear too, but they gather dust faster and do nothing about UV light on their own.
How long should I wait after sealing before hanging the quilt?
Follow the cure time printed on the product, which is longer than the touch-dry time and commonly runs 24 to 72 hours for a full cure. Full cure matters more than surface dryness. High humidity extends the wait, so a cool damp room needs longer than a warm dry one, and a tacky surface after the stated time means the layers are incompatible.
Can a sealed art quilt be framed or mounted?
Yes. Mounting a finished quilt on blank canvas or a stretcher bar keeps the texture and gives you a flat, frameless presentation, and a frame with non-glare glazing plus a spacer so the glass never touches the fibre gives the most protection of any option. Many fibre artists avoid glazing because it flattens a tactile piece into a flat image.
Start with the swatch, not the sealant. Cut a scrap of your own fabric, run the exact product through its full cure time, and you will know in a day whether you are dealing with cloudiness, a colour shift or a surface you will be happy to live with. After that the order is simple: seal the front, protect the binding, let it cure completely, then add a sleeve or mount and hang the piece where the light is softest. That is how to seal a finished art quilt for hanging without putting a mark on the surface you spent months building.