Oil pastels never fully dry, so a finished drawing keeps transferring oil onto your hands, the facing page, or the glass in the frame. To set oil pastel so it does not smudge, apply an oil pastel fixative spray or an oil pastel varnish in two or three light coats, about 12 to 18 inches from the paper, letting each coat dry roughly 30 minutes before the next, then frame behind a mat with spacers. Sealing cuts transfer sharply, though it does not make the surface indestructible.
The whole process takes about an hour of active work plus drying time, and the difficulty is low if you have done it once. The part that trips people up is not the spraying. It is using the wrong product for the surface, or soaking the first coat so heavily that it darkens every colour you mixed.
If you are working in a sketchbook rather than on loose sheets, the fix has to come from two directions at once: sealing the page, and keeping it from touching anything. I’ll cover both.
Table of Contents
- What You Need to Set Oil Pastel So It Does Not Smudge
- The sealer
- Supporting kit
- Working with soft pastels
- The test patch, before anything else
- Step-by-Step
- How to set oil pastel so it does not smudge: prepare the surface
- How to set oil pastel so it does not smudge: apply the first fixative layer
- How to set oil pastel so it does not smudge: build and test the finish
- Common Mistakes
- Too much fixative in one pass
- Using an oil painting varnish by mistake
- Touching the work while it is still drying
- Spraying from too close
- Using hairspray
- Storing finished work against another surface
- Skipping the test patch
- Frequently Asked Questions
- How long does oil pastel take to dry after fixative?
- Can I use hairspray to set oil pastel?
- Does fixative make oil pastel colors fade or change?
- Should I use matte or gloss fixative for oil pastel?
- Can I varnish oil pastel after spraying it?
- Why is my oil pastel still smudging after I apply fixative?
- Conclusion
What You Need to Set Oil Pastel So It Does Not Smudge
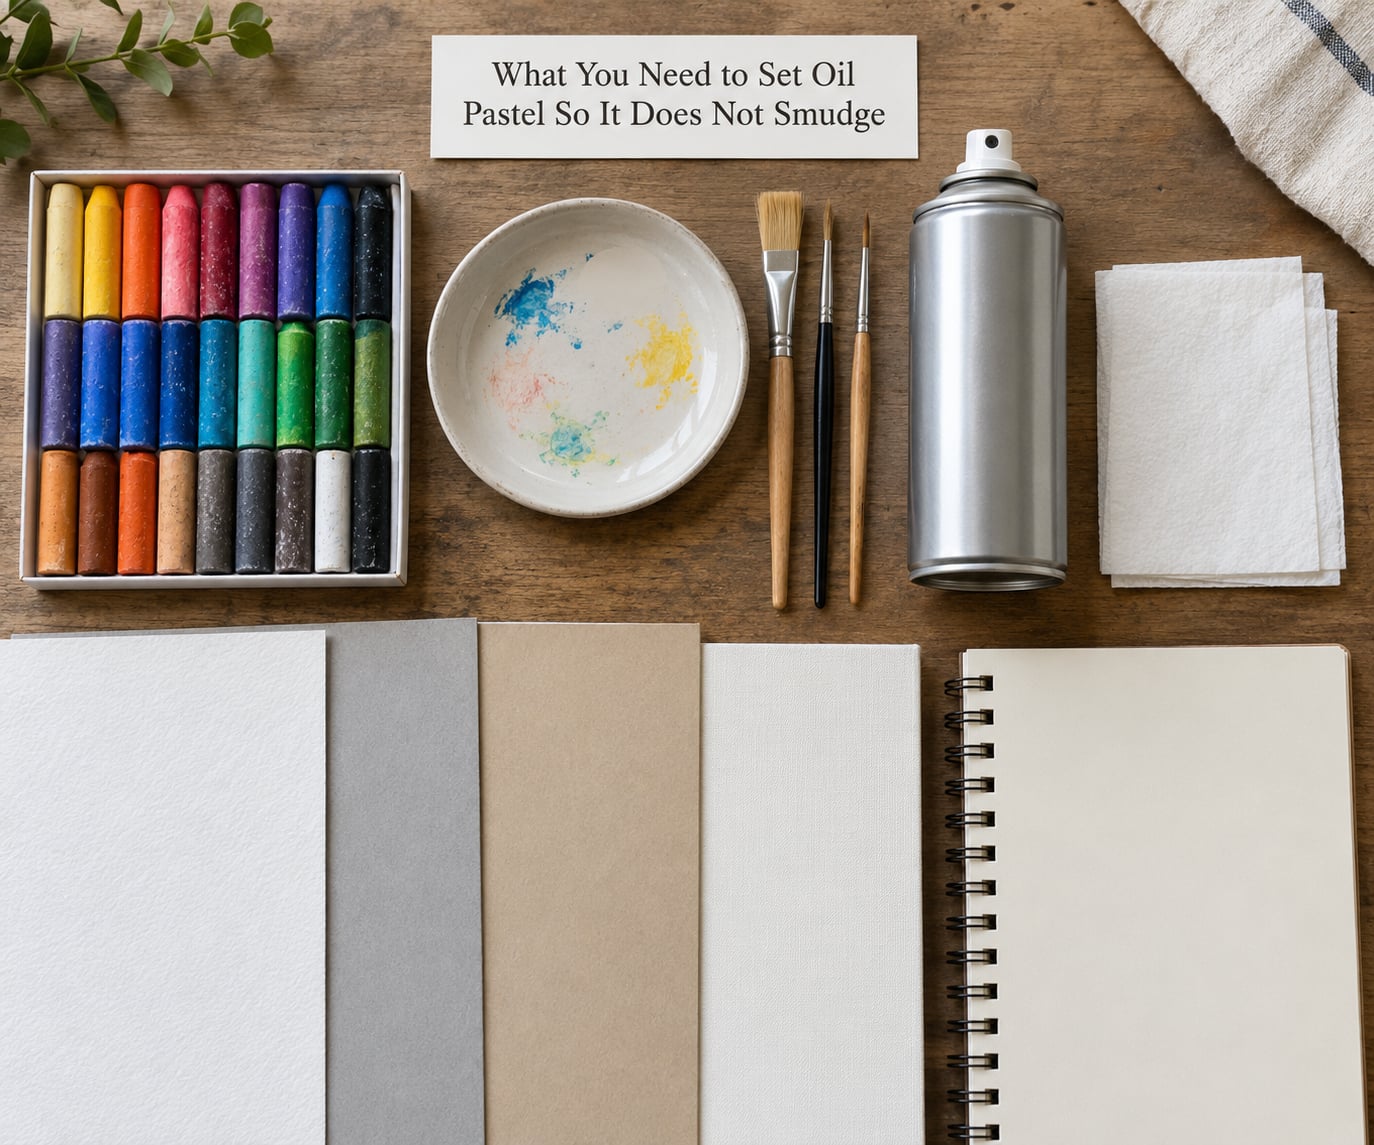
The core list is short. Everything else is a preference.
The sealer
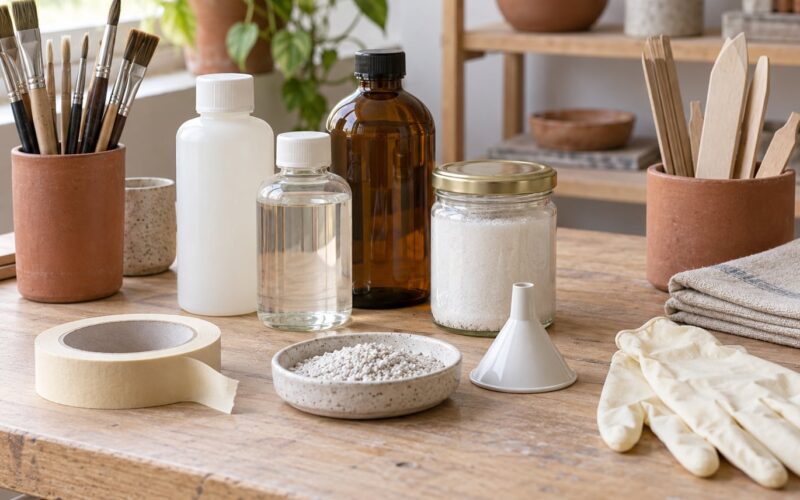
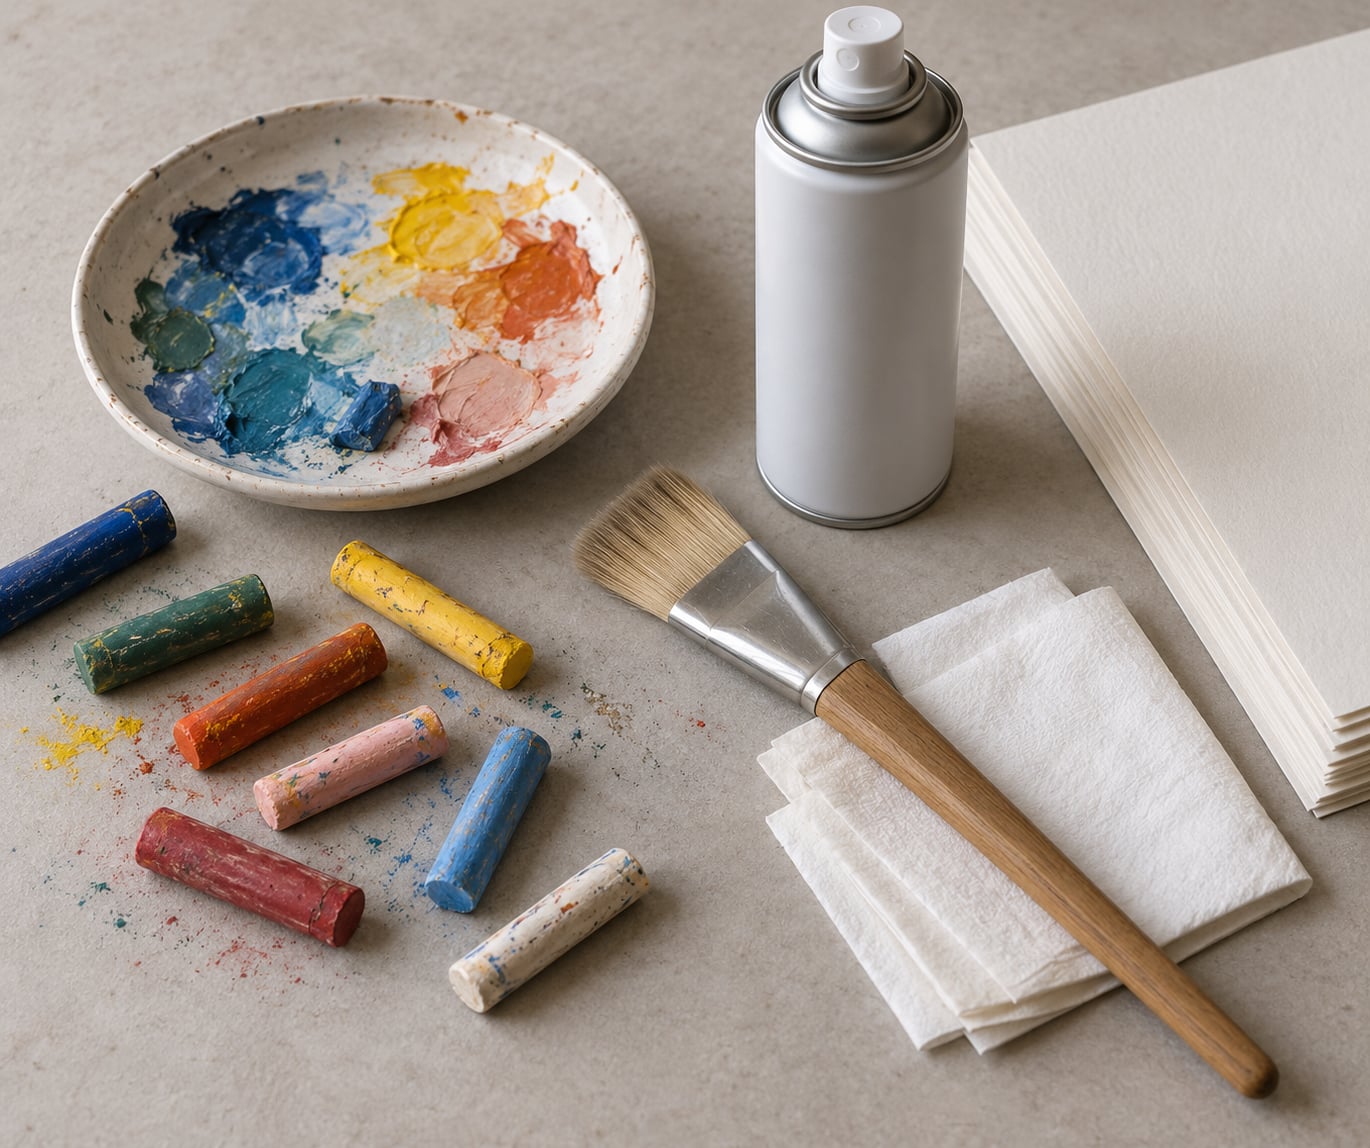
- Oil pastel fixative spray — the usual first choice. Aerosol, applies in seconds, works over paper and canvas. Sennelier Oil Pastel Fixative is the one most often named on r/Oilpastel, and Royal Talens oil pastel varnish is the widely recommended alternative.
- Oil pastel varnish — brushed on rather than sprayed, so you control exactly where it lands. Royal Talens is the well-known version. Artists who varnish use a wide flexible brush and pour a small amount onto a palette plate before starting.
- Matte medium or gloss medium — acrylic mediums that bond the pastel dust and add scratch resistance. Thin applications only, brushed on.
- Kamar varnish — a traditional picture varnish. It works over oil pastels but pulls colours toward amber over time, so it is a choice for archival pieces, not fresh work.
Those four do different jobs. Fixatives fix pigment in place by binding the loose dust. Varnishes add a protective film over the surface. Acrylic mediums sit somewhere between the two and are also useful if your drawing mixes pastel with acrylic or gouache.
Supporting kit
- Masking tape to hold the paper flat and keep overspray off the table
- Blotting paper or a clean scrap sheet for the touch test later
- A soft flat taklon brush if you are varnishing by hand
- A cotton cloth, white, for the final cure check
- Mat board with a spacer if the piece will be framed
- Glassine or acid-free tissue sheets if the work stays in a sketchbook
Working with soft pastels
Some oil pastels are intentionally soft or blendable, and those accept sealer better because there is more oil to bond. Harder student-grade sticks leave less loose pigment, so they seal fine too but need less protection. If you are layering a soft pastel under an oil pastel, experienced painters on r/Oilpastel put a soft pastel fixative down first, then the oil pastel fixative over that.
The test patch, before anything else
Cut a scrap of the same paper, mark it with two or three of the colours you used, and spray or brush the sealer onto it. Wait the full cure time, then compare against the unsealed area in daylight. If the colours shift, the product is wrong for that surface and you have not ruined a finished piece. This step takes five minutes and saves everything else.
Step-by-Step
How to set oil pastel so it does not smudge: prepare the surface
Choose the surface first, because sealers behave differently on each one. Absorbent paper drinks the first coat and can end up looking uneven, while a gessoed or canvas surface takes it more evenly and stays brighter. Toned paper is the one to watch: fixative on a tan or grey ground often deepens the ground itself, which shifts every value relationship you built on it.
Run two quick checks before you seal anything.
The moisture check. Press the back of your hand against the surface. If it feels cool rather than neutral, there is moisture in the sheet and the sealer will trap it. Let it sit overnight in the room, not over a radiator.
The cleanliness check. Look for pastel dust, eraser crumbs, and any hand oil on the surface. Brush loose dust away with a soft brush and wipe greasy areas with a barely damp cloth, then let it dry. Fixative bonds whatever is sitting on the surface, including fingerprints, and locks them in permanently.
For a sketchbook page, tape the edges down to stop the sheet curling, and work on a board slightly larger than the page so overspray lands on the board instead of the facing artwork.
How to set oil pastel so it does not smudge: apply the first fixative layer
Ventilation first. Aerosol fixative gives off solvent fumes, so work outdoors, on a porch, or in a room with the windows open and the door out of the frame. It is the step most people skip and the one that matters most for your lungs.
Hold the can 12 to 18 inches from the paper. Closer and the spray arrives wet, soaking into the pastel and dissolving the colour underneath. Start at one edge, sweep across in a side-to-side motion, and lift the can before you reach the far side so the pass does not pool at the end.
The first coat should be barely there. You are wetting the binder, not painting over it. If you can see the can’s reflection in the wet sheen as you pass, you have sprayed too much. Walk back and let it dry for about 30 minutes in a dust-free space before the second coat.
Edges need the same restraint as the centre. Mist tends to collect along the border of a sheet, and a beaded edge of fixative reads as a finished-looking mistake. Masking tape on the reverse side of the border helps more than any technique on the face.
If you cannot spray indoors, brush a thin coat of oil pastel varnish with a soft flat taklon instead. Load the brush lightly and work in quick, non-overlapping passes. A gloss varnish matters more here than it does with spray: it reflects lights and windows, and those reflections can obscure the whole drawing.
How to set oil pastel so it does not smudge: build and test the finish
Two to three light coats is the working range. Each coat goes on only once the previous one is touch-dry to a light fingertip, about 30 minutes, and each coat stays thinner than the one you think you need. More coats do not improve protection; they build a plastic film that darkens the colours and makes blending impossible if you ever want to go back in.
After the final coat, give it real time. Thirty minutes is a between-coats gap, not a cure. Wait several hours before handling and prefer overnight before framing, signing, or mailing the piece. One hour before adding a signature is the minimum artists work with; overnight is the honest answer.
Then test it. Touch an inconspicuous corner with a clean fingertip. Then press a folded white cloth onto it and pull. No colour on your finger and no mark on the cloth means the binder has bound. A faint sheen that transfers to the cloth is normal at that stage and will firm up as the sealer finishes off-gassing.
Choose the finish last. Matte hides the sealer and suits a drawing where you want the pastel surface to read as pastel. Satin or gloss deepens the colours and makes scratches less visible, which is why it works well under glass. A fixative cannot add gloss by itself unless it is made as one.
Common Mistakes
Too much fixative in one pass
This is the number one cause of dark, cloudy artwork. A wet coat sits in the paper and the colour underneath, and the shift is permanent. The correction cannot be undone — it can only be tested for beforehand on the scrap sheet. Go back to the can, hold it at the far end of that 12 to 18 inch range, and keep moving.
Using an oil painting varnish by mistake
A traditional varnish and an oil pastel varnish look identical on the shelf and behave nothing alike. Wrong varnish on pastel artwork causes sticking, blooming, and colour migration, and artists have reported ruined pieces this way. Read the label for the words oil pastel. If it says picture varnish, it is for cured oil paint.
Touching the work while it is still drying
A fingerprint at the ten-minute mark is a fingerprint for the life of the drawing. Put the sheet somewhere it cannot be brushed past and cover it loosely with a clean sheet of paper. Do not lay the next piece on top; contact during the off-gassing stage is what glues pages together in a stack.
Spraying from too close
Under 10 inches the spray lands as droplets rather than a fine mist, and droplets bead, run, and dry into specks. Over 20 inches and the coverage is too thin to do much. The fix is distance plus arm speed.
Using hairspray
Hairspray is the most popular shortcut in short videos and the least reliable. It is cheap and it works well enough for a scrap drawing — for chalk and soft pastel dust it reduces transfer very effectively. But it is not formulated for oil or wax binders, it yellows faster than any archival sealer, and it can hold onto finger oils from the can itself. Use it to get through the week, not on a piece you plan to keep.
Storing finished work against another surface
Sealing does not stop the pastel from pressing and transferring onto the page it lies against. Artists tend to recommend a double mat with a spacer taken to a framing shop rather than relying on the sealer alone. In a sketchbook, interleave with glassine or acid-free tissue. For the same reason, put spacers between the art and the glass so the picture never touches it.
Skipping the test patch
Not a technique mistake so much as a gamble. The fix is the scrap sheet with your actual colours on it, sealed and left for the full cure time.
What no sealer can do. Nothing makes oil pastel dust-proof. Sealed work still scratches under a fingernail, still picks up a fingerprint if a wet hand lands on it, and still softens if someone rests an arm on it. Protect sealed pieces with a mat, a spacer, and ordinary sense, and expect to handle them by the edges for the rest of their life.
A few habits prevent most damage. Seal work face up on a flat board rather than leaning it against a wall. Keep finished pieces out of direct sunlight and away from radiators, since heat keeps the binder mobile. Store them flat, not on their edges in a slot, so nothing presses against the pastel surface.
Frequently Asked Questions
How long does oil pastel take to dry after fixative?
Allow about 30 minutes between coats and treat that as touch-dry only, not cured. Full cure takes several hours, and overnight is the sensible wait before framing, signing, or mailing the piece. The touch-dry stage is when the colour will still lift faintly onto a cloth, which is normal.
Can I use hairspray to set oil pastel?
You can, and for a scrap drawing or a working study it does a decent job of cutting transfer. Hairspray is not made for oil and wax binders though. It yellows faster than an archival sealer and can hold finger oils onto the surface. Reach for it in a pinch, not for a piece you intend to keep.
Does fixative make oil pastel colors fade or change?
It can shift them, usually a little darker, and the shift is permanent. Wax-heavy and light colours move the most, and toned paper often darkens across the whole ground. That is why you test on a scrap of the same paper with your actual colours on it, then compare in daylight before touching the finished piece.
Should I use matte or gloss fixative for oil pastel?
Matte if you want the drawing to read as soft pastel, since it hides the sealer and keeps the surface quiet. Satin or gloss if the work will sit behind glass, because it deepens the colour and takes light scratches better. A standard fixative adds no sheen on its own, so pick a varnish if you want gloss.
Can I varnish oil pastel after spraying it?
Yes, and the order that most artists use is fixative first, varnish second. The fixative binds the pigment, then the varnish lays a protective film over it. Both need to cure between stages, so you are looking at overnight rather than a quick second pass. Some experienced painters stop at varnish alone on paper.
Why is my oil pastel still smudging after I apply fixative?
Most often the coat was too heavy or the work was handled before it cured. Toned paper and very absorbent paper also drink the first coat and leave the surface uneven. Check for colour lifting onto a white cloth in the same spot, then add one more light coat once the surface is fully dry and re-test.
Conclusion
Start with the test patch on a scrap of your actual paper, then seal the finished piece with a compatible oil pastel fixative or varnish in two or three thin coats, 12 to 18 inches away, 30 minutes apart. Let it cure overnight before you handle, frame, or give it away, and keep it behind a mat with spacers.