How to clean a vintage quilt safely means starting with air, not water: document the quilt, test every fabric for dye bleed with a damp cotton ball, and clean the surface before anything wet. A full hand wash in cold water comes last, and only for quilts whose dyes, batting, and stitching can take it. Never dry clean one.
I know how that sounds when a quilt has been in a trunk for thirty years and smells like a closet. Still, water is the one step you cannot undo. Dye that migrates, batting that shrinks, and silk that waterspot are permanent, and the internet is full of people who learned that the expensive way.
Plenty of dirty quilts never need washing at all. Airing, gentle vacuuming, and a spot treatment will lift most dust and a surprising amount of odor. So the real question is not how hard to scrub. It is whether this particular quilt should see water at all.
Table of Contents
- What You Need Before You Clean a Vintage Quilt Safely
- Step-by-Step
- How to Clean a Vintage Quilt Safely: Inspect and Document First
- Remove Loose Dirt Without Soaking
- Treat Only Small, Well-Defined Stains
- Wet-Clean Only When Testing Shows It Is Safe
- Dry Flat and Protect the Quilt’s Shape
- Common Mistakes
- When to Ask a Textile Conservator
- Frequently Asked Questions
- Can I wash a vintage quilt in the washing machine?
- How should I remove dust from an old quilt?
- What is the safest way to get musty smell out of a quilt?
- Can I use baking soda or vinegar to clean a vintage quilt?
- Should I take a valuable or fragile quilt to a professional?
What You Need Before You Clean a Vintage Quilt Safely
You need to know four things about the quilt first, and they decide everything that follows.
Age. Quilters use vintage loosely, usually for anything around twenty years old or more. For cleaning purposes that is a useful line: the older the piece, the more likely the dyes are unstable and the fibers are brittle.
Construction. Is it hand-pieced or machine-pieced? Is it a finished quilt or a loose top someone never finished? Are the batting and filling exposed anywhere, or is a quilt top butting right up against the batting with no backing? That exposed-edge construction is a weak spot water finds fast.
Dyes. Nineteenth-century quilts were colored with natural dyes, including walnut hull, which will bleed into neighbors in storage. Later pieces may have commercial dyes that are perfectly stable. You cannot tell which you have by looking, which is exactly why the cotton ball test matters.
Condition. Turn the quilt over. Look for active mold, musty odor, brittle or powdering fabric, loose threads, faded areas, and existing tears. Fraying threads get pulled out and stitches give way the moment a wet quilt is lifted.
If the quilt is fragile, valuable, or carries real sentimental weight, make the call before you fill a sink. A textile conservator can tell you what the piece will tolerate, and the American Institute for Conservation keeps a find-a-conservator referral list for exactly this situation.
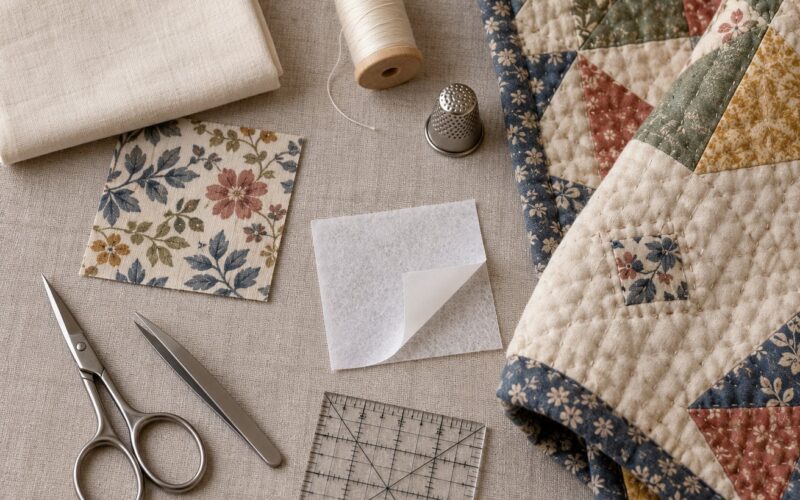
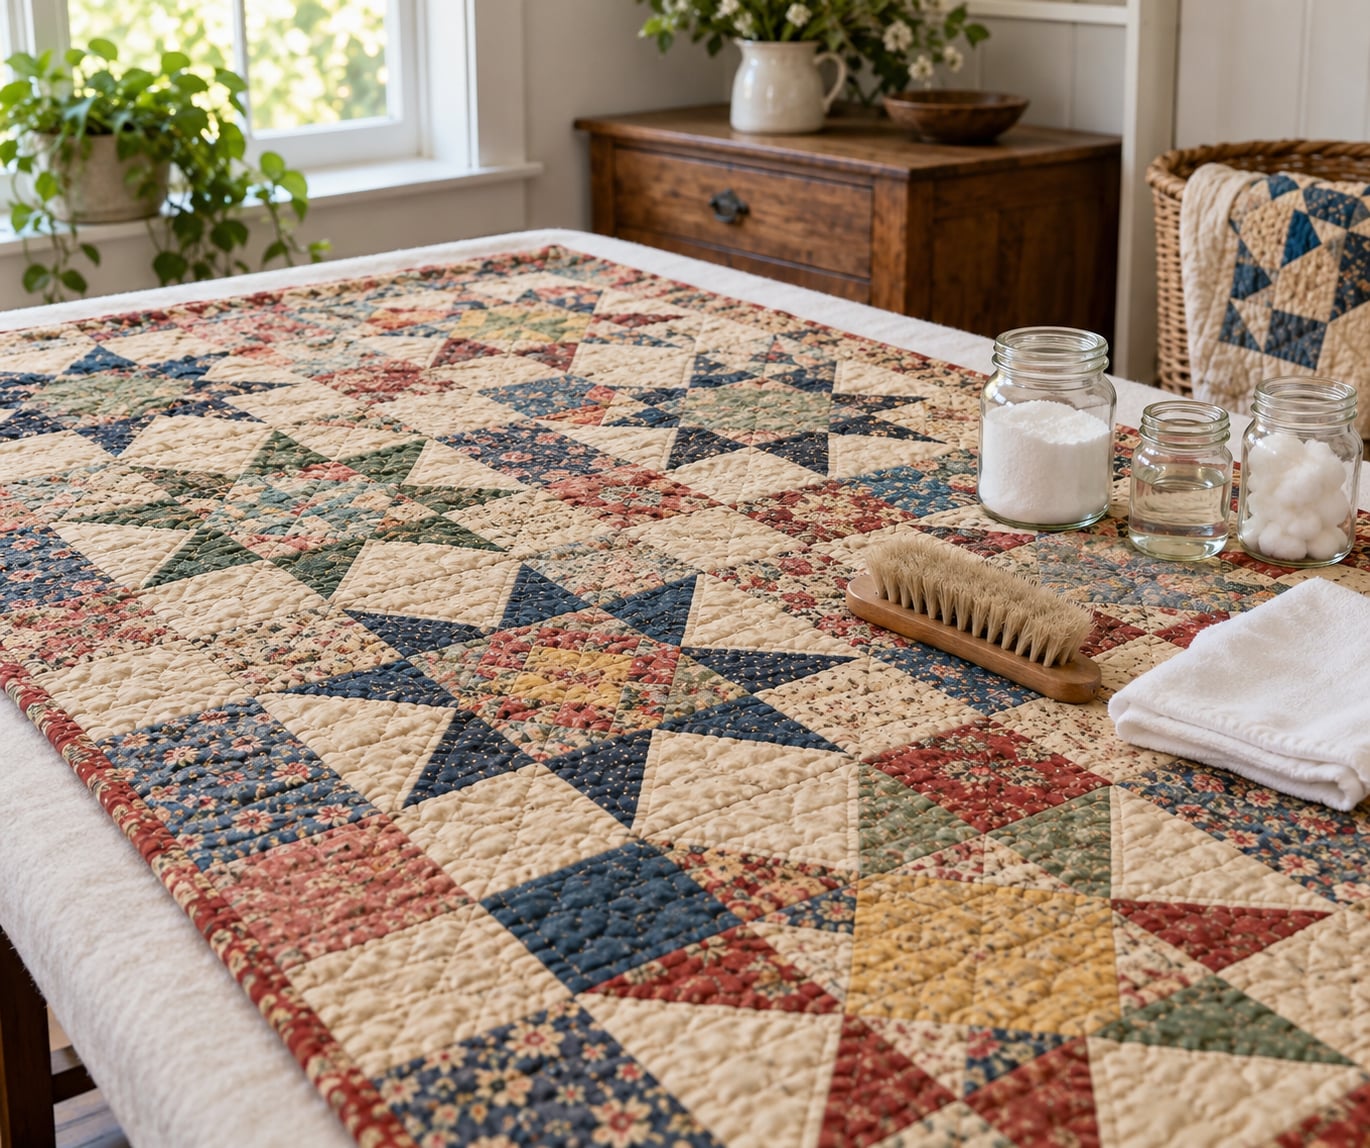
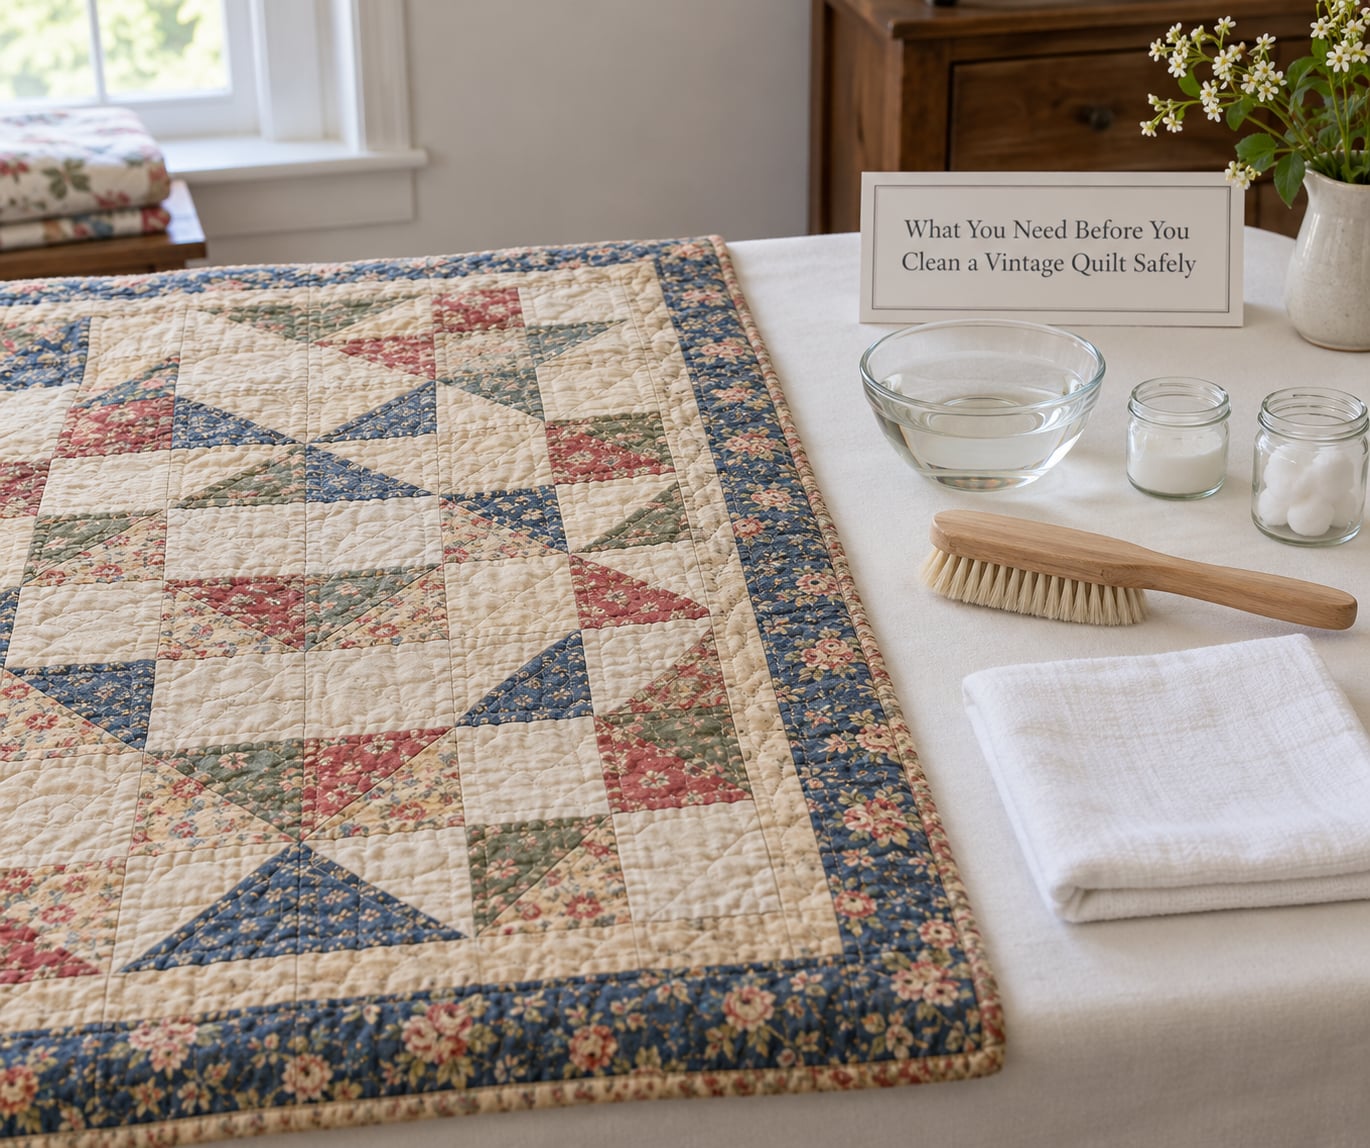
For everything else, gather: a soft-bristle brush, a vacuum with a hose attachment and the lowest suction setting, plain white cotton cloths, cotton balls, a spray bottle, white table salt, baking soda, distilled white vinegar, Ivory soap flakes or Orvus, and clean white towels you do not mind staining. Skip bleach, bleach alternatives, enzyme cleaners with oxygen bleach, and anything scented. Optical brighteners make yellowed cotton look briefly white and permanently duller.
One warning before the steps: never take a quilt to a neighborhood dry cleaner. Solvents that lift grease from a suit will strip color from a hand-pieced top, and the damage will not show up until the quilt comes back.
Step-by-Step
How to Clean a Vintage Quilt Safely: Inspect and Document First
Photograph the quilt before you touch it, front and back, plus close-ups of every stain, tear, and faded patch. That record matters if something goes wrong, and it settles family arguments later.
Then measure it. Write down the finished dimensions, the width of the borders, the color of the backing if it differs from the top, and every fabric you can identify. Note the condition problems you found with the colorfastness test below.
Run the test now. Lay the quilt flat and, in an inconspicuous spot, dampen a white cotton ball with cool water and dab each fabric in turn. Red, blue, yellow, and green go first, since those bleed most. Let each dab sit a minute, then look at the ball.
Any color on that ball means the dye is mobile. Multiple colors on one ball means the quilt is not a wet-cleaning candidate in your kitchen sink, and you should read the conservator section below before going further.
Budget the time honestly while you are at it. Surface cleaning takes an hour or two. A bathtub wash is an afternoon, plus an overnight dry, and you need a second person for the lift.
Remove Loose Dirt Without Soaking
Most of what makes an old quilt look awful is loose dust sitting on top of it, and dry methods remove that without any risk at all.
Lay the quilt flat on a clean table outdoors or in a well-lit room, and brush it gently with the soft-bristle brush, working in the direction of the weave. Small circular motions pick up more than long sweeping strokes.
For the vacuum, drape a plain mesh screen, a nylon stocking, or even a clean white sheet over the nozzle, and hold it a few inches above the surface so the fabric is not pulled into the hose. Use the lowest suction your machine has, and keep the nozzle moving. Vacuuming a quilt bare will pull basting stitches and loose threads straight out.
Never shake it, snap it out, or hang it over a railing to air. The weight of a damp quilt pulls stitches, and the drop snaps the binding. Air it flat or on a line with the whole quilt supported.
Treat Only Small, Well-Defined Stains
Spot treatment handles grease, food, and a single pet accident. It does not handle a quilt that smells, feels, or looks dirty across its whole surface, and pretending otherwise just spreads the stain around.
Work from the least aggressive method upward. Start with plain cool water and a white cloth. Blot, never rub, moving toward the outside of the fabric so you are not pushing the mark into clean ground.
For water-soluble marks like juice or tea, add a drop of Ivory soap flakes dissolved in cool water. For absorbent materials like oil, grease, and body oil, dry cleaner solvent is genuinely the right tool here, applied sparingly to a white cloth with a cotton swab.
Whatever you use, dab, wait a few minutes, and reassess. Three gentle passes beat thirty scrubbing strokes, and scrubbing pushes the mark into the fibers where it sets.
Wet-Clean Only When Testing Shows It Is Safe
Wet cleaning is the last resort, not the first move. If the quilt has stable cotton fabrics, cotton batting, no exposed filling, and passed the cotton ball test, a shallow bathtub soak is the most conservative full clean available at home.
- Fill a clean bathtub with cool water first, then add a small amount of Ivory soap flakes or Orvus dissolved in a separate container. Never add detergent to water that already has the quilt near it.
- Add the quilt in loose folds, press it down with a clean plate, and let it soak 15 to 20 minutes. Long soaking is how fiber gets damaged.
- Swish gently with your hands for a minute or two, lifting nothing yet. No scrubbing, no twisting, no wringing.
- Drain, refill with clear cool water, and swish again. Repeat until the water runs clear, usually four or five cycles. Residue soap keeps attracting dirt and is what causes the quilt to feel stiff later.
- A final rinse with a cup of distilled white vinegar in the final water restores the pH, and many old quilters treat it as optional but harmless.
Hard tap water matters more than people expect. Minerals interfere with some historic dyes and leave a dull film on the fabric, so use distilled or bottled water for the rinses if your water is hard.
To lift the quilt, spread a clean cotton sheet on the floor, roll the quilt into it loosely, and have one person take each end. Support the weight. A soaked quilt is far heavier than it looks, and a single person carrying it will drop it and tear the batting.
Quilts too large for a home washer need no compromise. A commercial front-loader at a laundromat gives the quilt room to move. Skip a home machine entirely for anything fragile; the drum is too small and the agitation is the problem, not the water.
If color starts to cloud the water, stop. Lift the quilt out with the sheet immediately, rinse the soapy water away in clear water without wringing, lay it flat, and let it dry. Then assume the bleed has permanently tinted the adjacent fabric and evaluate the piece before doing anything else to it.
Dry Flat and Protect the Quilt’s Shape
Shape is the whole job here. A quilt dried on a rack or a line will take the shape of the hanger, and the weight of the wet fabric will stretch the binding and strain the stitches.
Lay it flat on clean white towels, on a bed, on a padded table, or on the floor with towels under every damp section. Turn the dampest parts to new towels as they dry, and run a fan on low or medium across the surface. Speed matters: quilts left damp in a fold will mildew within a day.
Do not wring, do not hang it wet, and do not put it in a dryer. The dryer heat is what permanently shrinks batting, and a damp quilt in a dryer can end up felted beyond repair.
While it is still slightly damp, you can block it. Gently ease the quilt back toward square with your hands, tug the edges lightly, and let it dry in that shape. That one habit recovers most of the quilt’s original geometry after a wash.
Sunlight freshens a musty quilt, but keep it out of direct sun. Direct sun on historic dyes fades them, and you just spent the afternoon protecting those colors.
Common Mistakes
Machine washing on a gentle cycle. The gentle cycle still tumbles, and the tumble stretches and tangles a large quilt. Use a bathtub for fragile pieces, or a laundromat commercial front-loader for sturdy cotton quilts that have passed the bleed test. Never use a washer with a center agitator, which wraps the quilt around the pole.
Bleach and bleach alternatives. Chlorine bleach destroys historic dyes outright. Oxygen bleach, and the brightening additives in many modern laundry products, dull hand-dyed fabric. The instructions say to substitute an enzyme cleaner, and the instructions are wrong here. Use soap and water only.
Scrubbing a stain. Scrubbing frays the fiber and drives the mark deeper. Blot outward from the stain with a white cloth and be willing to stop after three passes.
High heat. No dryer, no radiator, no hair dryer on high. Heat shrinks batting faster than anything else you might do.
Hanging a wet quilt. The weight stretches the binding, breaks stitches at the hanging points, and can drop the whole thing. Support it in a sheet and lay it flat.
Dry cleaning. Mentioned above, and worth repeating. Nothing good comes of it.
Skipping the drying step. A quilt stored or folded before it is fully dry will smell worse the following month than when you started.
When to Ask a Textile Conservator
Some quilts should never meet water, and a conservator is the person who tells you which. Start the conversation when you see active mold with a musty smell in a heavy quilt, since handling moldy textiles can also affect your health. Silk, velvet, rayon, wool batting, and paper yarn are other stop signs, as are crazy quilts with beads, feathers, and cording that a soaking bath could destroy or tangle.
Also seek advice for hand quilting worth money, any quilt with provenance, dye rot, or fabric that feels powdery, stiff, or weak. Dye rot is a specific failure where a mordant or badly fixed dye has already eaten the fiber, and the fabric may simply fall apart in your hands, but the pieces fall off during handling.
Collectors will ask whether washing reduces value. The honest answer is that condition, rarity, size, and workmanship drive antique quilt value far more than cleanliness, and a well-kept quilt in good shape is worth more than a rotted one. But a well-documented cleaning done conservatively does not meaningfully hurt value. A bleach-bleached one does.
Expect a professional assessment to be a consultation, not a full treatment, and get the time and scope in writing before agreeing to anything.
Frequently Asked Questions
Can I wash a vintage quilt in the washing machine?
Usually no. Machine agitation, even on a gentle cycle, stretches batting and snaps stitches in a hand-pieced quilt, and a home drum is rarely large enough. Use a bathtub soak instead for fragile pieces, or a laundromat commercial front-loader for sturdy cotton quilts that passed a cotton ball dye test. Never use a machine with a center agitator, and never put a wet quilt in a dryer.
How should I remove dust from an old quilt?
Brush it dry first, using a soft-bristle brush in small circular motions with the quilt lying flat. Then vacuum it with the lowest suction setting and a mesh screen, nylon stocking, or clean white sheet held between the nozzle and the fabric. Never shake it, snap it, or vacuum it bare, since suction pulls loose basting stitches out of old fabric.
What is the safest way to get musty smell out of a quilt?
Start without water. Air the quilt flat outdoors for several hours on a clean sheet, out of direct sunlight. Then seal it in a container or large bag with baking soda for two or three days and shake the baking soda out. Repeat if the smell persists. Airing usually handles decades of closet odor. A wash only comes after a cotton ball dye test, and mold with a strong smell means conservator, not bathtub.
Can I use baking soda or vinegar to clean a vintage quilt?
Baking soda is safe for deodorizing. Sprinkle or sift it on the dry quilt, leave it for a few days, then shake or vacuum it off. A small amount of distilled white vinegar in the final rinse is also considered safe and helps neutralize residual soap. Never use vinegar as a soak on an unbleached quilt, and never mix it with bleach or ammonia, since the combination gives off toxic gas.
Should I take a valuable or fragile quilt to a professional?
Yes, before you clean it, not after. Silk, velvet, wool batting, exposed filling, embellished crazy quilts, mold, powdery fabric, and hand quilting with real value all warrant a textile conservator assessment. The American Institute for Conservation maintains a find-a-conservator referral list. A consultation sets expectations and protects the piece, and a conservator can often tell you that airing and vacuuming is all the quilt needs.
The safest first action costs nothing and cannot be reversed: lay the quilt flat, photograph it, brush and vacuum it, air it out, and dab a damp cotton ball on every color. Most quilts stop there and come out looking like themselves again. Only the ones that pass that test, and whose batting and stitching can take water, have any business in the tub.