Wrinkles in a wall hanging come out with three methods, chosen by what the piece is made of: light steam to relax the fibers, low heat pressed through a barrier cloth, or nothing but weight and time. How to remove wrinkles from a wall hanging safely comes down to one question before you touch it: what is it made of, and what is glued or painted onto it? Most jobs take 15 minutes plus drying time.
Table of Contents
- What You Need
- Step-by-Step: How to Remove Wrinkles From a Wall Hanging
- Step 1: Check the Materials and Test a Hidden Area
- Step 2: Flatten the Hanging Gently
- Step 3: Apply Light Steam or Moisture
- Step 4: Reshape and Let It Dry Flat
- Step 5: Finish and Rehang the Wall Hanging
- Common Mistakes
- Frequently Asked Questions
- Can you steam wrinkles out of a poster?
- Can you iron a canvas print?
- How do you flatten a canvas picture?
- How do I remove wrinkles from a quilt without ironing it?
- What do I do with a hanging that is too fragile to reshape?
- Conclusion
What You Need

Gather your tools before the piece comes off the wall, because you want everything within reach while it lies flat. The safe method depends on the material and construction more than on the wrinkle.
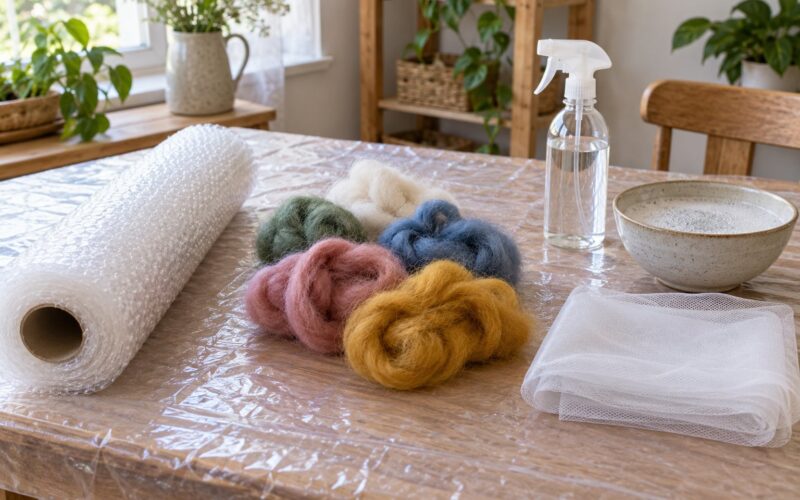
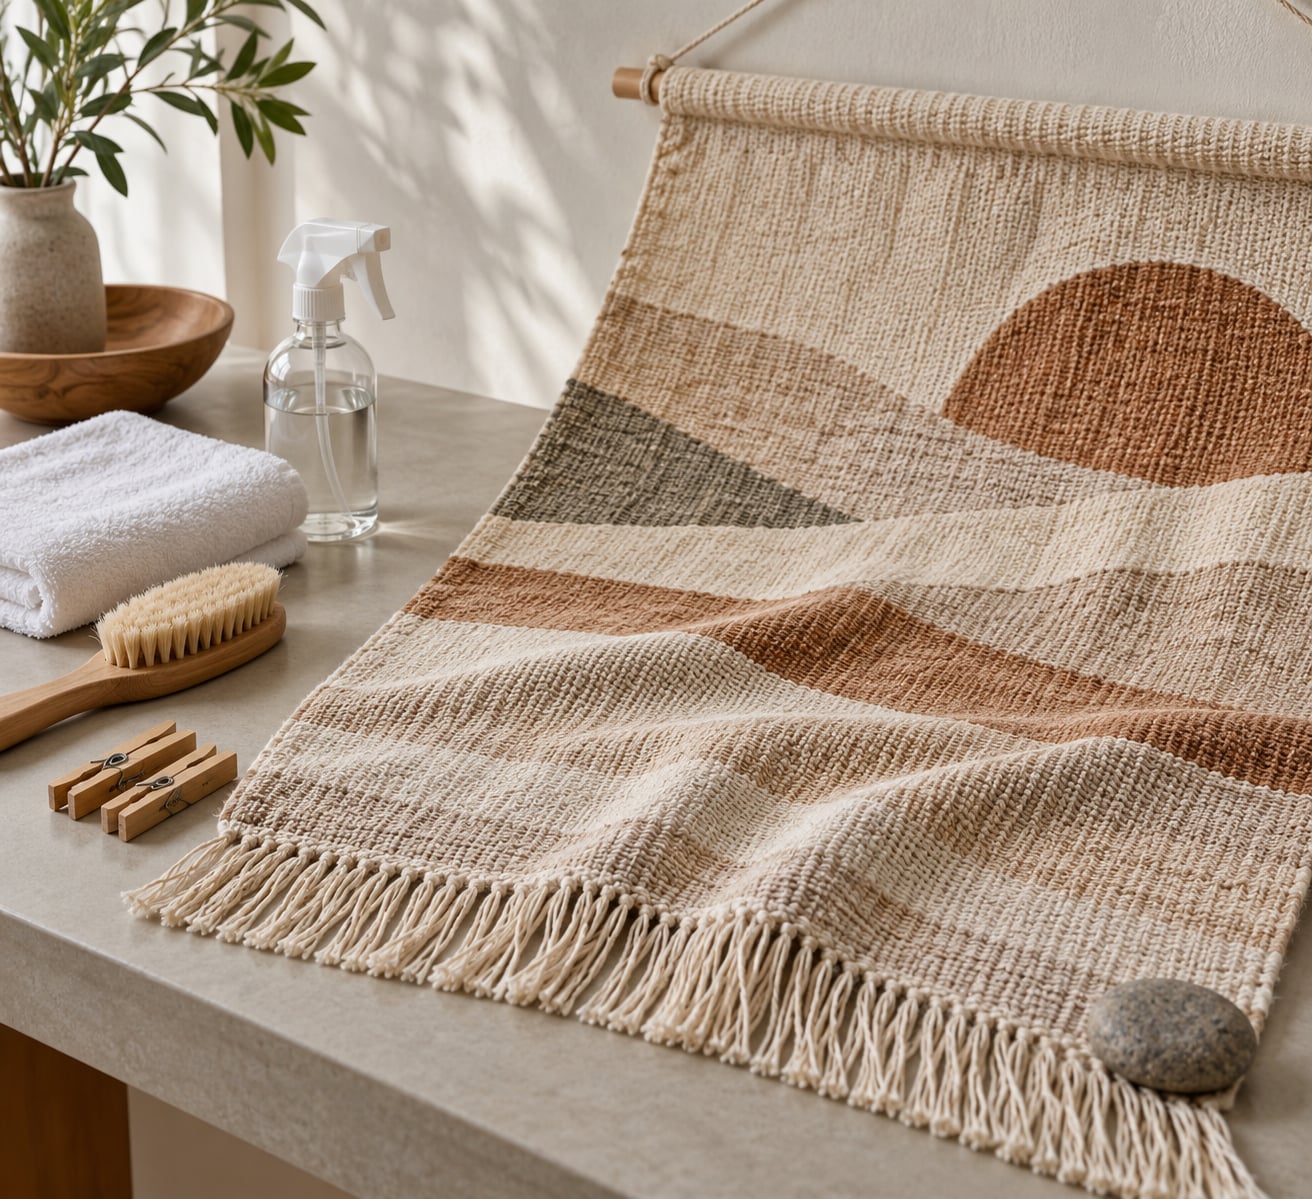
- A clean spray bottle or a handheld garment steamer
- A soft-bristled brush, the kind used for pastry or painting
- A clean white towel or cotton pressing cloth
- A flat, padded work surface larger than the hanging
- Wooden clips or a drying rack for reshaping
- A drying area with no direct sun or heat
For paper pieces, add acid-free blotters and two flat boards. For anything painted, beaded, or glued, keep a hair dryer on the cold setting nearby, though you will rarely need it.
Step-by-Step: How to Remove Wrinkles From a Wall Hanging
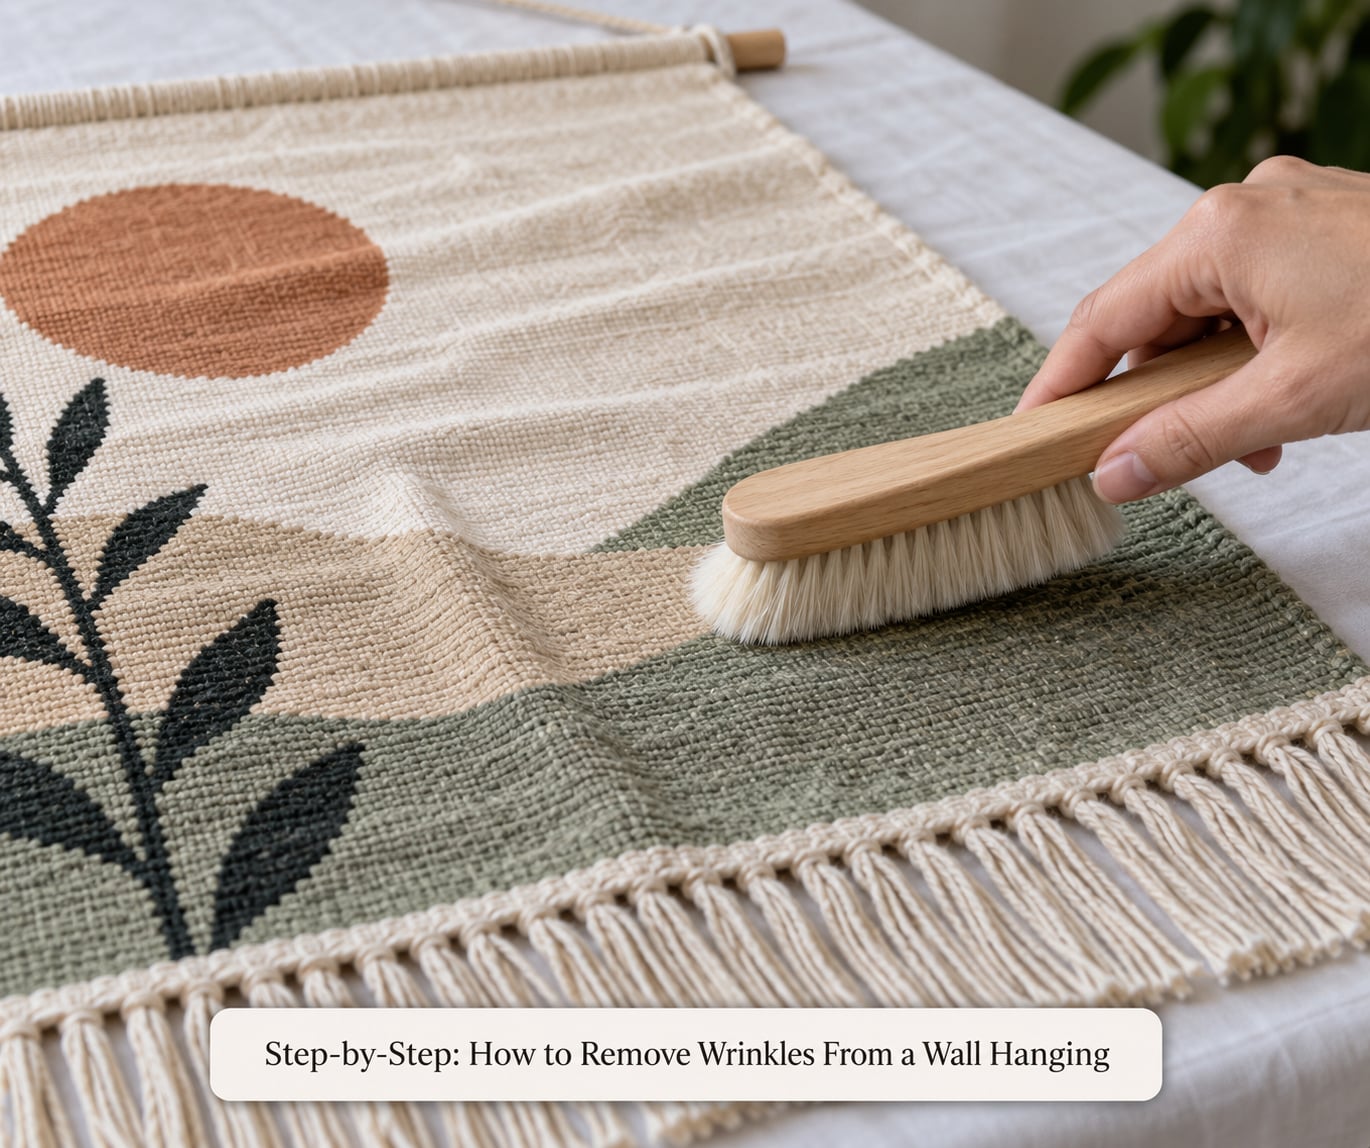
Step 1: Check the Materials and Test a Hidden Area
Look at the back first. A quilt has batting and a backing, a woven hanging has a stiff selvedge or a glued hanging rod, and a mixed-media piece may carry paint, beads, sequins, metallic thread, or raw wood elements. Those glued and painted areas are what decide whether moisture is safe at all.
Test colorfastness where the piece is already hidden: the lower back edge, or a corner tucked under the frame. Dab with a barely damp cloth and wait a few minutes. If the color lifts, transfers to your finger, or the surface cockles into ripples, stop there. Water has no place in that piece.
Step 2: Flatten the Hanging Gently
Lay the work face down on the padded surface, with the towel over it. Do not pull the corners to make it square; that is how a mild wrinkle turns into a permanent distortion, and it is the single most common way people ruin these pieces.
Smooth from the center outward with the palm of your hand and the soft brush, working broad areas first. You are aiming to remove tenting and lift the crease memory, not to stretch anything.
Step 3: Apply Light Steam or Moisture
This is the step where how to remove wrinkles from a wall hanging splits by material, and the two paths do not mix.
For washable textile and fiber hangings, hold a garment steamer six to eight inches away and move it steadily. For paper prints, mist the back very lightly with distilled water from a spray bottle, or use a steam iron held a foot above the surface so no droplets land. Ink and emulsion bleed, cockle, and bubble when soaked, so paper gets less water and more patience.
Keep moisture away from paint, glue, sequins, beads, metallic threads, and any untreated wood. If you see water beading on the front, blot it from the back immediately with a dry towel.
Step 4: Reshape and Let It Dry Flat
Lift the piece gently rather than dragging it, reshape it to its intended dimensions, and secure it with clips at the top edge only. Clip the sides loosely; tension is what creates the droop and the new wrinkles you are trying to remove.
Let it dry completely on a flat surface, or over a drying rack for a heavy woven piece. A few hours for textile, overnight for paper that has been misted. Then place flat boards and clean weights on top and leave it for 24 to 48 hours if the wrinkle was deep.
Step 5: Finish and Rehang the Wall Hanging
Check for damp spots first, then for stiffness. Stiffness that fades after a day is normal; stiffness that stays means the fibers still hold tension, so give it another 24 hours under weight rather than fighting it with heat.
Hang with hardware that carries the weight along the top edge and nothing at the sides. Leave a little slack so the piece can move with the room’s humidity, and resist the urge to pull the lower corners straight.
Common Mistakes
Most damage comes from a handful of repeated errors, and each has a simple correction.
- Pressing a steam iron straight onto the artwork. The face can glaze, scorch, or pick up ink from the contact. Correction: face down on a towel, low temperature, steam off, then check every thirty seconds.
- Soaking an unknown fiber. Oversaturation swells the fibers unevenly and leaves cockling that is harder to fix than the original wrinkle. Correction: mist, or steam from a distance.
- Pulling wrinkles out by force. Tension while the piece is damp distorts the whole shape. Correction: relax first, reshape second.
- Ignoring painted or glued areas. Water lifts acrylic and softens glue. Correction: treat from the back, keep the decorated face away from all moisture.
- Rehanging while damp. A wet piece re-creases the moment it hangs. Correction: full dryness first, which on a shaded towel is often overnight.
- Using a tumble dryer on anything that is not a plain cotton quilt. Heat and tumbling destroy fringes, beads, and glued rods. Correction: flat drying under weight.
One final care habit: roll textile hangings instead of folding them, and store prints flat between acid-free blotters in a sleeve. Most wrinkles come from storage and shipping, and storage habits remove more of them than any treatment.
Frequently Asked Questions
Can you steam wrinkles out of a poster?
Yes, with care. Hold a garment steamer or steam iron six to eight inches from the back of the poster and keep it moving. Never let droplets touch the print, because ink and emulsion layers can bleed or bubble. Mist the back with distilled water instead when you want more control, and have a dry towel ready to blot the front.
Can you iron a canvas print?
You can, but almost never face up. Turn the canvas face down on a towel, empty the iron’s water, switch the steam off, and use a low setting. That combination is the single most useful trick for a stubborn wrinkle. Press from the back through the cloth and check every thirty seconds for a sheen or stickiness.
How do you flatten a canvas picture?
Work from the center outward with a soft brush while the back rests on a flat padded surface. For a stuffed or gallery-wrapped canvas, lay it face down on a towel, mist the back very lightly, then lay flat boards and clean weights on top for 24 to 48 hours. Never pull the corners to square it up.
How do I remove wrinkles from a quilt without ironing it?
Handwashing works for a plain cotton quilt with no batting damage. Fill a basin with cool water and a small amount of mild detergent, submerge the quilt, and move it gently. Do not wring it. Press the water out by laying it flat on towels and rolling them to wick moisture, then reshape and dry flat under weight for a day or two.
What do I do with a hanging that is too fragile to reshape?
Stop adding moisture and heat. Spraying more water on a fragile or painted piece raises the risk of bleeding and softens glue. Instead, support it exactly as it is, brush the surface gently from the back, and let it rest flat and undisturbed for 24 to 48 hours under light weight. For signed, valuable, or irreplaceable work, take it to a paper conservator rather than experimenting.
Conclusion
Start by identifying the materials, testing an unseen corner, and reaching for the gentlest method that works. Steam for fiber, low heat through a barrier cloth for canvas and paper, weight and time for anything fragile. Work slowly, keep water away from paint and glue, and let the piece dry fully before it goes back on the wall.