To repair a hole in a finished art quilt, match the method to the size of the damage: holes under a quarter inch take a fusible-backed patch worked from the back, medium holes take a needle-turned appliqué patch on the face, and anything wider needs a support layer quilted through the existing lines. Before you cut anything, photograph the quilt and confirm whether the repair should be invisible or deliberately visible. That conversation takes two minutes and saves an argument later.
Most people carrying a hole to the worktable are not worried about sewing. They are worried about making it worse. That fear is reasonable, because the instinct to cut the damage out clean is exactly what turns a repairable hole into a redesign.
There is one more thing art quilts change about the usual advice. A pieced cotton quilt can be patched with fabric from a scrap bin. A painted, dyed, layered, or heavily textured art quilt often cannot, and heat from an iron can do permanent damage to acrylic paint and dye that no amount of careful stitching will undo.
Table of Contents
- What You Need
- For assessing and documenting
- For the support layer
- For stitching and finishing
- Step-by-Step: How to Repair a Hole in a Finished Art Quilt
- 1. Assess the Hole and Quilt Construction
- 2. Prepare the Damaged Area
- 3. Choose a Support or Patch
- 4. Position and Secure the Repair
- 5. Stitch the Repair
- 6. Blend and Finish the Repair
- When the damage is larger than a patch
- Common Mistakes
- Frequently Asked Questions
- How do I fix a hole in a quilt?
- What type of stitch is best for repairing a hole in fabric?
- Can I use fusible web to repair a hole in a quilt?
- How do I match the fabric when repairing a painted art quilt?
- Should I repair or replace a damaged quilt?
- When should I hand an art quilt to a professional conservator?
What You Need
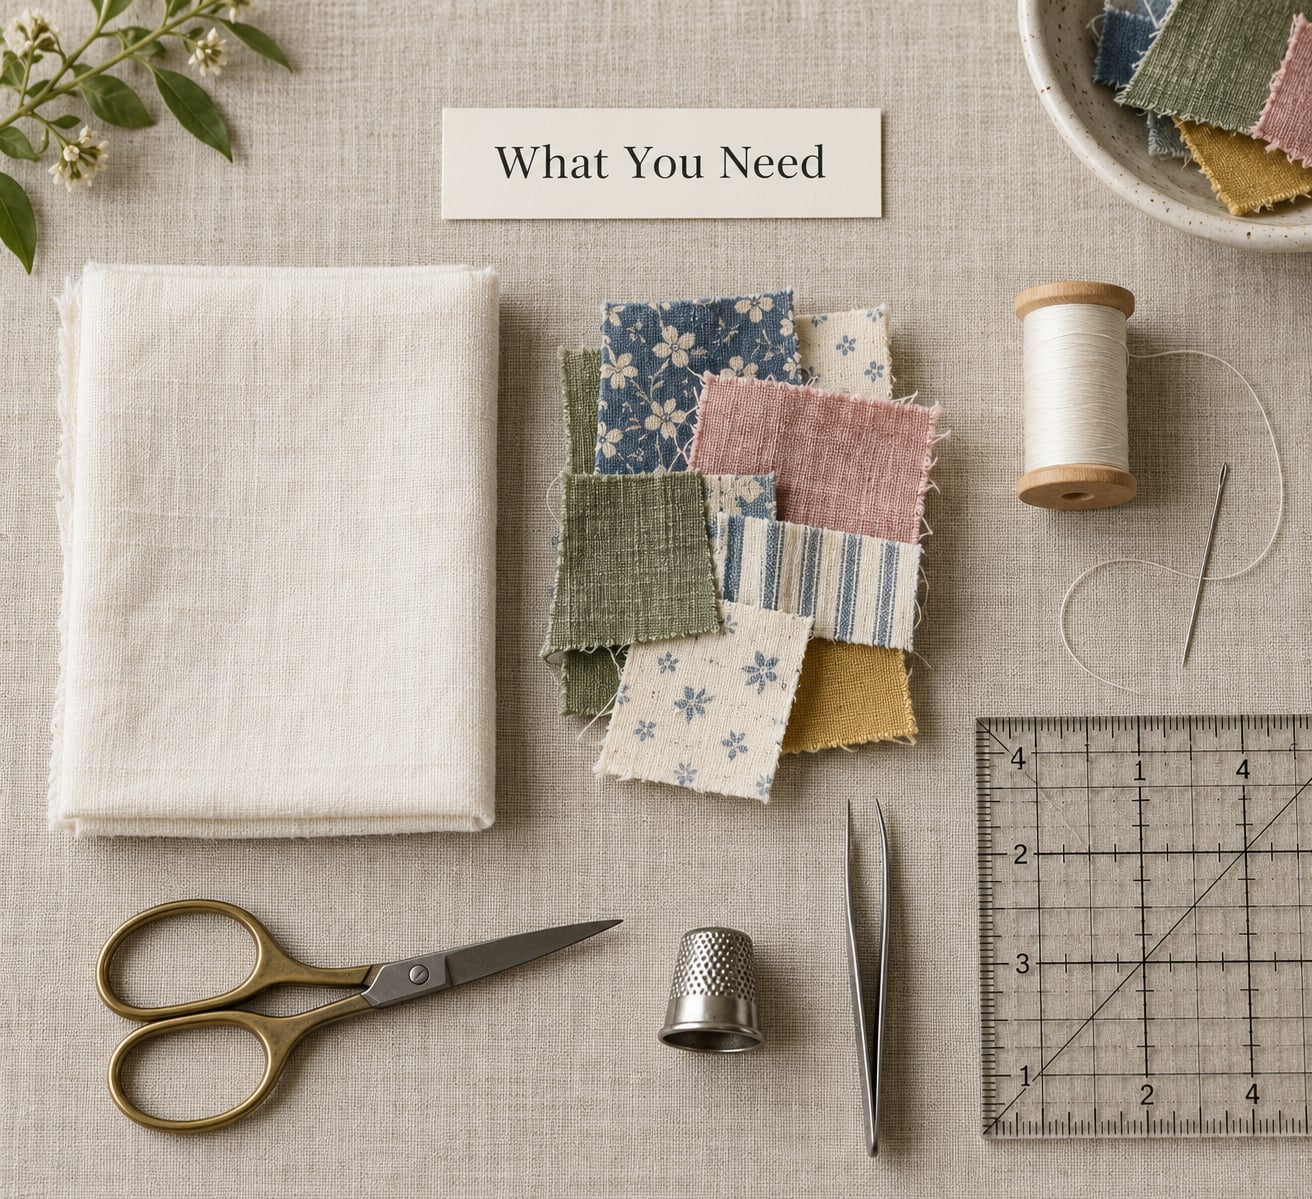
Everything below is grouped by the job it does. You will use roughly half of it for a small hole and all of it for a large one.
For assessing and documenting
- A bright lamp or light stand angled across the surface
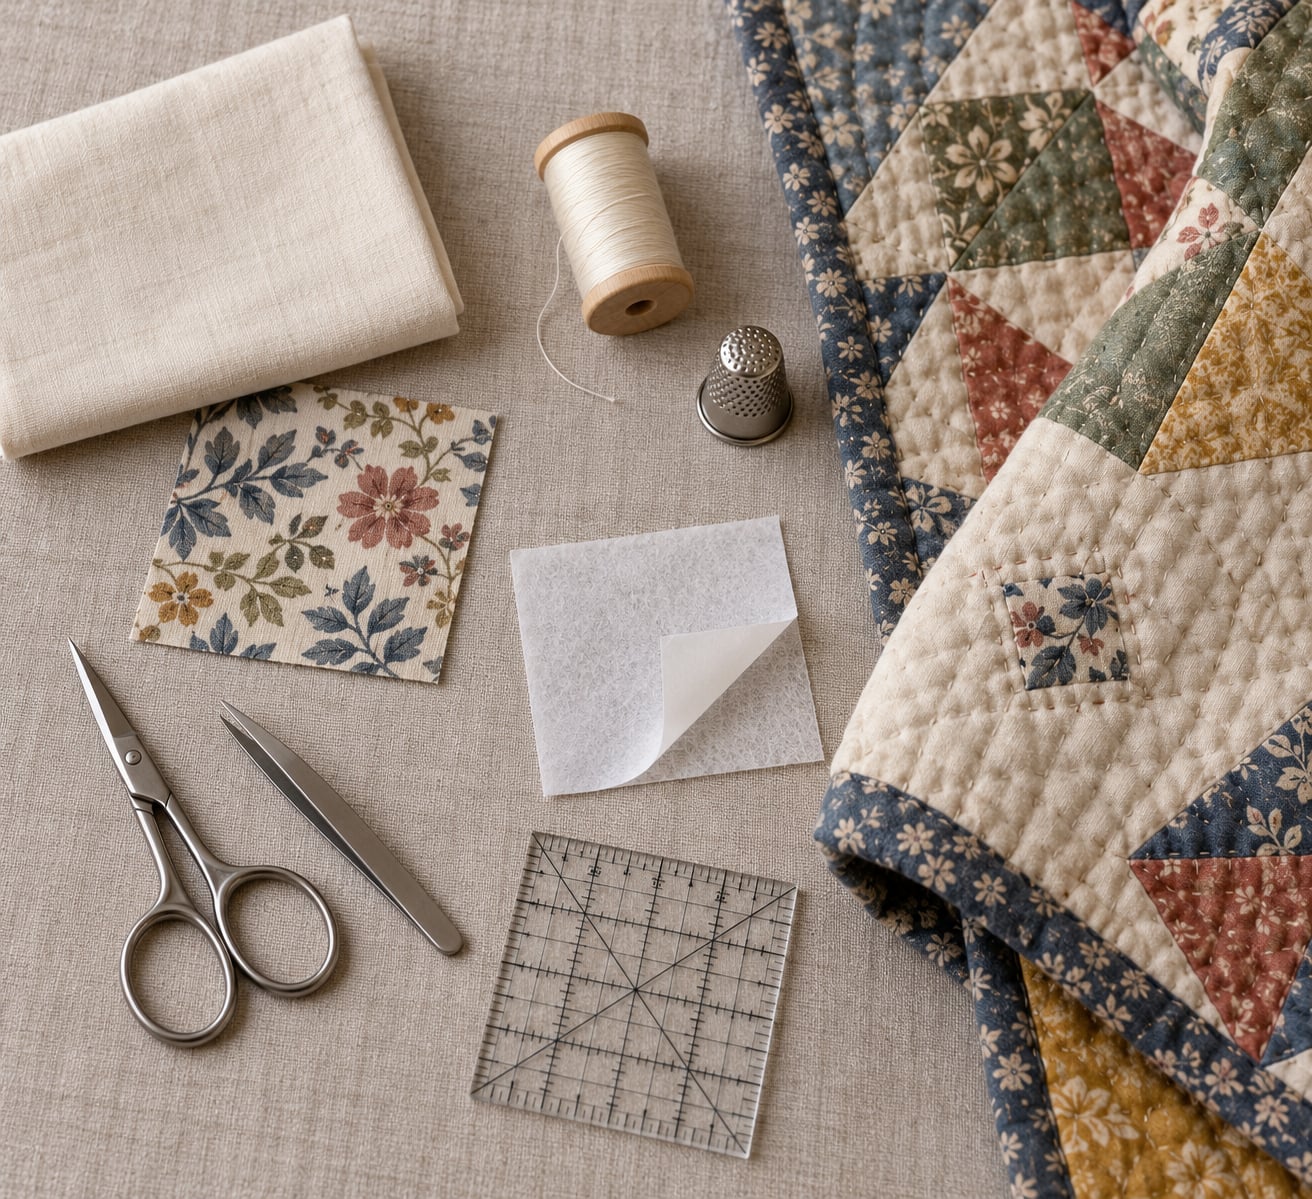
- A small ruler or quilting ruler, plus a magnifier for checking thread and fibre condition
- Tweezers, small sharp scissors, and a seam ripper
- A camera or phone, and a pencil and index card for the notes you take
For the support layer
- Paper-backed fusible web or lightweight fusible interfacing, cut 1 to 2 inches larger all round than the hole
- Matching backing fabric or a closely similar cotton print, enough to cover the hole with a full inch of margin
- Plain-woven cotton muslin or scrim if the surrounding fabric is weak or shiny
- Thin cotton batting for large holes where the original loft has been crushed or lost
For stitching and finishing
- A size 10 or 12 sharp needle for hand work; a size 14 if you are going through heavy quilting
- 50-weight cotton thread, which sits down into hand-quilted cotton without adding bulk
- 40-weight cotton thread for machine stitching on the face of the quilt
- Matching thread in two shades if you can find them, one just lighter and one just darker than the surface
- Matching or contrasting binding fabric if the damage sits near the edge
Keep a labelled scrap of every quilt you make. A quarter yard of the original top fabric, the backing print and the binding, written on a strip of masking tape and folded into a shoebox, is the difference between an invisible repair and a hopeful one five years from now.
Step-by-Step: How to Repair a Hole in a Finished Art Quilt
1. Assess the Hole and Quilt Construction
Five things decide your method, and all five take under five minutes to check.
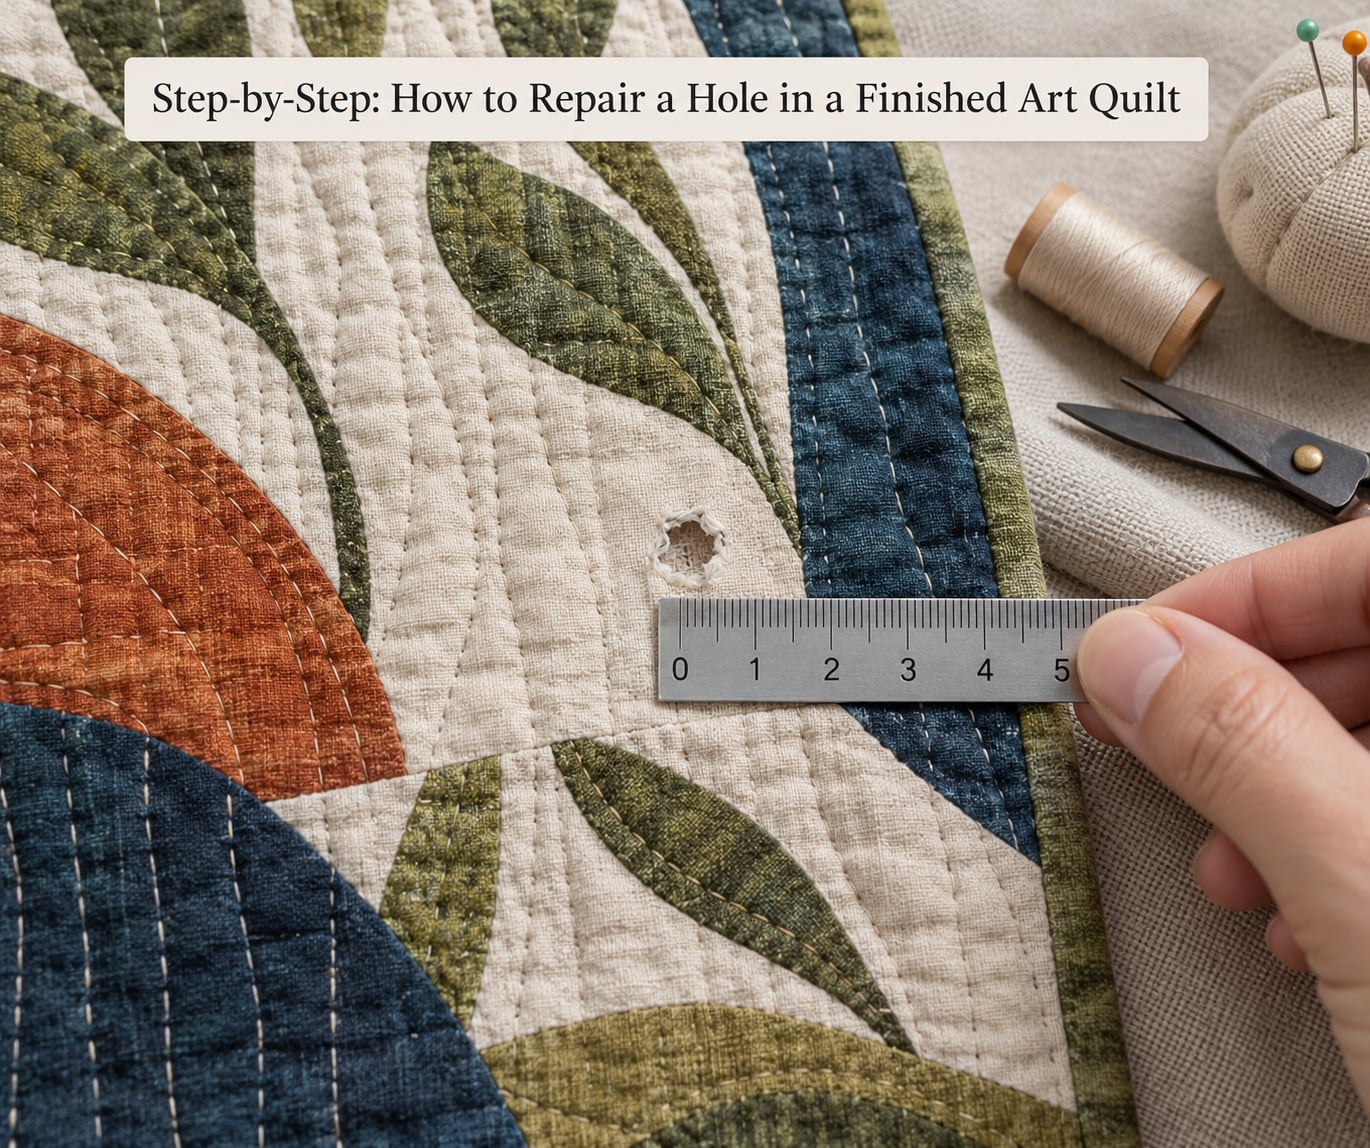
Size: measure across the widest point. Under a quarter inch is a pinhole repair. Quarter inch to two inches is a patch. Wider than two inches, or a hole with ragged edges spreading outward, is structural.
Location: an isolated hole in the field of the quilt is straightforward. A hole in a sashing strip or border is harder to match, because the strip has to keep running straight through the repair. A hole under the binding means unpicking binding first.
Layers: how many layers does the tear go through? A clean hole through to the backing is the easiest case. A tear that has pulled the batting up into a lump around the hole is a different job entirely.
Middle layer: old quilts are often not filled with cotton batting at all. Woven blanket, woven wool, feed sack and flax batting all behave differently under a patch. Lift a corner and look. Cotton batting compresses and takes a stitch cleanly. A woven middle layer does not compress, so a patch has to be stitched rather than fused, and a thick one will change the drape of the whole quilt if you replace only a corner.
Surface stability: push gently on the fabric an inch out from the hole with a fingertip. If it dents, flutters or has no body left, it needs stabilizing before it gets stitched, not after. Run the same test on the backing. If it dents there too, the hole has gone all the way through and needs a patch. If the backing is still solid, you may only need to restitch the surface.
Photograph the whole quilt flat, then the damage close up with something for scale in the frame. Those two pictures are how you judge your own work later.
2. Prepare the Damaged Area
Work on a clean flat surface with the quilt face up. If the quilt has been handled or stored, vacuum it with a screen over the hose or use a fabric screen on the nozzle, so fibre and dust do not get pressed further into the surface.
Trim nothing that is still attached. Cut away only threads that are already broken and hanging, and only with sharp scissors rather than a seam ripper, which tends to chew into good fabric. A loose thread you leave in place can be tacked down later. A loose thread you cut becomes a second hole.
Do not enlarge the hole to make a clean edge. If the edges will not sit flat, work with them as they are and cover them with the patch instead.
If the batting is exposed, press it flat and trim only what is torn loose. Pulling batting out of a hole to get a tidy square just creates a hollow, and hollows read as bulges once the quilt is hung on a wall.
Where the surrounding fabric is weak, support it before you go further. A square of plain-weave cotton or muslin laid under the damaged area and secured with a few large basting stitches buys you an hour of working time without the fabric tearing under the pressure of your fingers.
3. Choose a Support or Patch
There are four workable approaches. Which one you pick depends on how big the hole is and how much of the surface you can afford to cover.
| Method | Hole size | Where the fabric goes | Visible from the front |
|---|---|---|---|
| Pin-hole darning | Under 1/4 inch | Woven through the hole itself | Almost invisible |
| Fusible back patch | 1/4 inch to 2 inches | Behind the top layer | Invisible |
| Needle-turned appliqué | Under 3 inches | On the face | Deliberately visible |
| Full support layer | Anything wider | Across the whole quilt | Visible texture only |
For the pin-hole tier, darning is the right move. Cut a square of matching fabric a few times larger than the hole, pin it behind the top layer, and work darned stitches in a grid across the damage using a fine thread. The bar of the darning stitch runs across the hole and catches the sound fabric on each side, so the repair ends up carrying weight rather than bridging air.
For the fusible back patch, cut paper-backed fusible web about half an inch bigger than the hole and a matching fabric piece an inch bigger than the web. Sandwich them, press, cut the patch to shape leaving a quarter-inch seam allowance, then clip the corners and clip the seam allowance short of the hole so the patch does not sit proud.
For the appliqué patch, needle-turning gives you the crispest edge and no stitching line to hide. Cut the patch slightly larger than the hole, press the seam allowance, clip the corners, then turn the allowance with a needle and sew it down with a tiny running stitch in matching thread.
For the full support layer, when the damage is wide, scattered, or sits in a quilt too fragile to handle across the whole surface, you are no longer patching. You are stabilizing, and the method is different enough to have its own section below.
One more option sits between patching and full stabilization, and it suits art quilts particularly well. Cut away the damaged section and replace it with a deliberately contrasting motif, a new shape drawn from the quilt’s own vocabulary of forms. Done well, the new element reads as part of the composition rather than a patch. Done badly it reads as a patch with confidence. The deciding factor is whether the motif’s scale and colour weight sit comfortably inside the surrounding design, which you can only judge by pinning it in place and stepping back from the wall.
4. Position and Secure the Repair
Turn the quilt to the back and lay the patch over the damage from behind, so the raw edges of the patch land on the backing and the hole is covered from the underside.
That orientation is the whole trick to an invisible repair. Put the patch on the face and you have committed to a visible applique; put it on the back and the original artwork stays the only thing anyone sees.
Align the patch before you fix it. Match the direction of the grain, match the print repeat where you can see one, and if the hole falls across existing quilting lines, position the patch so those lines will carry across the patch rather than dead-ending at its edge.
Follow the existing quilting lines. An art quilt quilted in long diagonal lines looks wrong with a small square of flat fabric sitting across them. Matching the stitch rhythm through the patch is what makes a mend read as part of the work instead of damage that has been covered up.
Secure the patch with a few long basting stitches through the backing and patch first, then add the permanent stitching. If you are using fusible web on a plain cotton surface, press first and stitch second. If the surface is painted or dyed, skip the iron entirely and rely on stitching alone.
5. Stitch the Repair
Four stitches cover almost every quilt repair, and the right one depends on how much load the repair has to hold and how invisible it needs to be.
| Stitch | Best for | Visibility | Strength |
|---|---|---|---|
| Satin stitch | Small holes, dense support over a weak spot | Low, if thread matches | Medium |
| Tight zigzag | Appliqué patch edges, raw edges | Low at close range | High |
| Whip stitch | Raw edges, temporary holding, binding | Medium | Medium |
| Running stitch | Burying thread, invisibility, following quilting lines | Lowest | Low alone, high in lines |
Hand stitching runs about three stitches to the inch on the quilt face, which is close enough to typical hand-quilting that the new work disappears into the rhythm of the old. Work a small even running stitch and do not pull hard; tension pulls the top layer and leaves a permanent puckered ring around the repair that no amount of pressing will fully remove.
If you sew from the back so the repair stays invisible from the front, keep the needle in the batting and never take it all the way through to the backing. Thread that shows on the reverse of a quilt is the deal-breaker for most people, and it is easy to avoid from the start and impossible to hide afterwards.
Start and finish inside the batting rather than at the edge. Run the tail a short distance into the batting, take a tiny securing stitch, and clip it close. Bury both tails the same way so nothing knots on the back.
Quilting the patch through at least once matters. A patch that is only tacked down will shift, ruffle and eventually work loose as the quilt is handled, and the answer to whether you need to quilt it is yes, you do, at least along the lines that already cross that part of the quilt.
Machine stitching, when you use it, runs a short stitch length and a slightly longer needle. Set the machine to a straight stitch or a narrow zigzag and sew off the edge of your fabric, never off the edge of the quilt itself. Short stitches perforate the surrounding cloth as the quilt flexes, and a long stitch across an art quilt’s textured surface will drag and distort it rather than settle into it.
6. Blend and Finish the Repair
Trim loose threads on both sides. Then take the whole quilt to the light and look at it at two metres, not at arm’s length. That is the distance at which anyone will actually see it.
Where colour matching is impossible, stop trying to match and start choosing. A patch in a quiet tone that sits inside the composition reads better than a patch that tries to be invisible and fails. On a painted surface, use fabric from the maker’s own stash if you can find it, and if you cannot, choose a tone that echoes the dominant colour rather than the exact hue.
Add short quilting lines across the patch, continuing the existing pattern. Where the original piece is heavily quilted and your patch is flat, add a few extra lines to bring the loft back toward the surrounding texture.
Trim the batting flush with the backing if it has crept forward, and check that the edges of the top layer are still caught by stitching nearby.
Write a dated label at the back of the quilt, near the existing one, describing what you repaired and when. It takes a minute, and it keeps the quilt’s history legible instead of leaving the next person to guess whether the mend is original. On a one-of-a-kind art quilt, that note is part of the object’s record rather than an admission of failure.
When the damage is larger than a patch
For holes wider than a hand, or for several holes across one quilt, the support layer goes across the whole piece. Quilt conservators reach for a fine cream or off-white tulle, sometimes called illusion net, laid over the entire top and quilted through like any other layer. The net distributes strain across the surface so weak fabric no longer carries load on its own.
The same logic applies to the back. A thin, pre-washed muslin lining gives the whole quilt a new backing to sit against, holds loose stitching, and stops the original backing from splitting further. Use a thin cotton batting between the layers if you want to keep the piece light rather than turning it into a heavy blanket.
None of this requires you to unpick the quilt. It does mean you are sewing over someone else’s finished artwork, so use a long-stitch machine setting and a needle you do not mind sacrificing, and stop if the needle starts catching instead of piercing cleanly. Catching means the fabric underneath has more layers than you thought.
If the middle layer turned out to be a woven blanket or feed sack rather than cotton batting, patch it as a flat woven fabric and do not assume it will quilt the same way. Quilt loosely and stitch through the patch in the existing line direction.
Common Mistakes
Cutting the hole open to get a clean edge. A clean edge is not worth what you lose. Every millimetre you trim is a millimetre of original artwork gone, and the clean square you gain is only clean if you have found fabric that matches.
Fusing a patch over a painted or dyed surface. Heat can set acrylic paint, glaze a dyed area, or shift a dye where it has not fully cured. This is the one rule that is absolute for art quilts: no iron, no fusible web, no self-adhesive interfacing directly on the painted face.
Using a heavy thread. 40 and 50 weight cotton matches hand-quilted work and sinks into it. Anything heavier sits on the surface and reads as a scratch.
Pulling the stitch tight. Tension is what creates the puckered ring around a repair. Even, gentle stitches, laid down flat, hold far better than tight ones.
Tacking the patch and calling it done. An unstitched-through patch moves. Quilt along the existing lines so the repair carries load the same way the surrounding quilt does.
Working the back only when the damage is on the face. Repairing the reverse is the right call for a hole in the quilt face, and the wrong call for a hole in the backing itself. Work the hole from whichever side is damaged, so the patch covers the failure rather than the artwork.
Cutting into the binding before checking what is underneath. If the damage sits under the binding, unpick that section of binding first with a seam ripper, work on the quilt flat, then re-sew or replace the binding last. Binding is the last job, never the first.
Two habits help more than any technique. Photograph before you touch, and test your fabric choice on a corner nobody sees. A 2 inch scrap test costs you four minutes and will tell you in thirty seconds whether the colour lives next to your quilt or fights with it.
Two more words of honesty. A repair takes roughly an hour per patch by hand, and doing it properly takes longer than doing it fast. If the quilt has been damaged badly enough that you are darning a dozen small holes, step back and ask whether the quilt needs a support layer instead, because that job is cheaper than the alternative of making the same repair again in two years.
Frequently Asked Questions
How do I fix a hole in a quilt?
Work from the back for a hole in the quilt face. Cut a fabric patch an inch larger than the damage, back it with paper-backed fusible web if the surface is plain cotton, and press it. Turn the quilt over, clip the corners and trim the seam allowance so nothing sits proud, then hand-stitch through the top layer into the patch without piercing the backing. Quilting along the existing lines locks the repair in. Skip the iron entirely on painted or dyed surfaces.
What type of stitch is best for repairing a hole in fabric?
A small running stitch is the most invisible option and the easiest to hide, especially along existing quilting lines. Satin stitch gives denser support over a weak spot. A tight zigzag secures appliqué patch edges and raw edges firmly. A whip stitch is for binding and for temporary holding rather than for a permanent repair. Match the stitch length to the surrounding quilting, around three stitches to the inch for hand work.
Can I use fusible web to repair a hole in a quilt?
Yes, on plain cotton surfaces. Paper-backed fusible web gives the patch a firm grip and keeps the repair invisible from the front when applied from the back. It fails on painted, dyed, or heavily textured art quilts because the heat can set acrylic paint, glaze a dye, or leave a shiny spot on the surface. On those surfaces, use a plain fabric patch with no fusible at all and rely on stitching.
How do I match the fabric when repairing a painted art quilt?
Exact matching is usually impossible once paint or dye is on cloth, so aim for tone rather than hue. Choose fabric that echoes the dominant colour in the area rather than trying to reproduce a specific mark. Look for the maker’s original fabric in their scrap stash first. If nothing matches, a quiet patch in a colour already present in the composition reads as deliberate, while a patch in an absent colour reads as damage covered up.
Should I repair or replace a damaged quilt?
Repair when the original top is sound, the quilt is still structurally whole, and the damage is local. Recreate when the top itself is shredding or the piecing has come apart. Resize when the damage sits in sashing or a border and the surrounding blocks are fine, since you can remove one row and reuse its pieces. Preserve and display as-is when the fabric is too fragile to handle safely, lining it with thin muslin and supporting it with a tulle overlay instead.
When should I hand an art quilt to a professional conservator?
Hand it over when the fabric is fragile enough that stitching would tear it, when the piece is a documented artwork with a maker’s intent you are unsure how to respect, or when the repair is visible in a place that matters commercially. A conservator also handles the cases a repairer cannot: piecing that has pulled apart from loose bobbin thread, rayon and other non-cotton fabrics that shred even in storage, and originals where reversible treatments matter.
Start by measuring the hole and finding out how many layers the damage goes through. Under a quarter inch means darning through the hole; anything larger means a patch from the back, stitched along the quilting lines that already run through that part of the quilt.
On an art quilt with a painted or dyed surface, leave the iron on the shelf and stitch instead. Then take the finished repair to the light, look at it from across the room, and add a dated label at the back so the next person knows what was done and when.