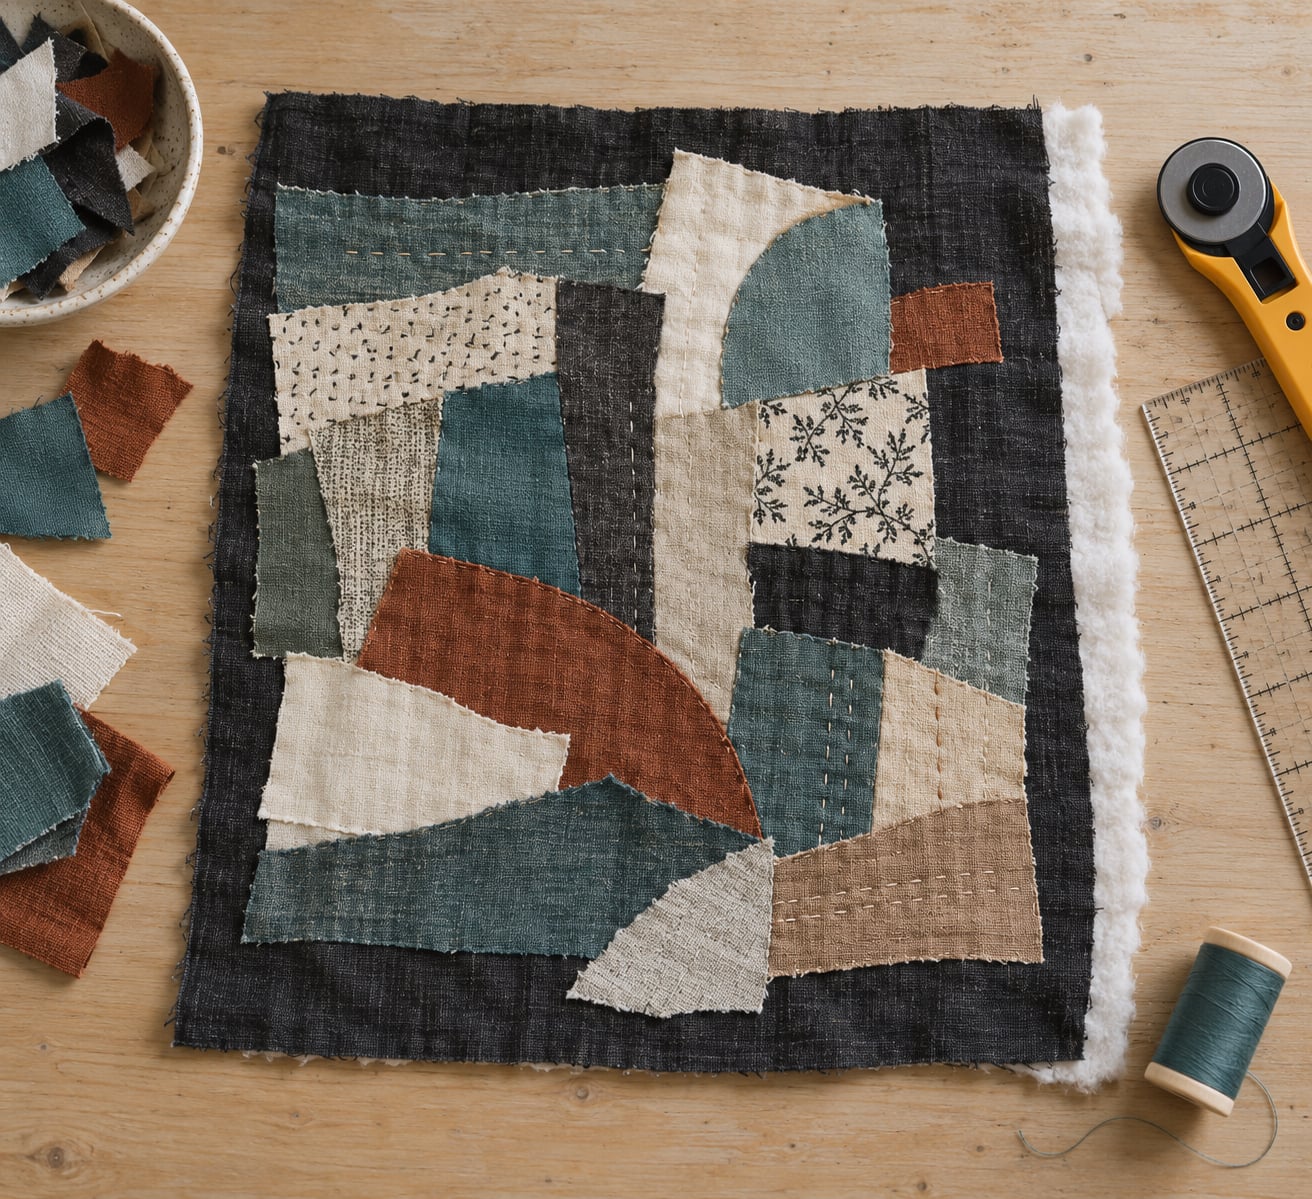
How to use scraps to make a collage quilt starts with one decision: you do not sew the scraps edge to edge. You layer irregular pieces onto a single background fabric, secure them, quilt the layers, and bind the edge. There is no pattern to draft and no seam allowance to match, so scraps too small or too odd for a patchwork block still get used.
A first collage panel takes a weekend of cutting and an evening or two of hand stitching, and it is the most forgiving first quilt there is. Here is the short version of the method: sort and press the scraps, cut or tear them into shapes, arrange them on a background to test the composition, secure them with fusible web or basting glue, stitch every piece down, then quilt and bind.
It helps to know what collage is not, because four techniques get mixed up constantly.
- Collage quilt: irregular scraps layered and secured on one background fabric, with the raw edges left visible as part of the design.
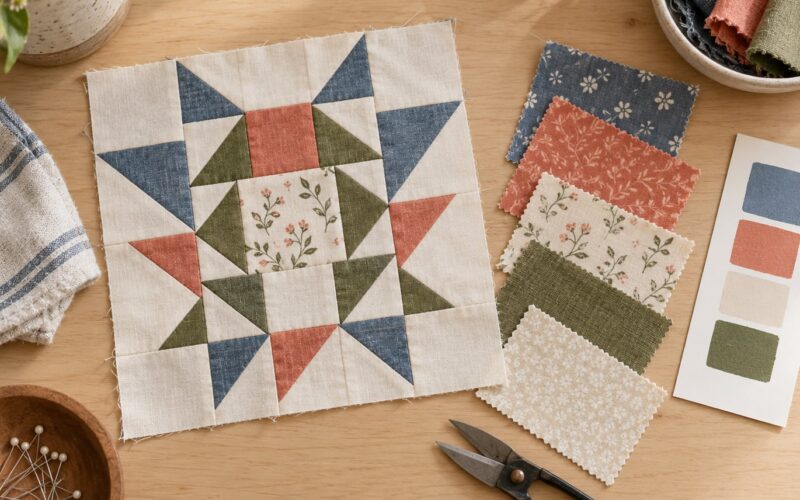
- Patchwork: pieces sewn edge to edge into blocks, then blocks sewn into rows. The seams are the structure.
- Appliqué: shapes cut to a pattern and sewn onto a background, usually turned under or edged with a visible stitch line.
- Dirty quilting: strips or bands of fabric laid over the seams of an existing pieced or utility quilt, hiding construction lines rather than forming the surface themselves. The scraps cover seams instead of becoming the whole picture.
Table of Contents
- What You Need
- Step-by-Step: How to Use Scraps to Make a Collage Quilt
- Plan the Quilt Size and Foundation
- Sort and Prepare the Fabric Scraps
- Arrange the Scraps into a Collage Design
- Secure the Pieces to the Foundation
- Quilt and Finish the Collage
- Common Mistakes and How to Fix Them
- Frequently Asked Questions
- What kinds of fabric scraps work best for a collage quilt?
- Do I need to sew the fabric scraps together before placing them?
- Can I make a collage quilt without a sewing machine?
- How do I stop fabric scraps from fraying or shifting?
- What should I use for the backing and batting?
- How large should a beginner collage quilt be?
- Conclusion
What You Need
You need far less than a piecing project, and most of it you already own. The table below covers an 18 by 24 inch wall panel, which is the size most beginners start with.
| Supply | Amount for an 18 x 24 inch panel | Why it matters |
|---|---|---|
| Assorted fabric scraps | Enough to cover roughly two thirds of the surface, about 1.5 square yards total | Two thirds coverage leaves background visible, which is what stops the piece looking chaotic |
| Background or foundation fabric | 1/2 yard, plus 4 inch extra on every side for trimming | Needs to be flat, stable and not so busy that it competes with the scraps |
| Batting | 3/4 yard, or a 24 by 30 inch piece | Gives the quilt body and stops the seams reading as cardboard |
| Fusible web or basting glue | 1 yard of fusible web, or 4 to 6 oz of sewable basting glue | Holds the pieces while you stitch; both can be sewn through |
| Fabric scissors or rotary cutter | One of each is ideal | Rotary cutter for straight strips and templates, scissors for curves and tearing |
| Quilting ruler and rotary mat | 24 inch ruler, 18 by 24 inch mat | Straight edges are most of what makes a collage look deliberate |
| Pins | 40 to 60 glass-head or plastic | Glass heads melt nothing and disappear under the iron later |
| Needle and thread | Size 8 to 12 sharps or embroidery needle, plus a heavier 12 to 16 for binding | A sharp needle is what prevents snagging fused layers |
| Sewing machine | Optional for the collage, near essential for binding | Everything on the top can be done by hand; the binding and quilting go faster by machine |
Two optional tools change the work more than they cost. A silicone ironing mat gives you a firm surface for fusing, so the web activates evenly instead of bubbling over a seam. A small pressing cloth matters even more than beginners expect: fused collage is unforgiving of a hot iron dragged straight across a seam allowance.
The one material worth buying specifically for this project is a needle that resists gumming. Regular quilting needles collect fusible residue and stop penetrating fabric within minutes. An anti-glue embroidery needle, or simply a fresh sharp needle swapped in every hour, keeps the work moving.
Step-by-Step: How to Use Scraps to Make a Collage Quilt
Plan the Quilt Size and Foundation
Choose your finished dimensions before you cut a single scrap, because the foundation has to be larger than the finished quilt all round. For a first piece, 12 by 18 inches or 18 by 24 inches is the sweet spot: small enough to hold in one hand while you stitch, big enough to hang as a statement.
Your success check is simple. The foundation must lie flat on the table with no stretch in it, and you should already know the finished size in writing before step two.
| Size | Finished dimensions | Scrap quantity | How the method changes |
|---|---|---|---|
| Mini | 8 x 10 inches | About 1/3 yard | Hand stitching only. A panel set, not a quilt, but it teaches the whole process in an evening |
| Wall panel | 18 x 24 inches | About 1.5 square yards | The standard beginner target. Hand or machine stitching, machine binding |
| Lap | 30 x 40 inches | About 4 square yards | Start assembling in sections and join them on the foundation, otherwise the working surface gets unwieldy |
| Bed | 50 x 60 inches | About 8 square yards | Build in 12 by 12 inch blocks, fuse each block, then join blocks to the foundation. Machine appliqué or longarm quilting from the start |
Collage does scale to bed size. It simply stops being a single continuous surface, and you shift from one improvised panel to a grid of smaller ones.
For the foundation, you have three sensible options. A plain or subtly textured solid in a mid-value gives busy scraps the most room to breathe. A low-contrast print adds interest without competing. A pieced or already patterned foundation is the boldest choice and only works when the scraps above it are calmer and more limited than usual.
One common failure is picking a background in the same value as the scraps. When the background disappears, the whole surface reads as visual noise. If you cannot tell where the fabric ends and the background begins from across the room, change one of the two.
Sort and Prepare the Fabric Scraps
Wash and press every scrap before it goes anywhere near the foundation. Unwashed fabric shrinks later, and that shrinkage pulls the fused pieces out of alignment in ways you cannot fix. Pressing flattens old seam allowances so the pieces lie in one plane instead of tenting up.
Throw out anything with weakened fabric, deep fold creases, or a hole in the middle. A single compromised scrap undermines the whole surface, and no amount of stitching hides it.
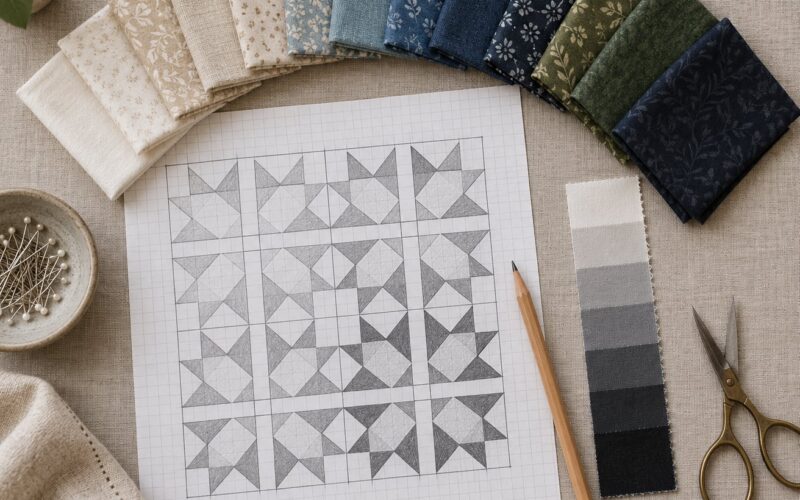
Then sort by colour value, which is how much light or dark a fabric is regardless of its hue. Group scraps into piles of light, medium and dark. This one habit does more for a scrappy piece than any other step, because value is what the eye reads as structure, and colour is what it reads as noise.
For the awkward offcuts, use size thresholds rather than judgement:
- Over 4 inches: anything goes. Cut templates, strips, or large background shapes from these.
- 1.5 to 4 inches: the working range for most collage pieces. These are your mid-scale shapes and filler.
- Under 1.5 inches: micro and mini scraps. Snip them into 0.5 inch notches along one edge and leave them raw, so they read as texture, or cluster three or four together on a slightly larger scrap to make one piece.
- Long thin strips under 1 inch wide: cut into short lengths, layer two or three at right angles, and stitch them into a small block before fusing. This is how leftover binding and selvedge gets used.
Your success check: every scrap is flat, pressed, and in a light, medium or dark pile. If a piece will not lie flat under your palm, fuse it to itself first.
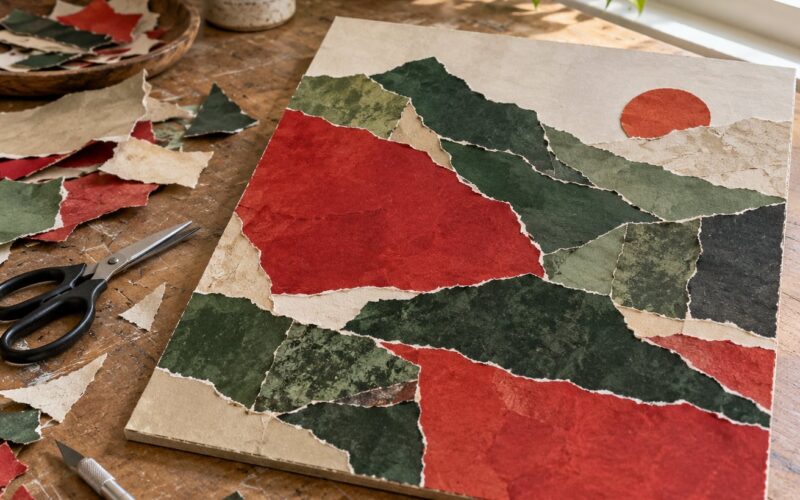
Cutting method changes the look more than the fabric does. Snip-then-tear gives a soft, slightly fuzzy edge that reads handmade. Clean rotary cuts give a crisp, modern edge. Leave most of both kinds in the same piece and the contrast itself becomes a design element.
Arrange the Scraps into a Collage Design
Test the arrangement on the bare foundation before you fuse anything, and move pieces around until it looks right from standing distance. The test is cheap and reversible; a fused mistake is neither.
Four rules keep an improvised arrangement coherent. Distribute the light, medium and dark values across the whole surface rather than clustering them, so the eye travels. Vary the scale, with a few large shapes, a middle layer of medium pieces, and small pieces as accents. Keep one or two areas of plain background as breathing room. And repeat at least three shapes or motifs somewhere, which gives the eye an anchor in an otherwise loose composition.
Work from a plan if you like a plan, and improvise if you do not. Both routes produce good quilts. A loose sketch with a light, a dark and a motif in the middle is plenty of planning, and it leaves you free to swap a piece when a better scrap turns up.
Turn a photo into a template set by printing or tracing the image at your finished size, taping the shapes to card, and cutting through all the layers at once. Simplify the drawing to three or four shapes rather than copying every detail. Collage works on the strength of a few clear motifs, not on accuracy.
Your success check for this step: step back two or three feet. The piece should read as one composition, with smaller rewards for looking closely.
Secure the Pieces to the Foundation
Secure each piece with fusible web, a light adhesive, or a temporary method, and all three hold well enough to stitch through. Choose by how permanent you want the result and how much hand stitching you enjoy.
| Adhesive | How it holds | Sewable | Washable | Best for |
|---|---|---|---|---|
| Fusible web | Ironed on, bonds permanently, some brands reposition while hot | Yes, with a non-gumming needle | Yes | Permanent collage, machine work, anything you plan to launder |
| Spray or liquid fusible, such as a repositionable web | Sprayed, no heat needed for repositioning, then heat set | Yes | Yes once set | Improv pieces you are still deciding on |
| Basting glue or fabric glue | Glue and pin, air dries, fully sewable | Yes | Varies; check the label | Beginners and anyone hand stitching a large surface |
| Pins and a running basting stitch | Mechanical, nothing chemical | Yes | Yes | Small pieces, glue-free work, pieces you may want to reposition |
Whatever you use, keep the edges flat. Wrap the web slightly past the edge of a piece rather than leaving it exactly flush, and press from the centre outwards with a pressing cloth. A rigid set of edges, or a fabric that has been over-fused until it goes stiff and shiny, will pucker the moment you stitch it.
Pin generously while you work, placing pins every 2 to 3 inches and removing them as you stitch past. Seams more than 6 inches wide need an extra tack in the middle, because adhesive alone will not hold the centre of a wide piece down on a curved surface.
Your success check: lift the whole quilt top and shake it gently. Nothing lifts, slides or hangs loose, but the surface still flexes easily in your hand.
Quilt and Finish the Collage
Add batting over the back of the top, smooth it from the centre out, and lay the backing on top so the sandwich has three layers with no fabric in the middle. Baste with long running stitches or safety pins, then quilt.
Treat the quilting as texture, not just structure. Free-motion meandering over the surface in large loops ties the layers together and gives a fused collage the depth it needs, and hand quilting with big running stitches does the same job on a small panel. Whatever you choose, sew close enough to catch the raw edges so they cannot work loose with handling.
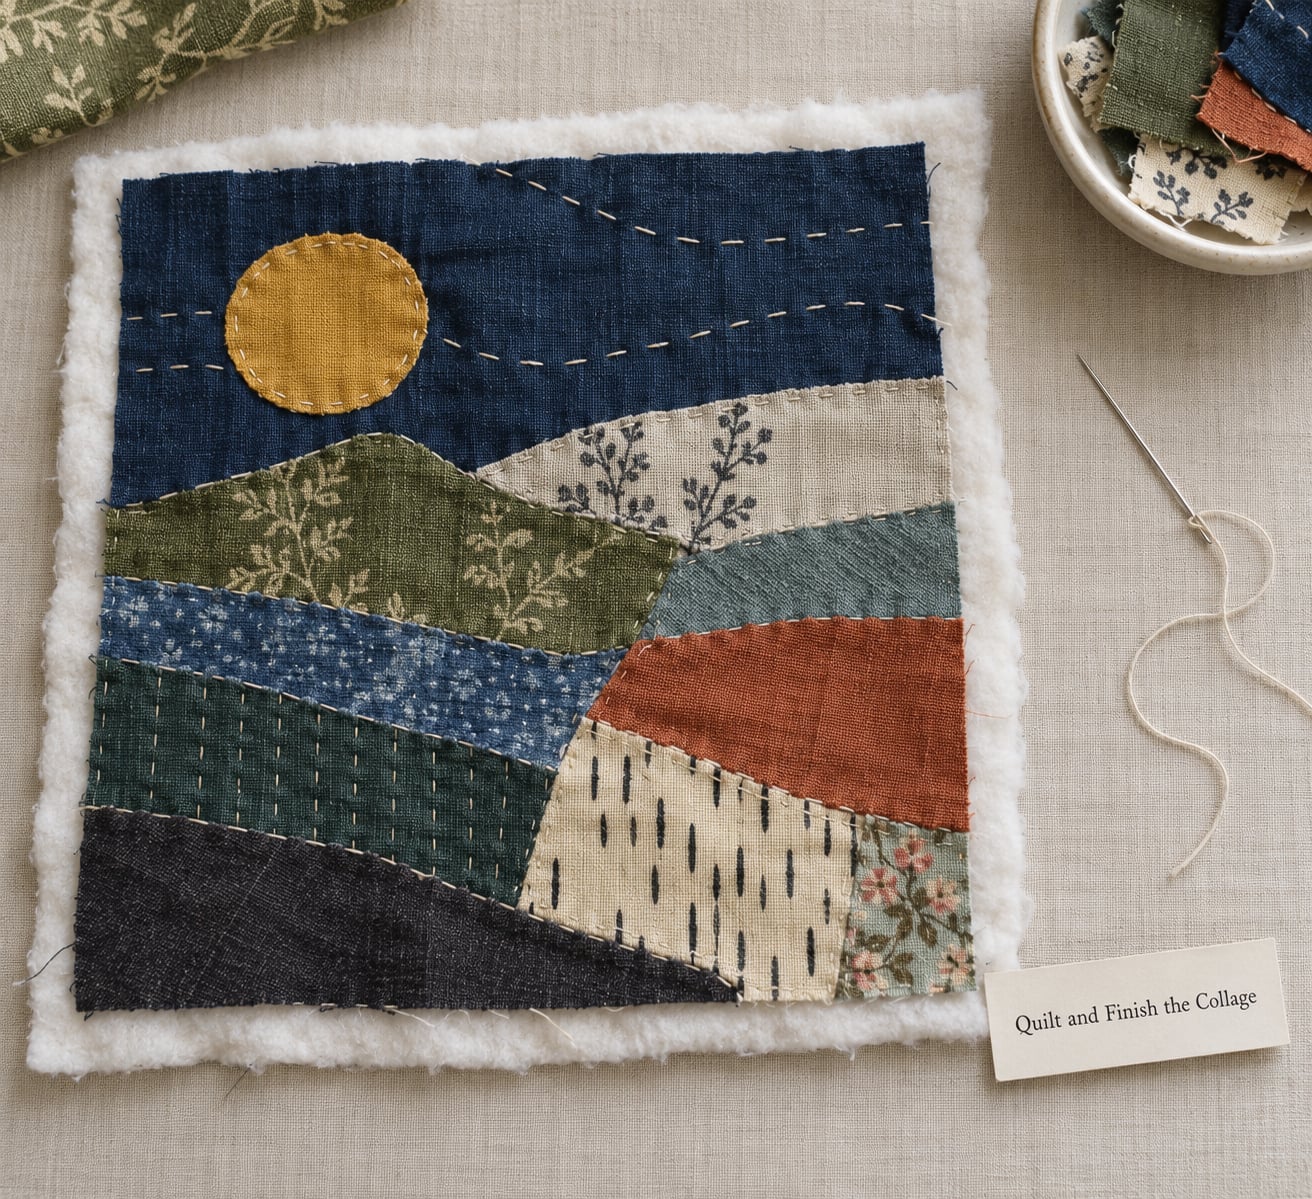
Trim the edges square once the quilting is done, leaving about half an inch of allowance all round. Then bind by cutting strips 2.5 inches wide, joining them into one long length, and sewing them around the raw edge with a quarter inch seam. Miter the corners, fold the binding to the back, and hand stitch it down with a heavier thread.
A facing works just as well for a wall piece and hides the binding entirely. Cut the facing strips a little wider, sew them to the front edge, clip the corners, fold to the back and press. It gives a clean, frameless look that suits a small art quilt.
Finish with a label on the back, including the title, your name and the year, and add a hanging sleeve made from a strip of fabric sewn across the top back edge. Both take ten minutes and both mean the piece gets looked at for a long time.
Common Mistakes and How to Fix Them
Uneven edges and gaps between pieces. Usually the background shifted while fusing, or pieces were pressed from the outside in. Re-press from the centre outward, overlap the seam allowances slightly, and add narrow filler strips along the foundation to close any remaining gap before fusing.
The colours look chaotic. The value spread is too narrow, or too many pieces are the same size. Pull out one or two pieces and stand back again. If the piece improves, you have your answer.
Puckering around fused pieces. Too much heat, too long on the iron, or stitching three layers with tension. Press with a cloth, cut the batting slightly smaller than the top, and ease gently while basting.
Raw edges fraying after a few washes. Fusing before the piece is fully flat leaves edges unsecured. Catch them during quilting with a running stitch or a zigzag line 1/8 inch in from the edge, and use a double layer of batting in high-wear areas.
Needles gumming up within minutes. This is the most common complaint in the sewing forums and it is purely a needle problem. Switch to an anti-glue embroidery needle, replace it often, and keep a small dish of mineral spirits or a lint-free cloth nearby to wipe the needle as you go.
Scaps lifting or shifting during stitching. You are sewing on a surface that flexes. Backing the top with batting and paper, or pressing the section flat between stages, gives the needle something solid to work against.
Stitching that wanders. Mark the line first with a fabric pencil or a row of clips, and sew slowly with a shorter stitch length of about 2.5 stitches per inch. Visible hand stitches vary in length anyway, and that irregularity is part of what makes collage look handmade rather than assembled.
One composition tip that costs nothing: leave the busiest area slightly off centre. A collage with its focal point dead in the middle reads as static, and moving it a few inches creates movement without adding a single extra scrap.
Frequently Asked Questions
What kinds of fabric scraps work best for a collage quilt?
Cotton and cotton blends in any weight work best, because they press flat, fuse evenly and take thread well. Linen and denim add texture but need a sharp needle and extra pressing. Avoid very slippery synthetics, which refuse to hold adhesive, and skip anything loosely woven or so worn that the fibres shed.
Do I need to sew the fabric scraps together before placing them?
No, and that is the whole point of collage. Each scrap is cut or torn to shape and secured directly to the background, either fused, glued or basted, then stitched down individually. Joining scraps to each other first is optional and only worth doing for very tiny pieces, which are easier to handle as one small block.
Can I make a collage quilt without a sewing machine?
Yes, the entire surface can be stitched by hand with a sharp needle and embroidery thread, and a 12 by 18 inch panel is a realistic evening of work. Binding is easier by machine but works fine hand-stitched with a heavier thread. A machine only becomes necessary once the quilt is lap or bed size.
How do I stop fabric scraps from fraying or shifting?
Fuse or glue every piece before you stitch, then catch each raw edge during quilting with a running stitch or zigzag about 1/8 inch inside the edge. Pin every 2 to 3 inches while sewing, and add a tack in the centre of any seam wider than 6 inches, where adhesive alone will not hold.
What should I use for the backing and batting?
A medium-weight batting such as cotton or a polyester blend gives body without stiffness, and a stable cotton backing fabric keeps the whole sandwich flat. Choose a backing in a colour that supports the palette rather than a print that competes. Cut the batting 2 to 3 inches larger than the finished top to fill the binding allowance.
How large should a beginner collage quilt be?
Start at 12 by 18 inches or 18 by 24 inches. Small enough to hold comfortably in one hand while you stitch, big enough to hang as a wall piece, and small enough that mistakes cost you an evening rather than a week. Once the technique feels easy, scaling up mostly means building the surface in sections instead of all at once.
Conclusion
To use scraps to make a collage quilt, the sequence is short and it is forgiving at every stage. Sort and press a small group of scraps, choose a foundation in a value that contrasts with them, test the composition loose on the bare fabric, secure each piece, stitch down every raw edge, then quilt and bind.
Start with twenty scraps, not the whole bin. Wash them, press them, sort them into light, medium and dark, and lay them out on an 18 by 24 inch piece of plain foundation. Almost everyone finds the arrangement is wrong the first time, and moving two pieces around before anything is glued is far easier than fixing a fused mistake later.
As for the odd shapes and the colours that do not quite agree, leave them. The uneven edges and the value clashes are the collage, not a mistake in it.