The safest way to learn how to overdye printed fabric is to start with the print, not the dye. Match the dye to the fibre, take the new colour darker than the darkest colour in the print, and test a swatch first to see whether the old print bleeds into the bath. Overdyeing works because the new dye bonds to the same fibres the original colour sits on, so the two combine rather than replace each other. The whole job takes about an hour of active time plus drying, and it is easy enough for a first dye bath if you work methodically.
The catch is that you are not starting from white. Everything already on that fabric is still there, and it will shift your result. A printed cotton dress that looks white-and-blue can come out a slate purple after a navy bath, not navy. That is normal, and it is why the print, not the dye, decides how dark your result can be.
Here is the process I use for studio yardage and thrifted garments: identify the fibre and the print type, run a hot-soak bleed test, scour and protect the print, mix the bath by fabric weight, soak with intermittent stirring, then rinse until the water runs clear and fix the colour. Let us work through it.
Table of Contents
- What You Need
- Dye and additives
- Tools and protection
- How to Overdye Printed Fabric, Step by Step
- Identify the Fabric and Print
- Test the Printed Fabric
- Prepare the Fabric and Dye Bath
- Apply the Dye
- Rinse, Set, and Evaluate the Result
- Common Mistakes When Overdyeing Printed Fabric
- Common Tips for Better Results
- What Happens When You Dye Patterned Fabric?
- Frequently Asked Questions
- Will the original print still show through the new dye?
- How do I know if a print will bleed into the dye bath?
- Will Rit dye ruin screen printing or plastisol prints?
- Which fabrics cannot be dyed at home?
- Why did my dye come out patchy or blotchy?
- Will my fabric look lighter than expected when it dries?
- Conclusion
What You Need
You need three things in order: a dye that bonds to your fibre, a way to keep the existing print from bleeding into the bath, and enough water and heat control to dye evenly. Beyond that, a thermometer, gloves and a spare pot turn a guess into a repeatable recipe.
Dye and additives
- Fiber reactive dye for natural fibres. Procion MX is the workhorse for cotton, linen and rayon. It needs warmth, time and soda ash to bond.
- Rit All-Purpose Dye for cotton, rayon, nylon, silk and wool in a quick stovetop bath. It is the forgiving option for a first project.
- Rit DyeMore when the fabric is more than about 35 percent synthetic. It needs the stovetop method and hotter water.
- Indigo dye if you want a vat-dyed look on cotton. Jacquard indigo is a common choice.
- Bath assistants. Salt assists dye uptake on cotton; vinegar assists uptake on nylon and wool; a teaspoon of dish detergent keeps dye particles suspended so the colour levels instead of speckling.
- Dye fixative. A product such as ColorStay Dye Fixative locks the colour in after the final rinse so it stops fading and stops re-bleeding in the wash.
Tools and protection
- A large stainless-steel pot that the fabric can move freely in. Crowded fabric dyes patchy.
- A thermometer, long gloves, a long stirring spoon and a timer.
- Plain white cotton muslin or a white cotton napkin for the bleed test. Any white shirt hem will do.
- Wax, clamps or rubber bands if you want to hold parts of the print lighter.
- Two spare pots if you will be using a fixative, since the fixative goes into a second bath.
How to Overdye Printed Fabric, Step by Step
Work in this order and you will not lose a print you cannot get back. Each step has a check that tells you whether it is safe to move on.
Identify the Fabric and Print
Start by naming the fibre, because every dye on the shelf behaves differently. Cotton, linen, rayon and denim take dye readily. Wool and silk want acid-type dyes and a cooler, gentler bath. Polyester, acrylic and nylon blends mostly refuse ordinary dye and need the higher-temperature synthetic method.
Next, work out how the print got there, because that decides whether it will accept dye at all.
| Print type | How to spot it | Will it take dye? |
|---|---|---|
| Reactive-dyed print | Colours feel soft and slightly see-through; colour rubs off a damp white cloth | Yes, it takes new dye and may bleed |
| Pigment print | Surface colour sits on top, feels slightly stiff or plasticky | No, the pigment stays and reads as a lighter mark against the new colour |
| Screen-printed plastisol | Thick, opaque, rubbery ink, often on tees and sportswear | No. It will not bond and hot water can make it crack or crackle |
| Discharge print | White or lighter areas where the original ground was removed | Patchy, because the ground was destroyed there |
Two more checks while you have the fabric in your hands. Rub a damp white cloth over the print: colour transfer means a reactive print that will bleed. And a blend under 35 percent synthetic will dye mostly, but the synthetic portion stays its original colour, which is why a 60/40 cotton-polyester piece never goes fully even.
Test the Printed Fabric
The bleed test takes five minutes and prevents the single most common disappointment: a print that dumps colour into your bath and muddies everything.
- Cut a 2 inch square from the printed area, including a dark colour and a light ground.
- Put it in a small pot with enough water to cover, add a teaspoon of the dye you plan to use, and bring the water to about 180°F.
- Soak for ten minutes, then lift the swatch out and squeeze it over a separate cup of hot water.
- Drop a white cotton swatch into that water and leave it for two minutes.
If the white swatch picks up colour, the print bleeds and you have your answer before you ruin anything. A print that stays completely clean is safe to overdye. Coloured water alone is not enough to judge, because a little colour in the bath is normal; colour that transfers to white fabric is not.
Prepare the Fabric and Dye Bath
Prewash the fabric without fabric softener or dryer sheets, then scour it if you are working with Procion MX. Scouring means simmering the washed fabric in a pot of soda ash for 20 minutes to strip the waxy factory finish, which otherwise blocks dye uptake and gives you the patchy result people complain about.
Measure the fabric dry, then calculate your dye. A useful baseline from Rit’s published instructions is roughly 3 gallons of water per 2 pounds of dry fabric, heated to 140°F, with 1 cup of salt or vinegar and 1 teaspoon of dish detergent per bottle of dye. For Procion MX, use about 1 teaspoon of dye per ounce of dry fabric, plus 1 tablespoon of soda ash per quart of water.
Protect the print if it is fragile, once you know it passes the bleed test. For extra insurance, steam the printed side with a pressing cloth, or rubber-band the motif tightly so dye reaches it at the same rate as the rest. A resist of that kind leaves the print lighter, which is a deliberate effect rather than a flaw.
Apply the Dye
Add dye and additives to the warm bath and stir until fully dissolved before the fabric goes in. Put the fabric in loose, with no more than what the pot can hold comfortably, then bring the bath back to temperature.
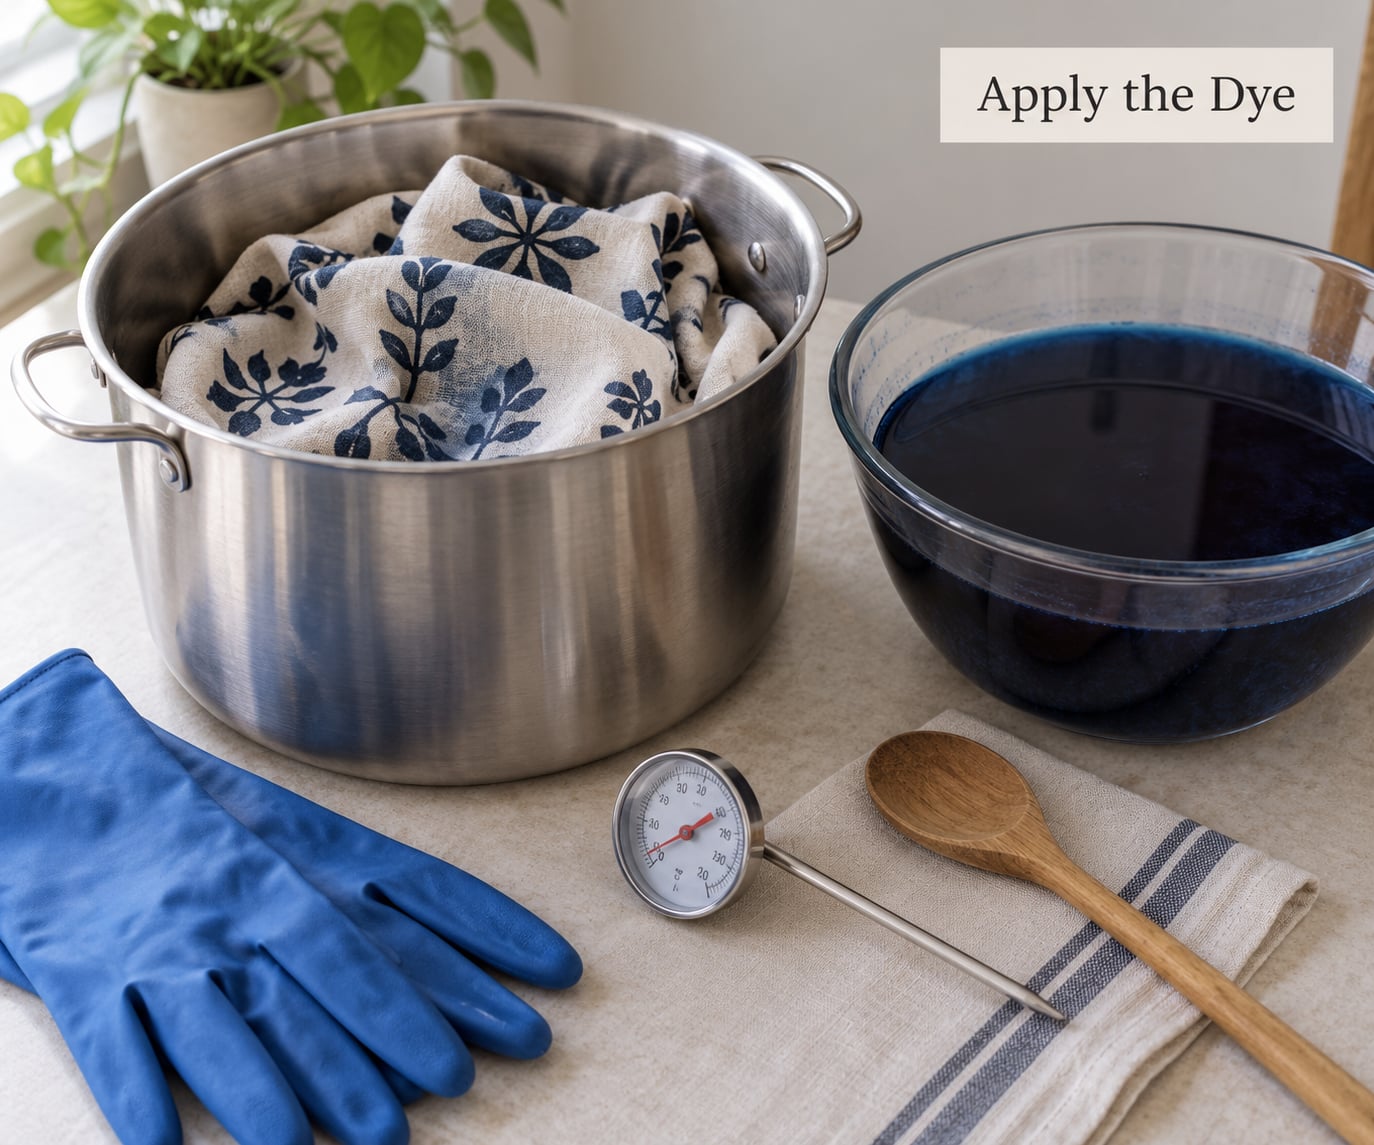
Hold the bath at its working temperature and stir gently every few minutes so dye moves through folds and does not settle in one spot. With Rit All-Purpose Dye on natural fibres, 140°F for about an hour is a normal window. With Procion MX, keep the bath near 140°F and soak longer, often 60 to 90 minutes. With DyeMore or any blend heavy in polyester, take the bath to about 180°F for 30 to 60 minutes.
Garments with elastic, interfacing or glued trims are the exception. Keep the water warm rather than hot, soak no longer than 30 minutes, and expect some shrinkage and some loss of elasticity on a fitted piece. If you can take the trims off, do that first and sew them back after.
Rinse, Set, and Evaluate the Result
Drain the bath and rinse in cool running water until it runs clear. Expect this to take several changes and more time than you think, especially with Procion MX, which carries a lot of unbound dye out of the fabric.
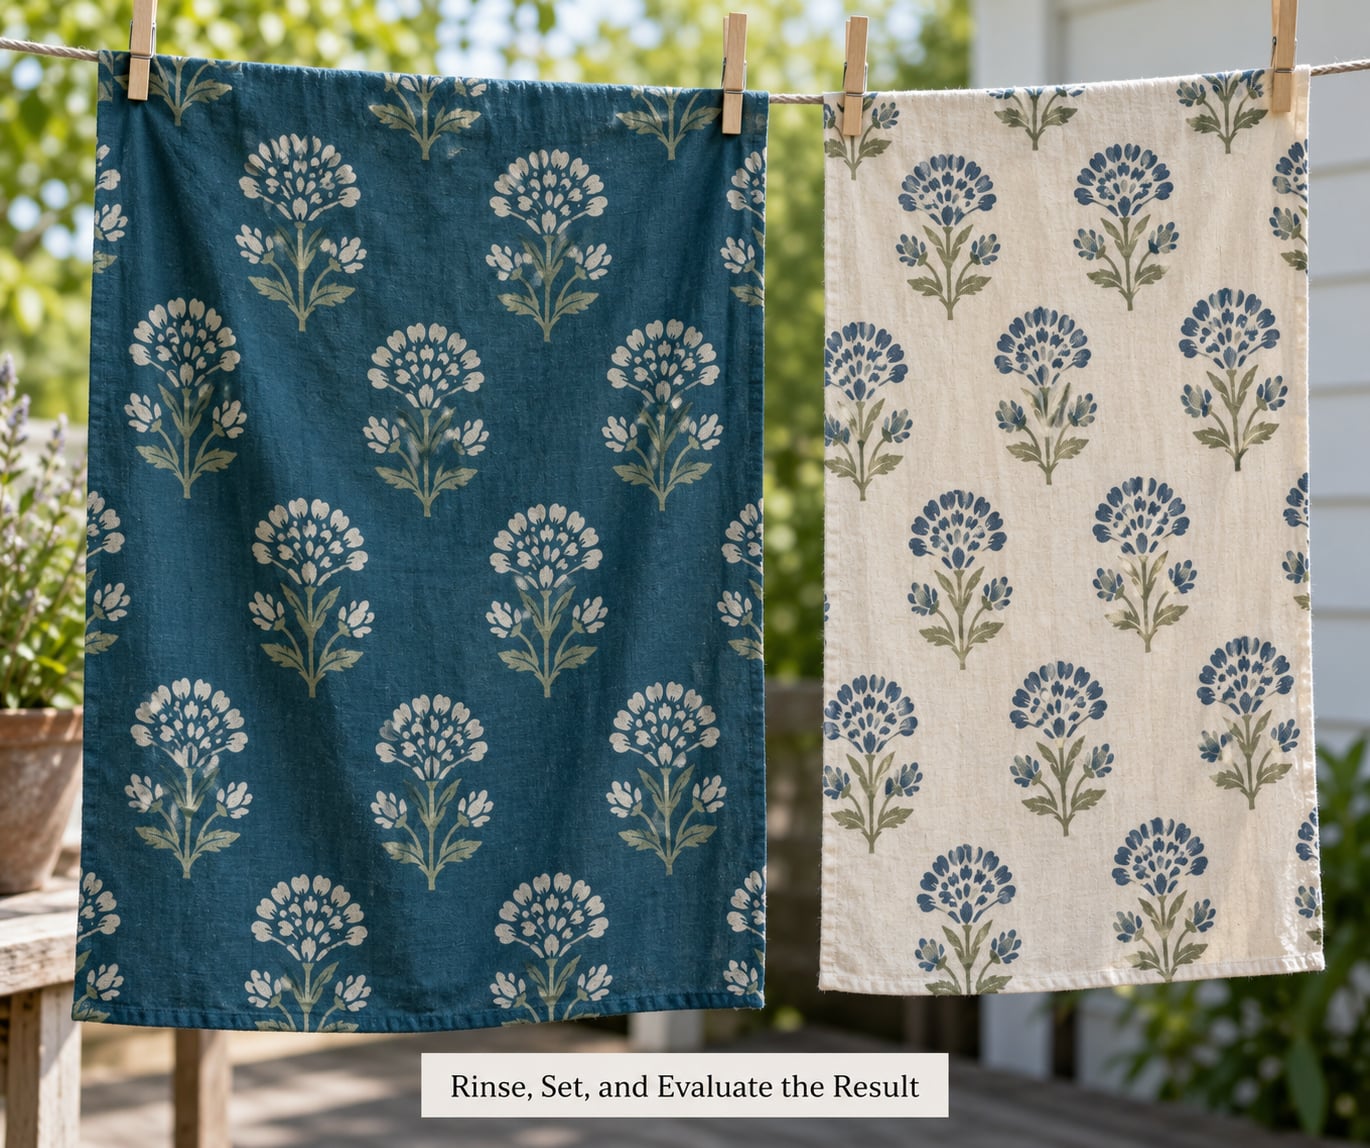
Wash the piece out separately in warm water with detergent, then rinse cold. Dry it and look at it in daylight next to your original swatch. Fabric looks dramatically darker wet, so judge nothing until it is fully dry; this is the single biggest reason people think their dye failed.
If the colour is where you want it, finish it with dye fixative in a second bath following the product directions, then rinse and dry again. If you want to fix the colour without fixative, hot water is the fallback: soaking the finished piece in near-boiling water for 20 to 30 minutes sets more dye, at the cost of some shrinkage.
Common Mistakes When Overdyeing Printed Fabric
Almost every disappointing overdye traces back to one of six things, and all six are fixable on the next attempt.
- Choosing a colour lighter than the print. Dye cannot lift what is already there. Pick a shade darker than the darkest colour in the motif or accept that the print will ghost through.
- Skipping the test. A bleed test takes five minutes and saves the whole project.
- Dyeing unwashed or unscoured fabric. Factory finishes and body oils block dye, which is where most patchiness comes from.
- Crowding the pot. Fabric needs to move. Too full means shade variation from top to bottom.
- Boiling a garment with elastic or glue. Heat destroys elasticity and can melt fusible interfacing. Use warm water and a shorter soak.
- Leaving dye on polyester thread. Thread does not take dye, so topstitching stays visible. Match it by re-topstitching in a similar colour.
Common Tips for Better Results
A few habits separate a clean recolour from a muddy one. Choose a contrasting shade rather than a near-match, since a dye close in value to the print gives you a flat, in-between result that looks like a mistake. Document what you did each time: fibre, print type, dye, salt or vinegar, water temperature, soak length and dye amount per ounce of fabric. That one page of notes is worth more than any chart.
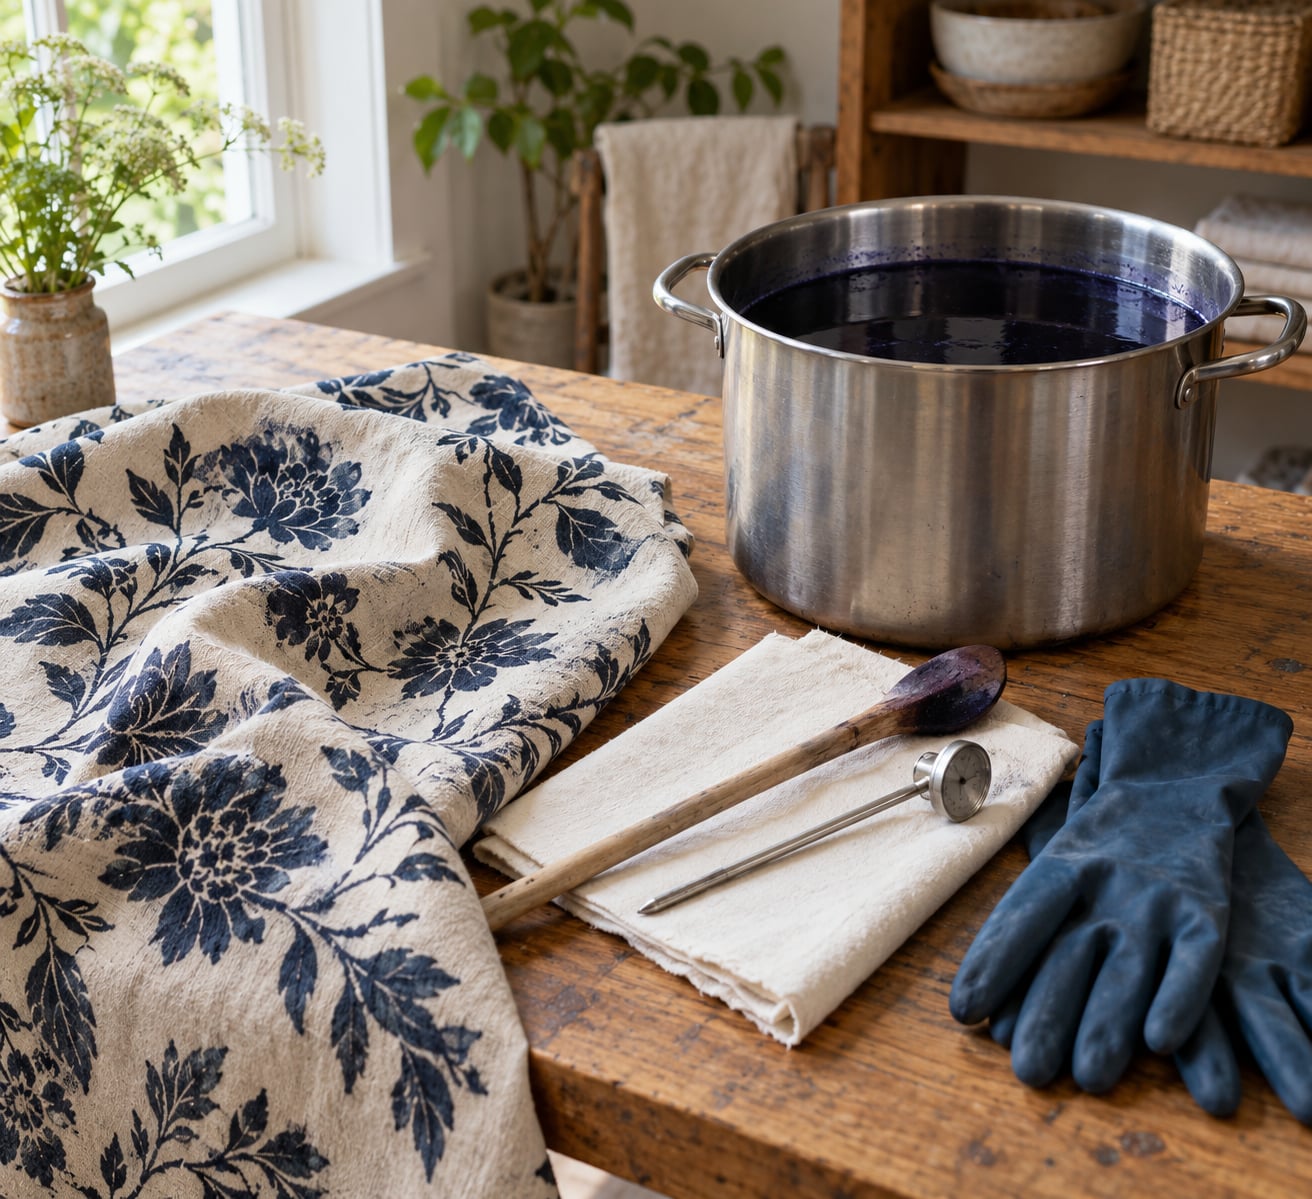
Work in layers when you want control. Indigo over a warm print mutes salmon, red and pink into something much quieter rather than muddy, which makes it a good tool for toning down yardage you have already committed to. For quilts, fleece and synthetics, treat each fibre separately: a cotton quilt top and a polyester binding will never reach the same shade in one bath, so dye them apart.
What Happens When You Dye Patterned Fabric?
You get the two colours combined, usually darker and duller than either one alone. It is not paint mixing, so the results surprise people who expect clean blends.
| Original print | Dye | Expected result |
|---|---|---|
| White or cream ground with red print | Purple | Purple, with the red motif showing as a deeper tone |
| Pale purple print | Purple | A different, deeper shade of purple |
| Yellow ground with blue print | Blue | Dark blue, not green |
| Blue and white print | Navy | Often a dark purple base with navy motifs |
| Warm floral print | Turquoise | Deep teal, motif barely visible |
| Pigment print, any colour | Any dye | New colour takes; print stays as a lighter mark |
Frequently Asked Questions
Will the original print still show through the new dye?
Usually yes, though muted. Dye layers on top of the colour already there rather than replacing it, so the motif reads as a slightly different shade of the same colour. You can only bury it by choosing a dye darker than the print, or with indigo, which sometimes knocks a colour out entirely.
How do I know if a print will bleed into the dye bath?
Run a hot-soak test: put a 2 inch print swatch in a small pot of near-boiling water with a teaspoon of your dye, soak ten minutes, then squeeze it into a cup of hot water and drop a white cotton scrap in. Colour on the white scrap means the print bleeds. Slightly tinted water alone is normal.
Will Rit dye ruin screen printing or plastisol prints?
It will not ruin it by bleeding, but it will not recolour it either. Plastisol ink sits on the surface and does not bond to fibre, so hot water can make thick prints crack or turn brittle. Pigment-printed fabric behaves the same way: the new dye takes, the print stays lighter against it.
Which fabrics cannot be dyed at home?
Aramid, modacrylic, acrylic and spandex do not accept household dye. Polyester and other synthetics need the high-temperature stovetop method with a synthetic dye such as DyeMore, and even then take on a faint tint. Anything already printed with pigment or plastisol will not take dye in the print areas.
Why did my dye come out patchy or blotchy?
Nearly always one of five causes: fabric that was not prewashed or scoured, a pot too full for the fabric to move, dye powder dumped in undissolved instead of stirred, water too cool for the dye to bond, or fabric left sitting still the whole soak. Stir every few minutes and use warm water.
Will my fabric look lighter than expected when it dries?
Yes, considerably. Wet fabric looks one to two shades darker than it will be dry, and this is the most common reason people think a bath failed. Judge colour only after the piece is fully dry, then use a dye fixative to lock in what you have.
Conclusion
Start with the print, not the dye. Identify how the pattern was printed, run a hot-soak bleed test on a swatch, and pick a colour darker than the darkest ink in the motif. Once you know the print behaves, the rest is a measured bath: wash, scour, dye at temperature for the time your fibre needs, stir, rinse until clear and fix. If you do those two checks first, the fabric you are dyeing comes out recoloured rather than muddy.