If you have ever stood in front of a room full of beginners and realized you have no written plan for the next eight weeks, you are in the same spot as most first-year art teachers. The good news is that knowing how to write a studio art syllabus is a process, not a talent: gather the course details, write outcomes you can actually observe, sequence the sessions, attach grading and supplies to that sequence, then cut anything a student never needs to read. Budget two to three focused sessions of 90 minutes each, plus a quiet hour for editing.
The single most common mistake is starting with the weekly calendar. Start with the learning outcomes instead, and the calendar writes itself.
Table of Contents
- What You Need
- Step-by-Step: How to Write a Studio Art Syllabus
- 1. Define the Course Identity and Student Level
- 2. Write Measurable Learning Outcomes
- 3. Build the Studio Art Learning Sequence
- 4. List Materials, Tools, and Studio Expectations
- 5. Create a Fair Assessment Plan
- 6. Add Standards, Resources, and Course Policies
- 7. Format, Review, and Publish the Studio Art Syllabus
- Common Mistakes
- Frequently Asked Questions
- How long should a studio art syllabus be?
- Should a studio art syllabus include weekly lesson plans?
- What should a studio art syllabus include for beginners?
- How do I align art assignments with learning objectives?
- Can I use one syllabus template for different art classes?
- How often should I update a studio art syllabus?
- Conclusion: Start With the Learning Outcomes
What You Need
A useful studio art syllabus is a working document. It is read in week one, pulled up again at grading time, handed to a substitute teacher, and re-read by a parent who wants to know why their child spent forty minutes on texture. That means you cannot write it once and file it away.
Before you type a single sentence, gather nine things. Most take less than ten minutes each once you know who to ask.
- Course identity. The official title, course number or code, term, meeting pattern, and room.
- Audience. Grade band or skill level, expected enrollment, and any prerequisite such as a prior drawing course.
- Schedule. Class length, total instructional hours, number of meetings per week, and how many weeks the term runs.
- Learning goals. What students should be able to do by the last day, in plain language.
- Materials. What the studio provides, what the studio expects students to buy, and what is optional.
- Assessment methods. Projects, sketchbook or process work, critiques, participation, and the weighting for each.
- Standards. The national, state, district, or institutional framework you must reference, if any.
- Policies. Attendance, late work, accommodations, academic integrity, devices, and refund or transfer rules.
- Resources. Where students find demonstrations, museum references, supply lists, and their own submitted work.
Teachers on art education forums describe the same bottleneck honestly: it is planning, not writing. A decade of lesson plans in a folder is harder to condense into one term than a single page of outcomes and dates is to format. Do the thinking first, then the typing goes fast.
Step-by-Step: How to Write a Studio Art Syllabus
1. Define the Course Identity and Student Level
Start with the facts a student checks in the first ten seconds: what this course is called, who it is for, when it meets, and how long it runs. Everything later in the document hangs off these details, so guessing here creates rework.
For a beginner textile and mixed-media course, the identity block might read: Textiles and Mixed Media Studio, open to all skill levels, no prerequisite, eight-week session, Tuesdays 6:00 to 8:00 p.m., 16 instructional hours.
Two rules keep this honest. First, state the skill level in plain words rather than a number: “no prior drawing experience required” tells a reader more than “level 100.” Second, total the instructional hours and check the syllabus scope against them. Eight two-hour sessions is 16 clock hours, and that math tells you how much of a large project you can honestly promise.
Completion check: a stranger can tell the course title, who it is for, when it meets, and how many total hours of work are involved, without asking you a question.
2. Write Measurable Learning Outcomes
Learning objectives are the engine of the studio art syllabus. A weak version says students will understand color theory. A strong one names the verb, the action, and the evidence: Students will analyze the hue, value, and saturation relationships in a five-value scale and select a limited palette that holds a stated mood.
Verbs that work in art classes: analyze, design, construct, critique, revise, justify, compare, document, reflect, experiment, apply, and contextualize. Verbs to avoid: understand, appreciate, know, learn, and be aware of, because nobody can observe them.
Balance four categories so the course is not purely technical or purely conceptual:
- Technical outcomes cover tool handling, media behaviour, and craft control.
- Conceptual outcomes cover reading images, research, and contextual work.
- Creative outcomes cover risk-taking, iteration, and developing a personal direction.
- Studio practice outcomes cover critique habits, documentation, cleanup, and shared-space care.
A completed outcome for that textile course might read: Students will construct a layered textile sample using at least three techniques, document the process in a weekly studio log, and revise one section after peer critique. That sentence is testable, and it will drive your assessment plan later.
Completion check: each objective can be observed or collected as evidence during class. If you cannot imagine watching it happen, rewrite it.
3. Build the Studio Art Learning Sequence
Once the outcomes are set, arrange the term as a progression: demonstrations and short guided exercises first, then open-ended work with light structure, then one self-directed project that requires the student to make their own decisions. Beginners need a lot of structure early and less of it later, and your sequence should show that taper.
Keep the session structure itself identical every week. Repetition is what turns a procedure into a routine, and routines are what let a class start working within a minute of sitting down.
- 0 to 5 minutes: arrival, tool check, and the day’s target on the board.
- 5 to 20 minutes: mini-lesson, demonstration, or looking session with one image or two.
- 20 to 75 minutes: studio work on the current task, with circulating one-to-one feedback.
- 75 to 85 minutes: cleanup routine and work-in-progress check.
- 85 to 90 minutes: a two-line log entry, then dismissal or save time.
Applied to the textile example, week one covers material and tool care plus a value-scale exercise, weeks two through five build dyed and stitched samples, week six is a critique and revision block, and weeks seven and eight go to a self-directed final piece with a written reflection.
Completion check: read only the week headings. If the sequence does not visibly move from guided to independent, something is still too open too early or too prescriptive too late.
4. List Materials, Tools, and Studio Expectations
Sort every material into one of four buckets, because that is exactly what a student wants to know: do I buy this, do I already own it, do we share it, or does the studio keep it? Getting the buckets right prevents the two classic problems, a supply list nobody can afford and a shared supply that runs out in week three.
| Category | What it means | Example from a textile studio |
|---|---|---|
| Studio provides | Owned by the space, returned at term end | Scissors, needles, hoops, sewing machines, cutting mats |
| Student brings | Purchased once and kept | Sketchbook, 2B and 4B pencils, black fine liner |
| Shared class supply | Group purchase, cost split, kept by the class | Fabric scraps, dye, interfacing, primer |
| Optional | Encouraged, never required | Specialty thread, own apron, personal camera |
Add a short preparation timeline. Say which items are needed in week one, which can arrive later, and which the studio will lend in the first session so a student is never blocked. Then cover the studio itself in one page: where work is stored and how it is labeled, tool care and what happens to a damaged tool, the cleanup routine and why it is graded, safety rules for the specific equipment in your room, attendance expectations, and how to request an accommodation. Beginners handle detail best when it is short and concrete, not when it is exhaustive.
Completion check: a new student could buy the right supplies in one trip and could not lose work by failing to read the storage rules.
5. Create a Fair Assessment Plan
Studio grading goes wrong when the only heavily weighted item is a finished piece. Finishing is a skill, but it is also a function of time, money, and confidence, so weighting everything on the result quietly sorts students by resources instead of effort. A workable split for a beginning course looks like this.
| Component | Weight | What is being assessed |
|---|---|---|
| Studio log and process documentation | 20% | Consistent dated entries, evidence of revision, weekly planning |
| Skill exercises | 20% | Craft control, accuracy, care with materials |
| Participation in critique | 15% | Specific, useful feedback given to peers; listening and response |
| Major projects | 35% | Concept, execution, and alignment with the stated outcomes |
| Studio care and cleanup | 10% | Tool return, workspace condition, safety practice |
Then run the alignment check: take each major project and ask which outcomes it produces evidence for. If a project cannot be traced to at least one outcome, it is an activity, not an assessment, and it should not carry weight. If an outcome has no project pointing at it, either add one or drop the outcome. Keep a named critique protocol in the document, such as two specific observations and one actionable suggestion per student, because a stated format makes critique teachable instead of vague.
Completion check: the weights total one hundred, every outcome is covered, and a student can predict their grade from the rubric alone.
6. Add Standards, Resources, and Course Policies
Reference standards by short code and name in one compact list rather than pasting paragraphs of framework language. For US K-12 settings that means the National Core Arts Standards creating, responding, connecting, and producing anchors, plus a few Studio Habits of Mind entries such as artists think with materials and artists reflect. Independent studios and adult programs can skip this section entirely or point to a local arts council framework instead.
Put required policies in one block near the end, and keep them brief and consistent with whatever your institution already uses, since borrowed legal-sounding text often conflicts with local rules. That block should cover accessibility and accommodations, communication channels and response times, device use in the studio, late work and make-up work, and academic integrity in a studio context, where referencing a source is required and copying a finished piece is not. Add a short resource list: where supplies are listed, where the weekly plan is posted, where submitted work is returned, and a handful of museum or archive links worth following.
Completion check: every policy you added has a matching rule you actually enforce, and every reference is something a student can open this week.
7. Format, Review, and Publish the Studio Art Syllabus
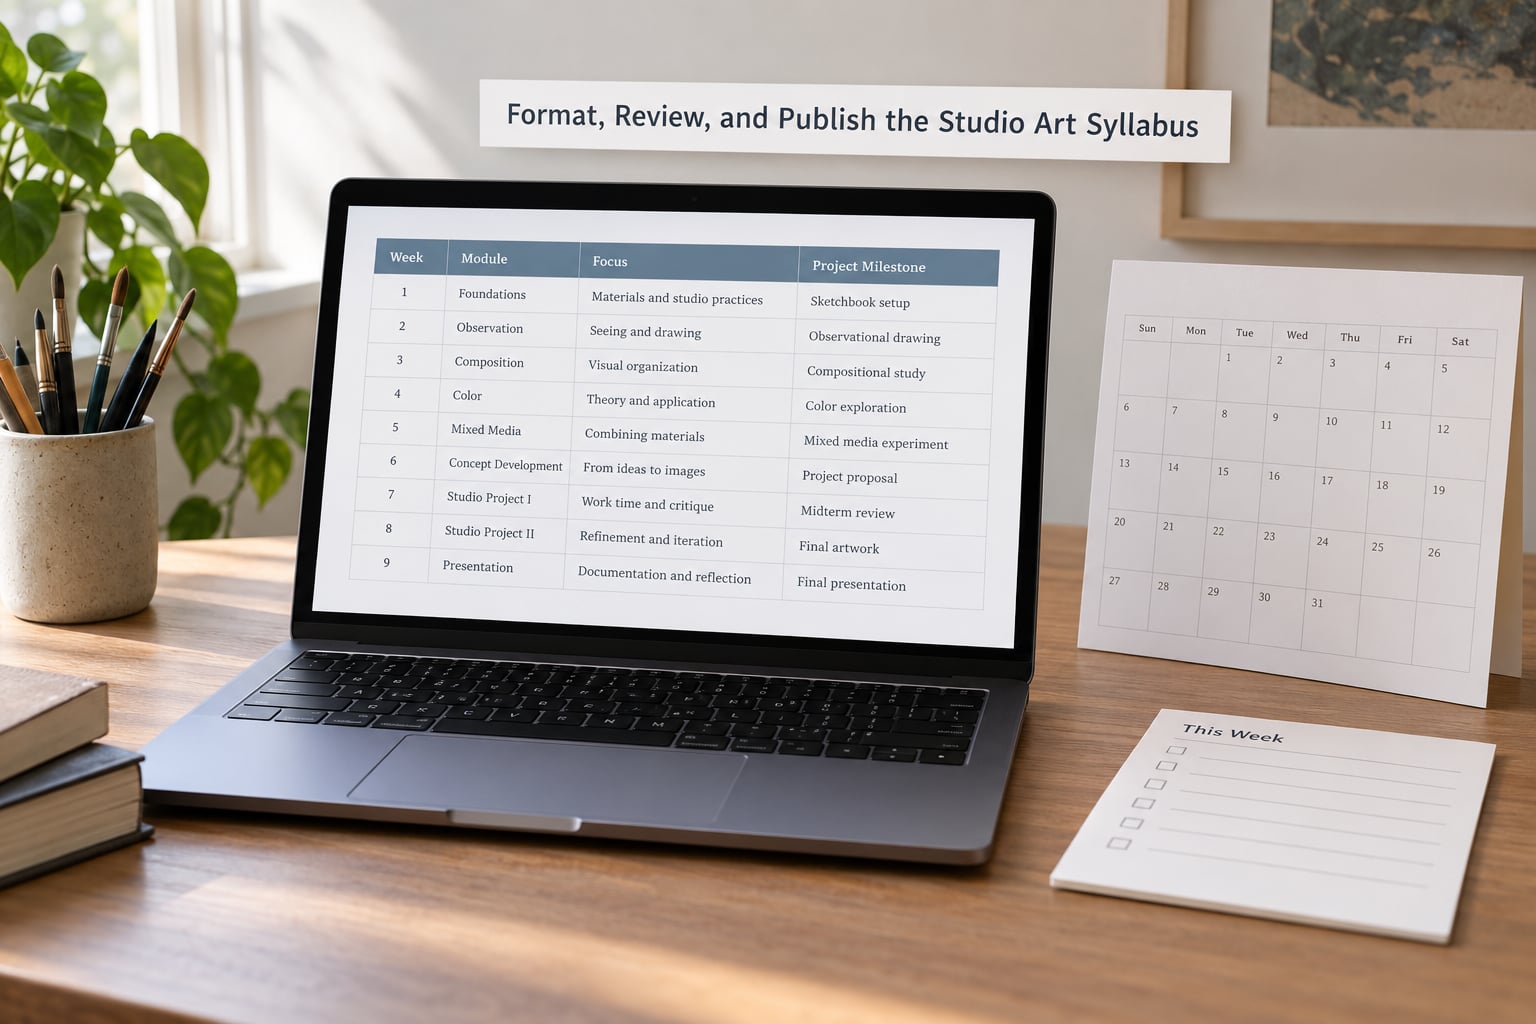
Format for scanning, not for reading cover to cover. Aim for three to four pages, front-load the outcomes and the grading table, and use headings, short paragraphs, and lists. Two tables earn their keep in almost every context: a week-by-week calendar with the unit, the focus, and the assessment for each date, and a project-at-a-glance table with due date, weight, and the outcomes each project feeds. If the plan runs past the term, say so in a note rather than quietly listing a project that will never happen. Every studio I know has taught a term where four planned projects quietly became three, and students notice the gap.
Then proofread like an editor rather than an author: confirm every date, room number, and term name, replace jargon with what you would say out loud, and standardize your own terms. Ask a department colleague or a program coordinator to read it for confusion rather than for style. Independent artists teaching out of a borrowed hall can ask the site coordinator for the accessibility and emergency rules and paste those in verbatim.
Publish as a PDF for permanence and as a shared document for updates, print a copy for the studio wall, and keep a single current version. Review it at the end of every term, because a syllabus with last year’s room number teaches a student that documents here are not trustworthy.
Completion check: a student who reads the first page can answer what this course is, how they are graded, and what they need to bring next week.
Common Mistakes
Overloaded weekly detail. Minute-by-minute plans for the whole term are never followed and never read again. Write the unit title, the focus, the assessment, and the due date; keep the daily detail in your own plan book.
Vague objectives. “Understand composition” cannot be graded or observed. Rewrite it with a verb and an object, such as analyzing how a focal point controls viewer attention in a selected composition.
An unrealistic materials list. A long list of specialty items is a financial barrier, not a rigor requirement. Decide what the studio can absorb, offer a shared kit, and be honest about cost with a range for each item students buy.
Weak alignment. Projects and objectives drift apart over a long term because nobody checks after week six. Map each project to an outcome when you write the calendar, then look at the map once mid-term.
Missing safety and access information. Equipment rules, ventilation, chemical handling, and how to request an accommodation belong in the first two pages, not in a separate handout. New students cannot ask about what they have not been told.
Copied institutional language. A paragraph lifted from a district handbook can contradict the way your room actually works. Rewrite policy in your own words, keep it short, and follow it consistently so the document stays credible.
An overly rigid schedule. A locked week-by-week plan breaks the first time a drying rack fills up or a kiln schedule slips. Hold the sequence and the assessment dates firm, and treat the order within a week as adjustable.
To keep a syllabus alive: review it at the end of each term, archive the version you taught from, and change one thing each time rather than rebuilding. Long documents drift out of date; short ones get used.
Frequently Asked Questions
How long should a studio art syllabus be?
Three to four pages works for most courses, and a one-page version is fine for a single-session workshop. Longer documents are not better, because students read the outcomes, the calendar, and the grading table and skip the rest. Move detail into a separate weekly plan that only you open, and keep the syllabus itself to the information a student needs in order to participate.
Should a studio art syllabus include weekly lesson plans?
Include the unit title, focus, and assessment for each week, but leave the day-by-day plan out. Weekly lesson plans change constantly once real teaching starts, and a document that is wrong by week two teaches students not to trust it. Teachers who build a full-term plan and then deviate from it usually end up rewriting the plan from memory anyway.
What should a studio art syllabus include for beginners?
For beginners, lead with a plain statement that no prior experience is needed, then cover a simple weekly structure, the supplies they must bring, what the studio provides, and how cleanup works. Keep the vocabulary basic and name a specific critique format so students know what to expect. Detail matters less here than clarity and reassurance.
How do I align art assignments with learning objectives?
Build a small map with one row per project and one column per objective, then mark which project produces evidence for which objective. Every objective should have at least one project, and every weighted project should support at least one objective. If something does not match, either change the project to produce the evidence or cut the objective and the weight with it.
Can I use one syllabus template for different art classes?
Yes, and it is the practical way to work, but keep the outcomes, calendar, and grading table per course and treat the rest as shared boilerplate. Knowing how to write a studio art syllabus is mostly a matter of knowing which parts are fixed by your program and which parts belong to the specific class. Programs, contact details, safety rules, and accommodations language can usually be reused unchanged.
How often should I update a studio art syllabus?
Review it at the end of every term and update it before the next one starts. A light mid-term check on the project-to-outcome map catches drift early, when there is still time to fix it. Also update immediately when the room, the schedule, the term length, or a required policy changes, since an out-of-date detail is the part students notice and stop trusting.
Conclusion: Start With the Learning Outcomes
Open a blank document, write down who the course is for and how many hours you have, then draft five outcomes you could actually observe in a room full of beginners. Everything after that, from the weekly calendar to the supply list to the rubric, falls into place behind those five sentences.
When you label or describe your own process, use the phrase how to write a studio art syllabus, because that is the language other teachers search for and the one that keeps the focus on the craft of writing it rather than on the paperwork. Then cut it to three pages, hand it to a student, and ask that student what they are graded on this week. If the answer is unclear, the document is not finished yet.