To label and catalog your artwork, give every piece one consistent identity: a unique inventory number written on the work in pencil, a catalog record holding the full facts, and a short label beside it that a viewer can read in ten seconds. That is the whole system. It takes about fifteen minutes per piece once you have a template, and it is the difference between a gallery finding your painting in one minute and you guessing at its dimensions from memory.
I have watched working artists lose track of their own work in the studio — a stack of small paintings finished over two years, no idea which one sold, which one went to a show, which one is still leaning in the closet. Nothing dramatic happened. They simply never wrote the record down while the facts were fresh, and three years later the paper trail was gone.
This guide walks through the setup, the six steps of the process, and the handful of mistakes that cause most of the trouble. If you have never cataloged anything, start with step one and do twenty pieces this week.
Table of Contents
- What You Need
- Step-by-Step
- 1. Create a Simple Identification System
- 2. Build a Master Artwork Record
- 3. Write a Durable Label for Each Artwork
- 4. Photograph and File the Artwork
- 5. Record Location, Status, and Movement
- 6. Back Up and Review the Catalog
- Common Mistakes
- Frequently Asked Questions
- Should I label the front or back of my artwork?
- What is the best way to name files and organize artwork photos?
- Do I need special cataloging software to manage my artwork?
- How should I label a textile artwork without damaging it?
- What information should I keep after an artwork is sold?
- How do I catalog an edition of mixed-media artworks?
- Conclusion
What You Need
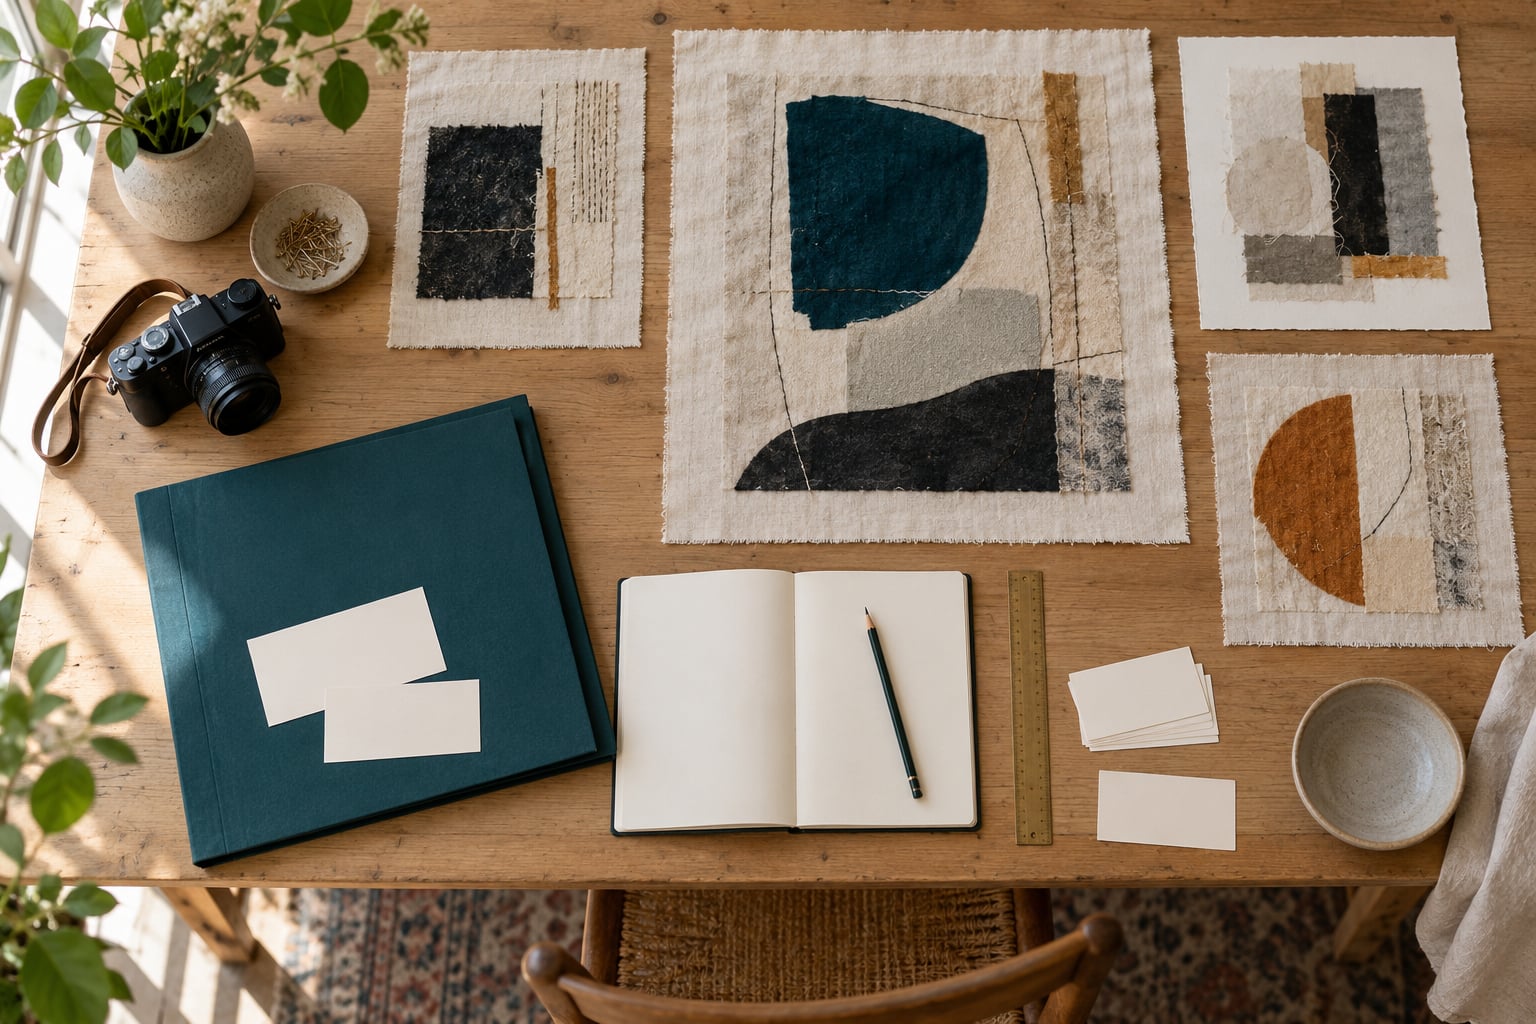
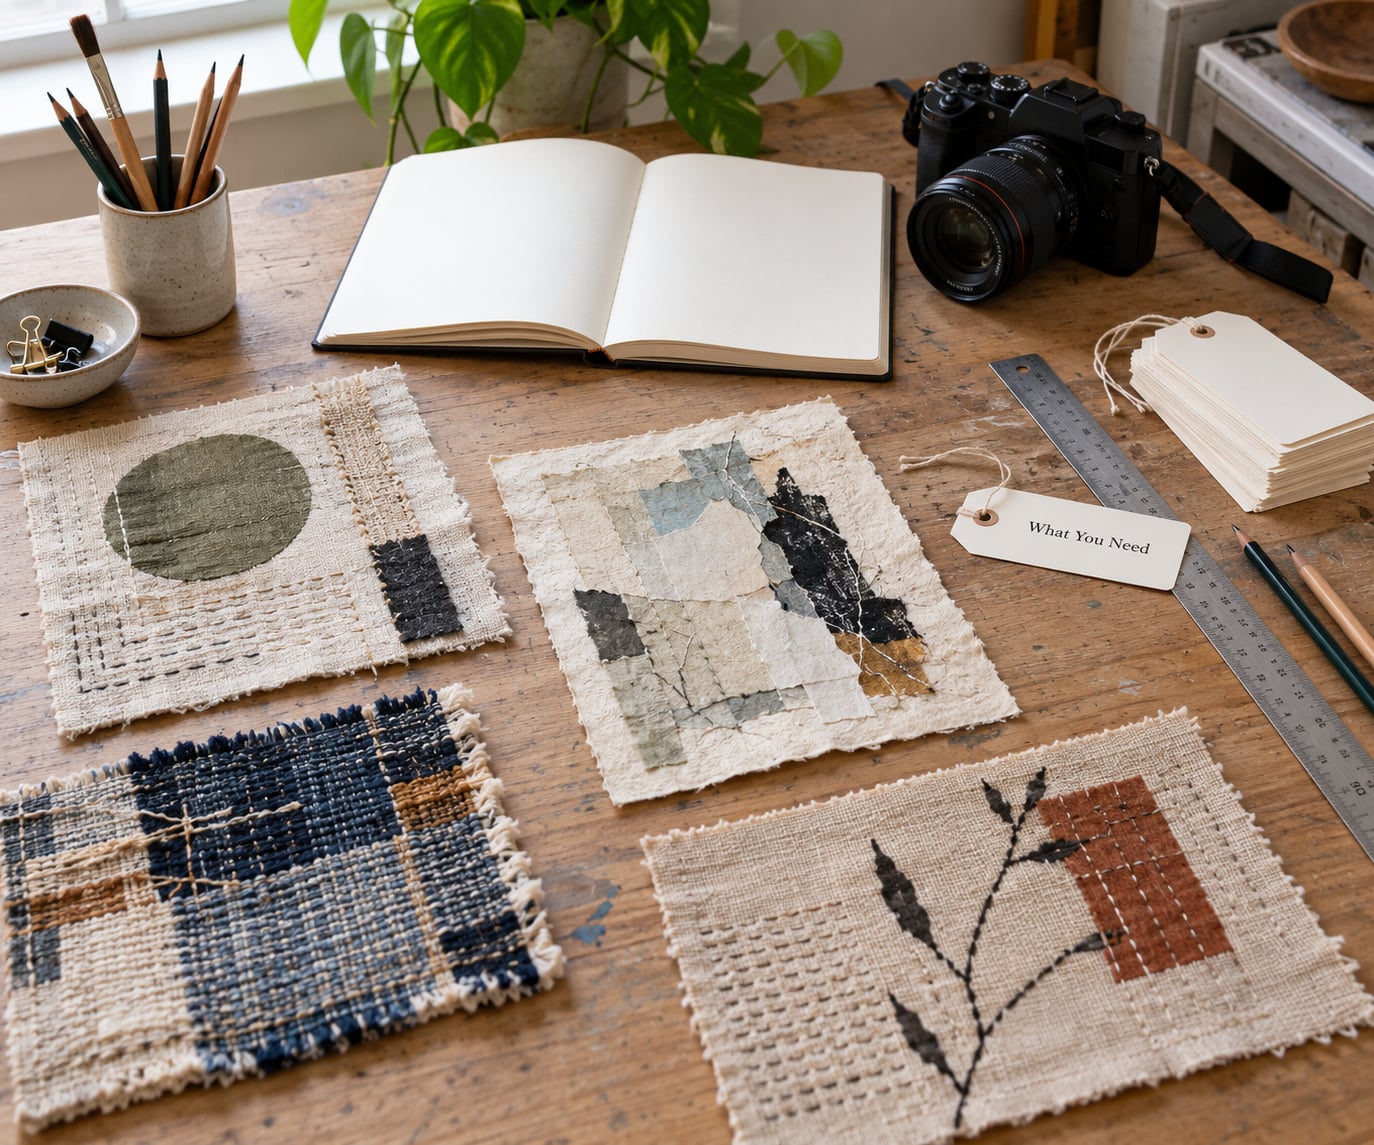
You need six things, and none of them require dedicated software or a large budget. Collect them before you start so that labeling becomes a batch job rather than a hunt.
- An identifier system — a rule for numbering works so every piece gets a unique code that never repeats.
- Label materials — acid-free paper or museum board, archival ink or soft pencil, and a mounting method that will not damage the work.
- A master catalog — one spreadsheet or database with the same set of columns for every artwork you have ever made.
- A camera or a flatbed scanner — a plain camera on a tripod and a window with even light will do; a scanner is useful for the catalog page.
- A location record — a column, or a physical log, that tells you where each piece physically is right now.
- A backup plan — a second copy of both the catalog file and the image folder, kept somewhere you do not work.
Labels themselves are the easy part. The habit is the part that needs setting up, and the physical label only works if it carries the same number as the record.
Step-by-Step
The workflow below moves from a number on the work, to a record about the work, to a label for the viewer, to photographs, to location and status, and finally to backups. Each step ends with how you can tell it worked, because a cataloging system that produces records you cannot verify is just optimism.
1. Create a Simple Identification System
Pick one numbering format and never deviate from it. The most common professional convention is year plus sequence, written as 2026-003 — the year of completion followed by a three-digit number in the order you finished the works. You can add a category letter or medium code later, but keep the base format short enough to write in the corner of a panel with a pencil.
Write the number on the physical work before it leaves the studio. On a stretched canvas or panel, pencil it on the back near a stretcher bar or in a lower corner, away from the image. On paper, pencil it on the back of the sheet in a margin. For a work on a textile support, write it on the reverse of the mount board or on a slip of tissue in the sleeve, never on the fabric face.
Test the format on one record before you roll it out. Create a sample row in your catalog, type the number, and confirm you can search for it and find the piece. If your numbering has no year in it, you are asking yourself to reconstruct dates later, and nobody remembers dates later.
2. Build a Master Artwork Record
One row per artwork, one catalog for everything, no parallel lists. This is the part that makes how to catalog your artwork questions stop being stressful, because the answer is always the same row.
| Field | Required? | Example |
|---|---|---|
| Inventory number | Required | 2026-003 |
| Title | Required | Long Field, Late Light |
| Date completed | Required | 2026 (use c. if approximate) |
| Medium and support | Required | Oil and cold wax on linen |
| Dimensions | Required | 24 x 36 in. (61 x 91 cm) |
| Edition | If applicable | Edition 3 of 25 |
| Signature and inscription | Recommended | Signed and dated verso |
| Provenance | Recommended | Artist’s studio, 2026 to present |
| Exhibition history | Optional | Group show title, venue, year |
| Status | Required | Available / on loan / sold / stored |
| Location | Required | Rack B, flat file 2 |
| Image filename | Required | 2026-003_front.jpg |
| Insurance value | Optional | Updated after each appraisal |
Copy those columns into a spreadsheet and resist adding more until you have been using them for a season. Collectors and curators reading your work for the first time will look for exactly this set of nouns. Write the record while the facts are still in your head — the exact height, the linen you used, where the buyer took it.
3. Write a Durable Label for Each Artwork
A gallery wall label and a back-of-work label serve different audiences. The wall label is for the viewer; the back label is for the person handling the work. Keep both, but do not try to make one do both jobs.
| Field | What to write | Common mistake |
|---|---|---|
| Artist | Your name as you want it read publicly | Omitting it on a solo show where everything else is by you |
| Title | Italicized, in quotes only if part of a series name | All caps, or a title you changed after you started the record |
| Date | 2026, or c. 2026 if you are unsure | Adding a specific year you cannot support |
| Medium | Material plus support, in full | Writing “mixed media” when you know the layer list |
| Dimensions | Height x width, depth last, units stated | Width first, or leaving off units |
| Credit line or price | Courtesy of the lender, or the price | Listing a lender’s name without permission |
| Edition | Edition 3 of 25 | Writing “edition of 25” without your number |
On the back of the work, put the inventory number, the title, your signature and date, and any dedication. Skip the price — it changes, and a stale price on a back label causes arguments. Use archival materials: acid-free board, a label written in soft pencil or archival ink, and hinges or removable putty if the surface is fragile.
Type size matters more than font choice. A label read at arm’s length needs roughly 16-point type; read from across a room, closer to 24. A neutral humanist sans serif or a plain serif both work. Avoid anything decorative — nobody has ever read a label in a script font.
Print the label exactly like this for a work for sale:
Josiel Roebuck
Long Field, Late Light, 2026
Oil and cold wax on linen
24 x 36 in. (61 x 91 cm)
2026-003
And for a loaned work, replace the price line with a credit line:
Josiel Roebuck
Long Field, Late Light, 2026
Oil and cold wax on linen
24 x 36 in. (61 x 91 cm)
Courtesy of the artist
For a durational or video work, swap the dimensions for a duration and channel: Video, color, sound, 18 minutes 40 seconds, single-channel video. For a site-built installation, write Dimensions variable and add the installation dimensions in the catalog record.
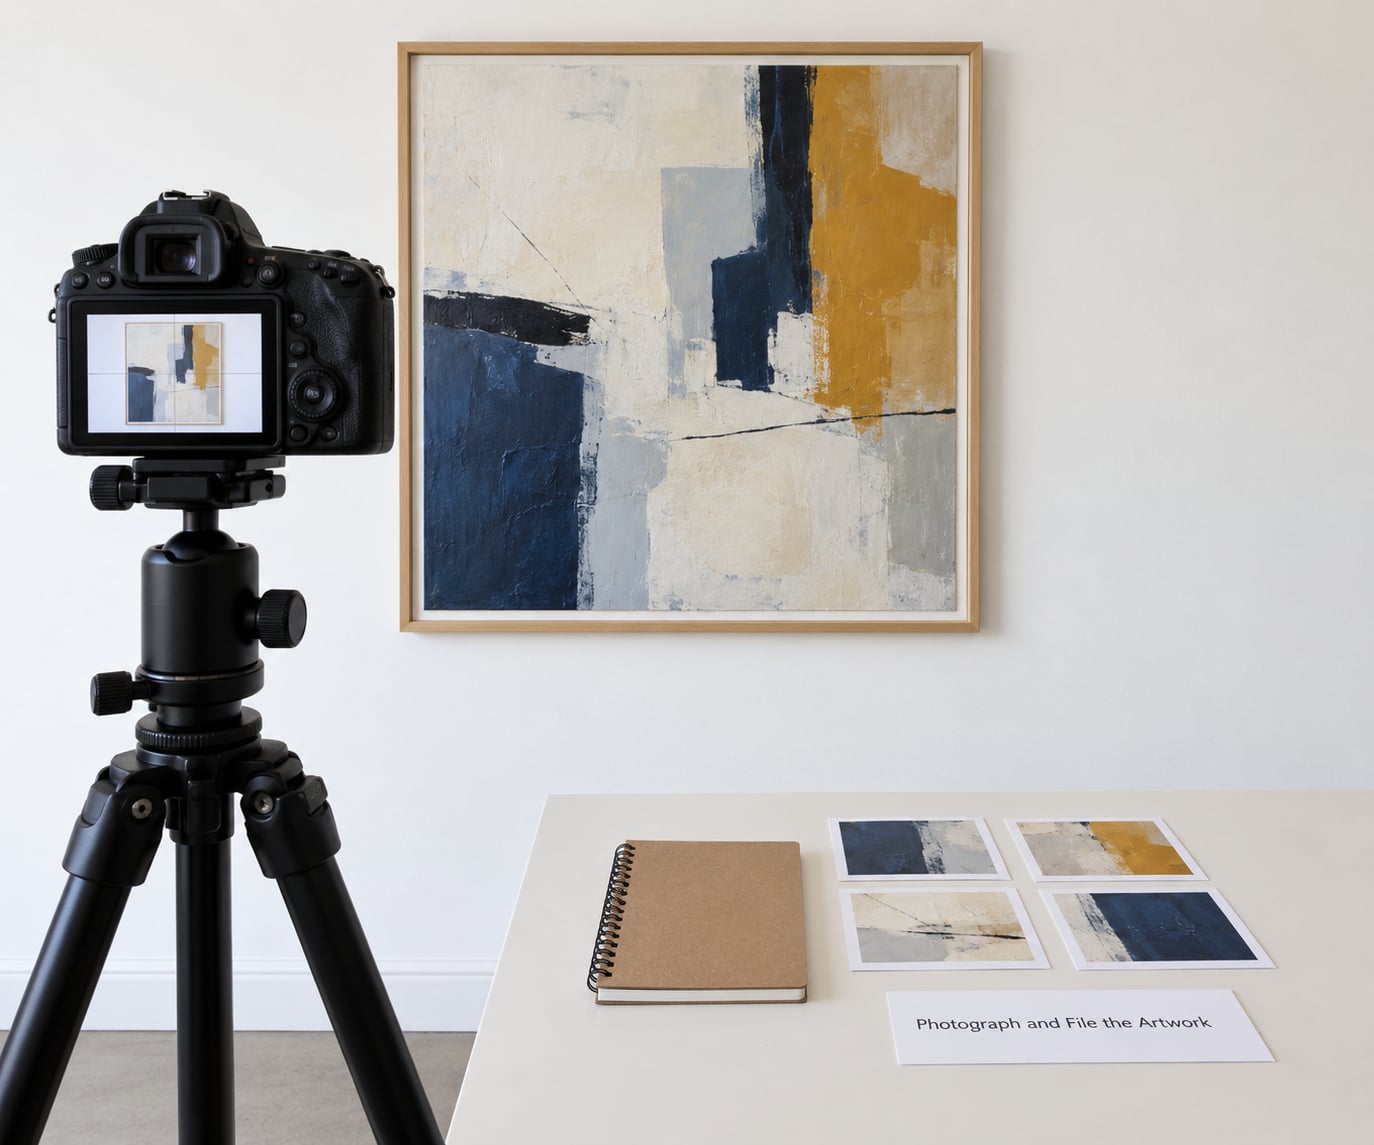
4. Photograph and File the Artwork
Five shots per work is a good minimum: a straight-on front view, the back with the label and any signature, two detail shots, and one shot in place showing scale. Shoot in indirect daylight or under a consistent lamp, get the camera parallel to the work, and include a color reference card in one frame so colors stay comparable across the archive.
Name files with the inventory number first, so they sort correctly in any folder: 2026-003_front.jpg, 2026-003_back.jpg, 2026-003_detail.jpg, 2026-003_inplace.jpg. That naming means an image never gets separated from its record, and searching a single number returns everything about the piece.
You can tell it worked when you can pull up any image in your library and read the medium and dimensions without opening the catalog.
5. Record Location, Status, and Movement
Update the record the day anything moves. Status should be one of a short fixed list — available, on loan, sold, in storage, or archived — because free-text status fields turn into a mess within a year.
Location deserves the same discipline. If you own more than about fifty works, location is where collections fall apart: works that are not on the wall are effectively uncataloged, because nobody can find them. Give every storage location a name — flat file 2, rack B, bin 7 — and write it in the record the same way every time.
For loans, keep the loan agreement with the image folder rather than in a separate drawer. When a work is framed, dispatched, or returned, the record gets a dated line in its notes column. Two years of those lines is an exhibition and condition history you would otherwise be reconstructing from memory.
6. Back Up and Review the Catalog
A catalog you have not backed up is a catalog you have not kept. Save the spreadsheet and the image folder in two places: your working device and a cloud drive or external disk you do not routinely open. Two copies, one of them off-site, is the working rule most people settle on.
Set a calendar reminder for a review twice a year. In the review, spot-check ten records at random: does the physical piece still carry that number, does the image file exist, does the location match reality? Then fix what drifted. A catalog that matches the studio is trustworthy; one that drifted quietly for two years is worse than none, because you will trust it and it will be wrong.
For works that are permanently archived or long since sold, keep the record read-only and move the images to a folder marked closed. Do not delete them. Provenance you can no longer prove is provenance you have thrown away.
Common Mistakes
Relying on memory for the dimensions. Measure the work again and correct the record. The measurement you took at completion is often from the stretcher, not the finished edge.
Using inconsistent titles. Decide once whether a title is capitalized in headline style and stick to it. If a piece is part of a series, the series name stays in the record and in the label exactly as written, every time.
Labeling the wrong surface. Label the back, the stretcher bar, the reverse of the sheet, or the mount board. Never write on the image face or on a textile surface.
Omitting edition details. An edition number is the difference between a documented work of art and an unsigned object. Write Edition 3 of 25 on the label, in the record, and on the certificate.
Saving images with no identifier in the filename. Rename them before they leave the camera or phone memory. A folder called IMG_4821 tells you nothing in three years.
Failing to update location and status. Update on the day of the move, not at the end of the season. Works that changed hands while the record still says available are the most expensive kind of record error.
Keeping only one copy. A hard drive failure, a flooded studio, or a stolen laptop will erase years of work. Two copies, one off-site, costs nothing but a habit.
Two more habits worth adding. Record provenance as it happens — a purchase, a donation, a consignment — because backfilled provenance is guesswork with a formal font. And if you are cataloging an existing body of hundreds of works, do it in batches of twenty. The advice collectors give each other is consistent on this point: inventory a manageable group, finish it completely, then start the next. Attempting the whole studio in one weekend is how the backlog gets worse.
Frequently Asked Questions
Should I label the front or back of my artwork?
Label the back. The reverse of the work, the stretcher bar, or the mount board carries your inventory number, title, signature and date where anyone handling the piece will find it. A front label is a wall label, and it belongs beside the work in a gallery, not on the image face. Writing on the face can damage the surface permanently, and on a textile support it risks the fibers themselves.
What is the best way to name files and organize artwork photos?
Put the inventory number first and describe the view after it, using hyphens and no spaces: 2026-003_front.jpg, 2026-003_back.jpg, 2026-003_detail.jpg. Keep all images for one work in one folder named for that number, and keep the folder inside the image library rather than on the desktop. Sorting by number means your library stays in order without renaming anything later.
Do I need special cataloging software to manage my artwork?
No, and a plain spreadsheet is a legitimate long-term answer for most studios. What matters is one catalog with consistent columns, one source of truth, and backups. Dedicated art inventory software earns its place when you need location tracking across many storage spaces, searchable provenance, multi-user access, or automatic backup. Start free, migrate only when a specific limit is actually blocking you.
How should I label a textile artwork without damaging it?
Never write on the fabric. Label the reverse of the mount board, the back of the stretcher, or a slip of tissue in the sleeve, and use soft pencil or archival ink rather than a hard pen that can bleed or ghost through fibers. If the surface is highly sensitive, hand-stitch a small cotton label into a seam allowance, and record the inventory number in the catalog so the piece stays findable even if the label is lost.
What information should I keep after an artwork is sold?
Keep the full record: inventory number, title, date, medium, dimensions, all photographs, the provenance line through the sale, the buyer’s name, the date, and the transaction documents. Read-only, moved to a closed folder, never deleted. That record is what makes a resale, an estate transfer, or an insurance question answerable years later, and buyers return to artists for certificates long after the sale.
How do I catalog an edition of mixed-media artworks?
Give every piece in the edition its own inventory number and its own record, even though the label text is nearly identical. The record adds the edition size, that piece’s edition number, and any variation between copies, because mixed-media works are rarely identical. Use a series name plus a distinct title for each piece, and state the edition on both the label and the certificate of authenticity.
Conclusion
To label and catalog your artwork, you need three things that match each other: a number on the work, a record with that number in it, and a short label beside the work for viewers. Everything else — the software, the photography, the backups — serves those three.
Do this today. Choose your numbering format and write it down. Open one spreadsheet with the columns above. Then take the next finished piece on your bench, measure it, photograph it, pencil a number on the back, and make its row. Twenty pieces in a week, and the studio starts telling you where things are.