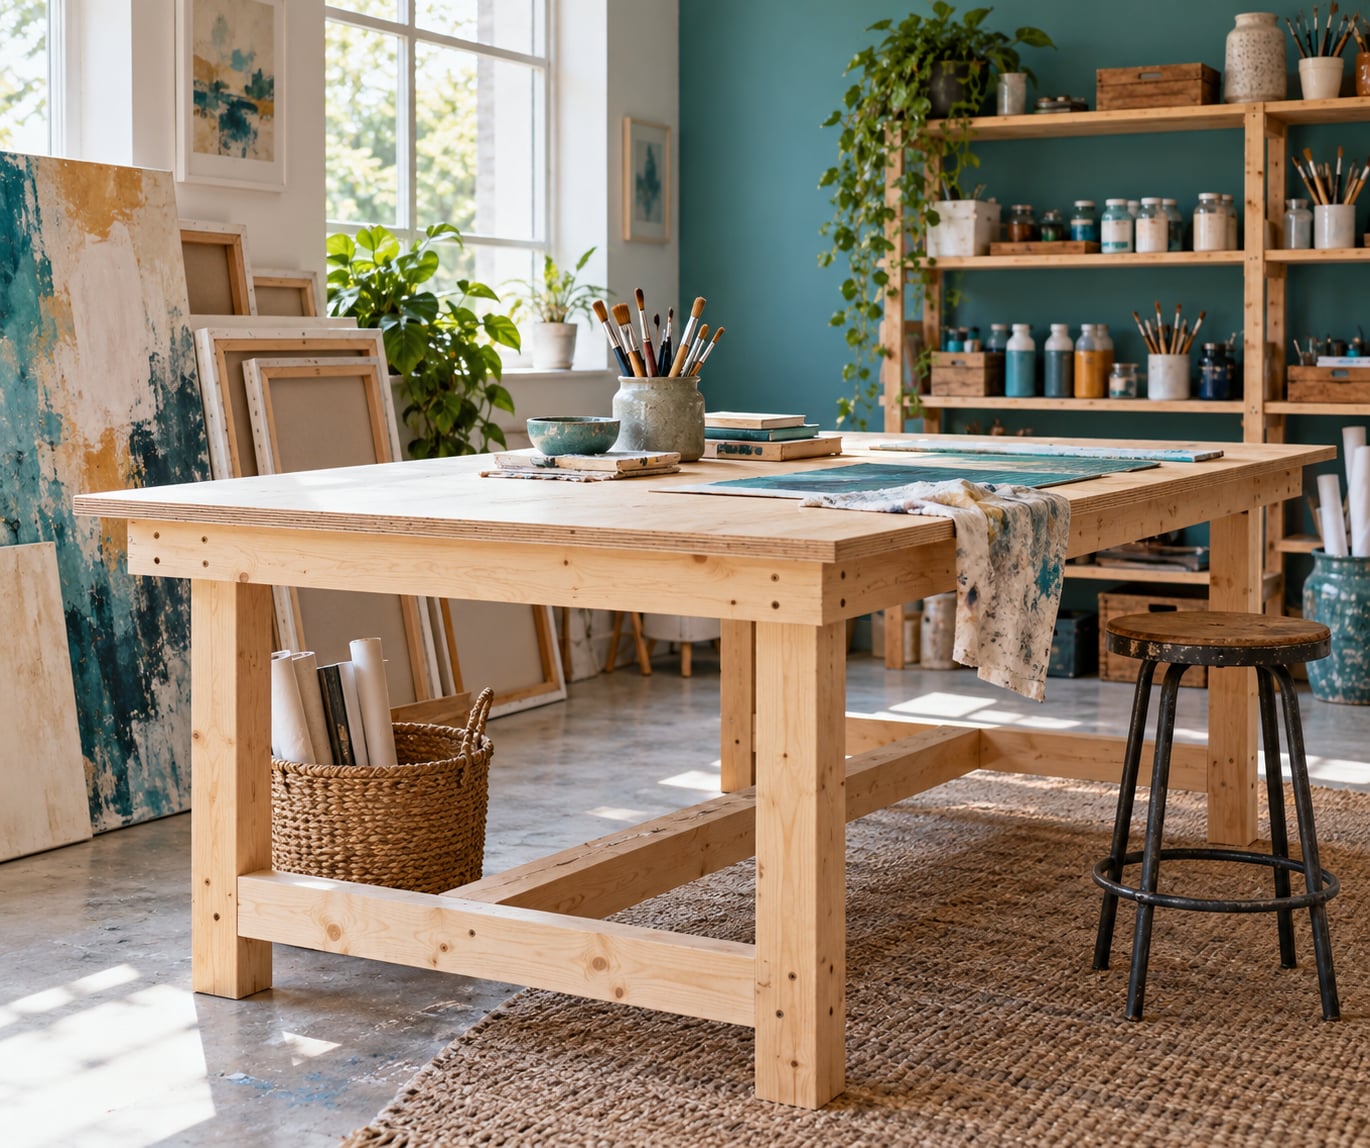
A cheap studio work table is a flat, sturdy surface, usually a sheet of plywood or a reclaimed solid-core door on a frame of 2×4 lumber, and you can build one in a weekend for the price of the lumber and a box of screws. There is no clever joinery involved. What keeps a cheap table from feeling like a toy is a square frame, one diagonal brace, and a top thick enough not to bow when you lean your weight on it.
Ask anyone who has rebuilt a studio table for painting, quilting or mixed media and the same handful of decisions come up every time: how tall, how deep, what the top is made of, and how the corners are held together. Get those four right and the rest is just assembly. Get them wrong and you will be fighting a wobbly table every time you try to cut something straight on it.
Table of Contents
- What You Need
- Step-by-Step
- Plan the Table Size and Work Surface
- Assemble the Support Frame
- Attach the Tabletop
- Add Storage and Finishing Details
- Common Mistakes
- Frequently Asked Questions
- What is a comfortable height for an artist studio work table?
- Can I build a sturdy studio work table with reclaimed wood?
- What is the cheapest practical tabletop material for an art studio?
- Should a studio work table have casters?
- How much weight should a DIY art work table support?
- How do I keep paint or glue from damaging the tabletop?
What You Need
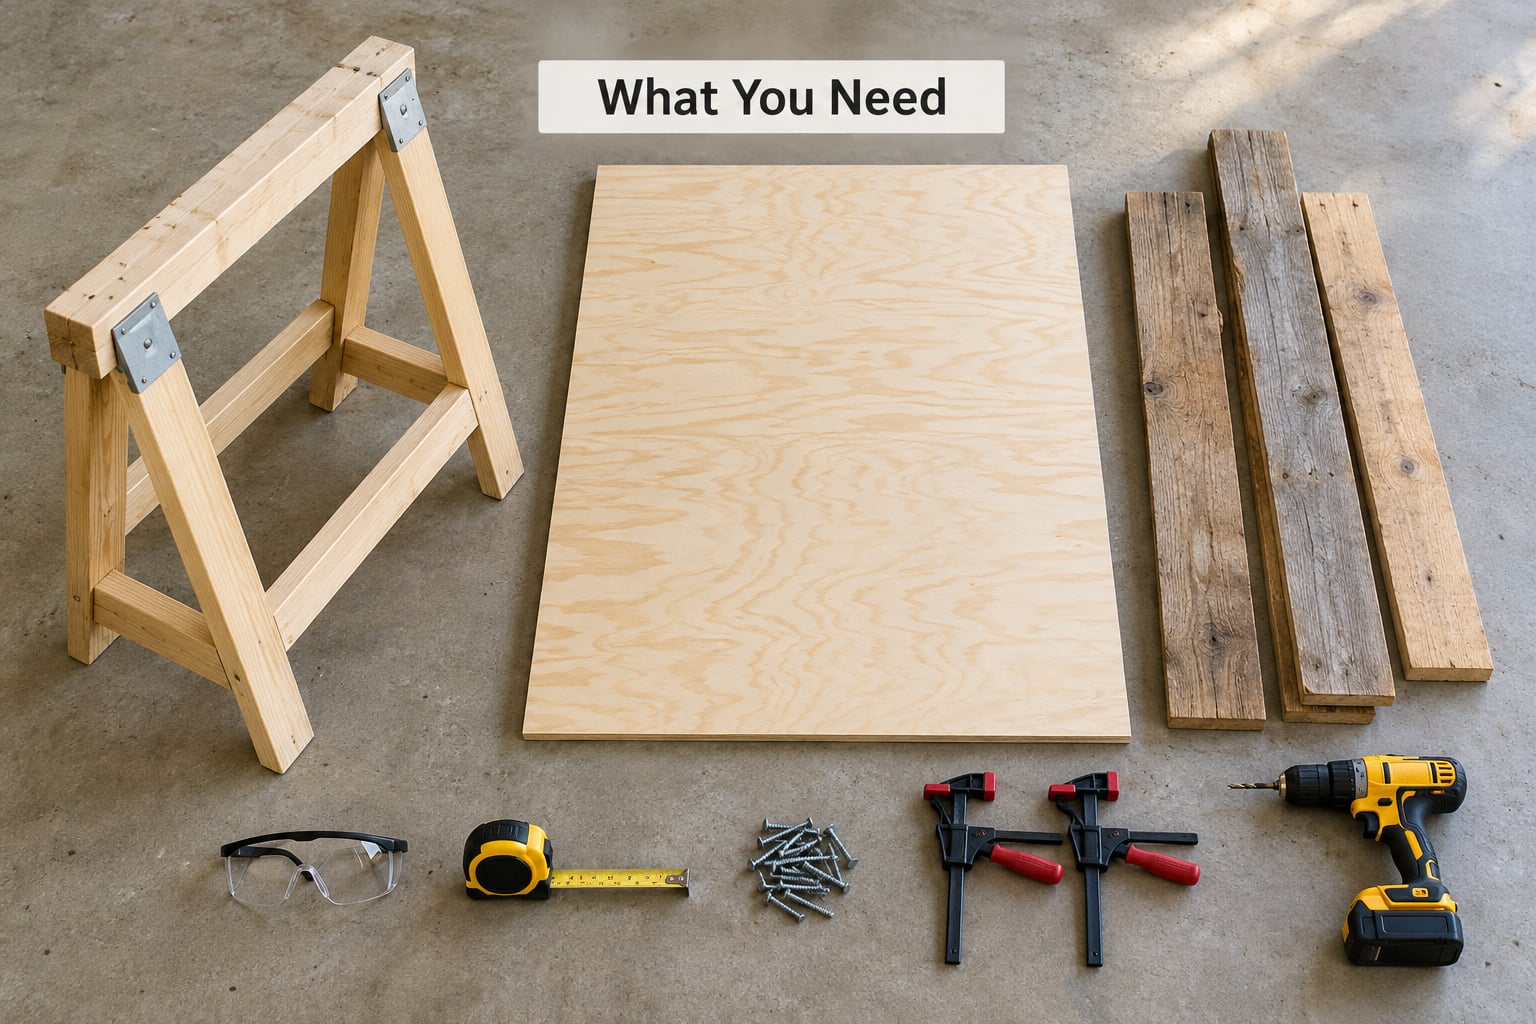
Start by picking a plan, because the top material decides most of the cost. Here are four builds that work in a real studio, cheapest route first.
| Build plan | Best for | Height range | Difficulty | Storage |
|---|---|---|---|---|
| Reclaimed door on a 2×4 frame | The lowest-cost route, one evening of work | 28-42 inch | Beginner | Shelf added later |
| Three-quarter inch plywood on a box frame | Heavy gear and a surface you can clamp to | 28-42 inch | Beginner, one evening longer | Shelf built into the frame |
| Raise an existing table | Standing height without any cutting | Adds 10-12 inch | Beginner | Already built in |
| Pallet or fence-post base | Scrappy builds, garage and patio work | Bar height | Beginner | Limited |
For a 60 by 30 inch table with a 2 inch overhang on every side, the frame footprint is 56 by 26 inches. Cut everything to this list and the math is done for you.
| Part | Cut size | Quantity |
|---|---|---|
| Legs (3.5 by 3.5 inch section standing upright) | 27-3/4 inch for a 30 inch table | 4 |
| Long aprons between the legs | 49 inch | 2 |
| Short aprons between the legs | 19 inch | 2 |
| Lower shelf boards | 49 inch | 4 |
| Top | Three-quarter inch plywood, 60 by 30 inch | 1 |
| Coarse thread screws | 1-1/4 inch #6, plus 2-1/2 inch for aprons | 1 box |
Remember that a nominal 2×4 actually measures 1.5 by 3.5 inches. Every number in that list comes from the real width, which is why the aprons are 49 inches rather than 56.
Your tools can be short. A circular saw or a handsaw, a drill driver, a tape measure, a speed square, a clamp, and a level will cover the whole build. A pocket-hole jig is nice but not needed, and a nail gun is optional too. If you have to rent one thing, rent a random orbital sander for the afternoon you finish the top.
Substitutions that will not cost you stability: plywood can be MDF if you seal every edge, a door can be a sheet of half-inch plywood, and corner brackets can replace one apron. Do not substitute the legs. Four pieces of straight 2×4 doing the load-bearing work are the one place to spend properly.
Step-by-Step
Plan the Table Size and Work Surface
Height is the decision people regret, because it is expensive to change later. Measure the room, not your imagination, and leave a few inches of clearance for movement around the table.
| Work surface height | Suits | Notes |
|---|---|---|
| 28-30 inch | Seated painting, drawing, sewing, admin | Standard desk height, easiest on the back |
| 34-36 inch | Drafting, cutting, light assembly | Standing or perch height |
| 40-42 inch | Standing work, mixing, printmaking | Poor choice for long seated sessions |
For a 30 inch finished table with a three-quarter inch top and aprons laid flat across the leg ends, the leg length is the finished height minus 0.75 inch minus 1.5 inch, which gives 27-3/4 inch legs. Write that subtraction on the board before you cut anything.
Depth matters more than most people expect. A 30 inch deep table leaves room for a cutting mat, a board and a stack of work in progress side by side. Below 24 inches you will be constantly turning to reach the back edge.
Assemble the Support Frame
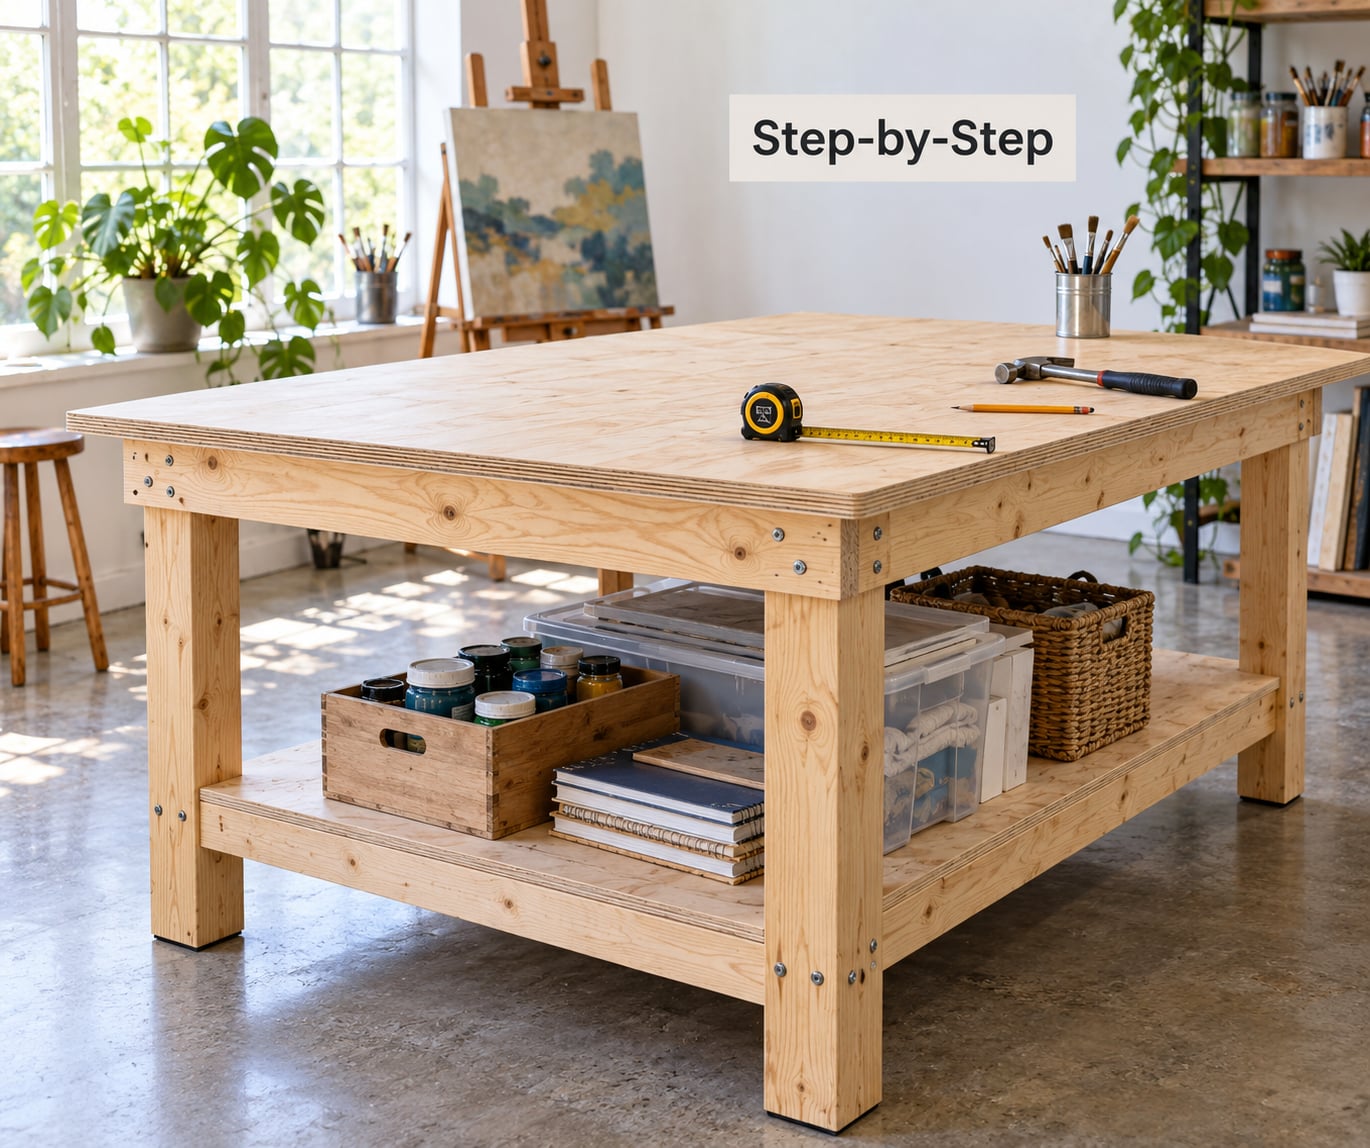
Cut the four legs first, then lay them out on the floor with their best face out and check each one for twist. A single bowed leg makes the whole frame rock no matter how carefully you assemble it.
Screw the long aprons between the legs with 2-1/2 inch screws, two per joint, keeping the top edges flush. Add the short aprons the same way. Do not drive the screws until you have the whole rectangle on the floor and the corners lined up.
Stand the frame up and check it for square by measuring corner to corner in both directions. If the two diagonals match, the rectangle is square. Adjust by nudging one leg before you add any more fasteners, because a frame that is square at the start stays square.
Now the part that stops the wobble: one flat diagonal brace screwed across two corners. It costs one board and a handful of screws, and it turns a flexible rectangle into a rigid triangle. With a lower shelf planned, you get that rigidity for free from the shelf itself as long as you fasten the shelf to the legs rather than resting it on brackets.
Attach the Tabletop
Lay the top over the frame and centre it before you fasten anything. With a 2 inch overhang all the way round you can clamp a frame to the edge, push a shelf into the gap and still have room to work along the front.
For a door top, set the door face down on the floor, turn the frame upside down onto it, and screw up into the rails. Working at floor level keeps the door flat and stops you from trying to balance a heavy slab on a frame that is still wobbling.
Use 1-1/4 inch coarse thread screws into the top of each apron and each leg, roughly two inches in from the edge, and stay well away from the door’s hollow centre if you are using a hollow-core door. Solid-core doors take screws anywhere. Add a dab of wood glue on the plywood-to-frame joint if you want the top to stay put for a lifetime.
Break the edges with a sanding block once the top is on. It takes five minutes and it stops the sharp corner that would otherwise slice a forearm every time you slide a cutting mat across.
Add Storage and Finishing Details
Screw the four lower shelf boards to the inside faces of the legs, set at whatever height clears the floor for your cleaning routine. Two or three inches is plenty for mops and buckets. Shelf boards screwed into solid wood carry canvases and clay that brackets alone would let sag.
Run a power strip under the top along a back rail, screwed down rather than left loose, and route cables through a clip or a short sleeve zip-tied to a leg. Nothing kills a cheap table faster than a cable saw that a bare board cuts straight through.
Finish with sanding: 100 grit to knock the edges, 200 grit over the whole surface, then 400 grit if you want a genuinely smooth painting surface. Vacuum between grits, because dust under sealer is the one thing that cannot be fixed afterwards.
Seal with two thin coats of a water-based satin sealer, allowing the full dry time printed on the tin between coats. Thin coats dry through. One heavy coat skins over on top and stays tacky underneath, which is the most common way a cheap table ends up looking unfinished.
Common Mistakes
Racking and wobble almost always come from a missing diagonal or from nailing instead of screwing. Screws resist the twisting force that a person leaning on the table generates; nails eventually pull out. Add the brace before you add any finish.
An undersized top is the second usual fault. A top that is exactly frame-sized has no overhang, no clamping room and no place to hang a strap, and it will chip within a year. Keep that 2 inch margin.
Building flat on a floor with no protection is a quiet way to ruin the work. Put a scrap sheet or a folded blanket underneath, and if the room floor is concrete, check it is dry before you start. MDF and particle board swell permanently when they take on water at the edges, and the swelling shows up days later, not the day you finish.
An over-heavy top on a light frame is the fourth mistake. A hollow-core door is light and fine; a salvaged oak slab is neither, and it will drive the joints out of square. Weigh what you are putting on top and match the frame to it.
Rushing the finish is the last one, and it is the hardest to undo. Sand inside corners with a folded strip of paper, do not round the joints off with a random orbital sander, and vacuum properly. Then let each coat dry all the way before you decide whether it needs another.
Before you cut, check the room for level floors, studs in the wall if you plan to anchor the table, and a path wide enough to get the top through the door. Most builders lose an afternoon to a top that does not fit up the stairs, and it happens to everyone once. Leave usable room under the top for whatever you have not planned yet, because you will add something.
Frequently Asked Questions
What is a comfortable height for an artist studio work table?
Most artists do their best seated work at 28 to 30 inches, which is standard desk height. Measure from your seated elbow down rather than from the floor up, since that puts your forearms level instead of sloping. Standing work reads better at 40 to 42 inches, and 34 to 36 inches suits drafting, cutting and short perch sessions.
Can I build a sturdy studio work table with reclaimed wood?
Yes, as long as the frame lumber is sound. Skip boards that are soft, cupped, split or riddled with nail holes, and fill remaining holes with wood filler rather than working around them. A reclaimed solid-core door makes an excellent top if it is flat, and solid core screws into cleanly. Check old lumber for beetles before you cut it.
What is the cheapest practical tabletop material for an art studio?
A reclaimed solid-core door is often the least expensive large flat surface available, and hollow-core doors will not take clamping pressure well. Half-inch plywood is the next step up and resists dents better. MDF and particle board are flat and inexpensive but swell if water sits on them, so seal every edge on any of these before paint or glue reaches the surface.
Should a studio work table have casters?
Only if you move the table often. Four swivel casters rated above the finished weight make a heavy table manageable, but they add height and can wobble on uneven floors. Locking casters reduce that. If the table stays where it is, adjustable feet or a shim under one corner give a steadier and simpler result.
How much weight should a DIY art work table support?
A frame of 2×4 on edge, screwed rather than nailed at the joints, carries well past 300 pounds spread across the top. Add a center rail if you plan to hang a monitor arm or a heavy vise. The real limit is usually the top material, since half-inch plywood sags under a row of amps and a subwoofer wants headroom beneath it.
How do I keep paint or glue from damaging the tabletop?
Work on something removable rather than on the table itself. A self-healing cutting mat handles blades and rulers, a silicone or vinyl mat takes paint and washes clean, and a sheet of tempered glass stands up to hot glue and solvents. Wipe glue while it is still soft, and use thin sealer coats so a damaged spot can be sanded and recoated.
That is how to build a cheap studio work table that outlasts a department store desk, and every part of it works with a drill and a saw. Before you cut anything, measure your room, pick your height, and check the top will fit through the door. Then cut the legs and let the rest follow the cut list.