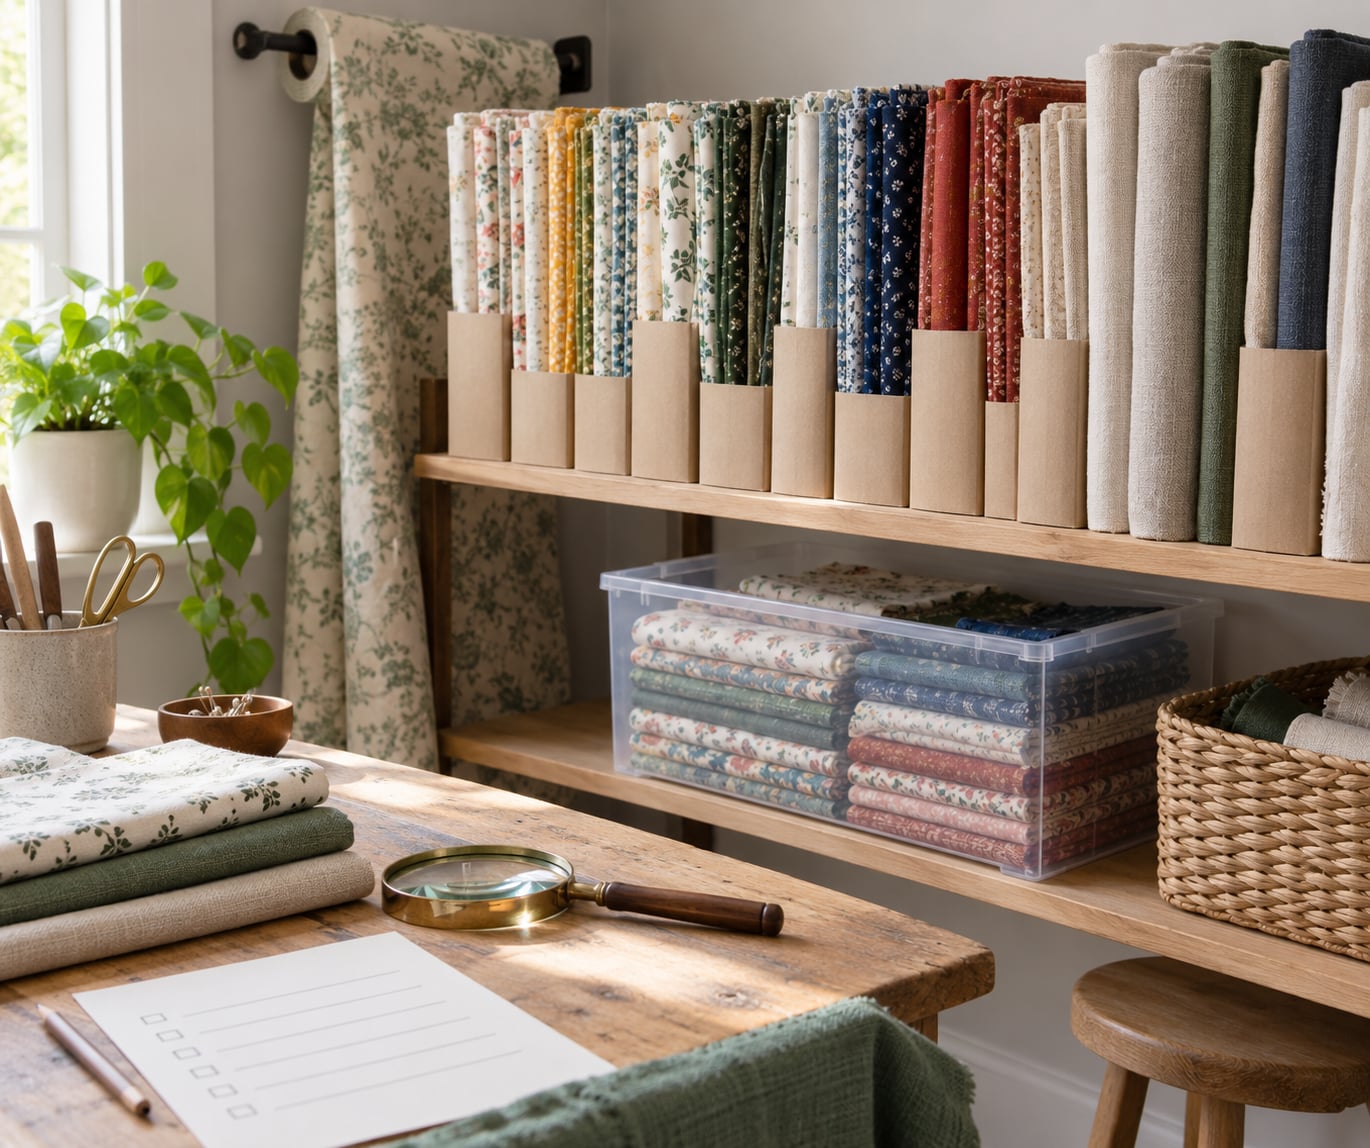
The fastest way to store fabric in a small studio is to stop folding it into flat piles and start standing it up. Wrap yardage around boards, fold smaller pieces over file folders so every print faces outward, sort by color and fiber, and keep whatever you are sewing this week within arm’s reach of the machine.
That single change does more than save floor area. Fabric is bulky but thin, so a folded stack is mostly air and it leans, creases and hides half its contents. Held on edge, the same cloth takes up a fraction of the depth, stays flat and unwrinkled, and you can see what you own at a glance — which is how you stop buying a print you already own twice.
Anyone who sews in a converted corner knows the other half of the problem. In a PatternReview discussion about turning an untouched room into a sewing studio, the thread kept circling back to the same line: fabric grows faster than rooms do, and it spreads into the living space, then the garage, then the shed. The fix is a system that decides where every piece lives before it comes home from the shop.
Reviewed for 2026. Storage gear changes slowly, but moth and humidity advice does not, so the check dates are noted throughout.
Table of Contents
- What You Need
- For sorting
- For preparing
- For housing
- For protecting
- Step-by-Step
- 1. Sort fabric by project, size and frequency of use
- 2. Clean and inspect fabric before storing it
- 3. Fold fabric by size and keep the grain straight
- 4. Use vertical shelving for narrow spaces
- 5. Label every location and fabric category
- 6. Protect delicate, vintage and heirloom textiles
- 7. Create a first-in, first-out rotation
- Common Mistakes
- Storing fabric damp or freshly washed
- Overfilling bins
- Folding expensive or special textiles along hard creases
- Using generic labels
- Leaving fabric in direct sunlight
- Putting tape or sticky labels on the fabric
- Frequently Asked Questions
- What is the best way to store fabric in a small studio?
- Should fabric be folded or rolled for long-term storage?
- What containers are safe for storing fabric?
- How do I keep fabric from getting moths in storage?
- How should I store fabric that is rarely used?
- How do I organize fabric if I have no shelving space?
- Conclusion
What You Need
None of this requires a dedicated craft room or a wall of matching cabinets. The supplies fall into four jobs, and you only need the first two to get a system running.
For sorting
- A tape measure or ruler, for checking cubby width against your fabric widths
- Index cards, a roll of masking labels or a cheap label maker, for location codes
- A small notebook or phone note for the location map
For preparing
- Sharp fabric shears, for trimming frayed edges and cutting clean folds
- An iron or steamer, to press out the creases before anything is stacked
- A lint roller or stiff brush, for pet hair and loose fibers
- A washing machine, plus a mesh bag, for the fabrics you are allowed to wash
For housing
- Shelf space, cubbies, or an empty bookcase — vertical storage does the heavy lifting
- Cardboard grain/flour boxes, foam core, or thin plywood panels cut to your shelf height, for making vertical file wraps
- Clear or opaque bins with lids, sized so one container stays liftable
- A tension rod, an over-door rack or a hanging shoe organizer for the space you cannot reach
For protecting
- Acid-free tissue paper for folds in valuable or vintage cloth
- Cotton sheets or pillowcases as breathable dust covers
- Cedar blocks or lavender sachets, used with airflow rather than sealed plastic
Optional but genuinely useful: a chalkboard or dry-erase sheet near your bins for the current project list, and a small caddy for the tools you move with each work session.
Step-by-Step
Seven steps, in order. Each one is fast on its own; together they turn a pile of cloth into a storage system you can actually maintain in a small room.
1. Sort fabric by project, size and frequency of use
Pull everything out and make three piles: in-progress, active supply, and long-term reserve. Anything you cut from this month goes in the first pile and lives near the machine, not in the back of a closet. Reserve yardage you have not touched in a year goes to the coldest spot in the room.
Then sort each pile by size, because size decides the storage method. Full bolts and yardage need vertical space; fat quarters and half-yards stack well; scraps under half a yard need a system of their own. A simple three-tier priority label — one, two, three — tells you what gets replaced first when you run out of room.
Example: you are piecing a nine-patch and have 14 fat quarters picked out. Those 14 get a labeled bin you can pull down in one motion. The 40 fat quarters you bought for a future scrap quilt go on a shelf by color, because you will not touch them for a year.
2. Clean and inspect fabric before storing it
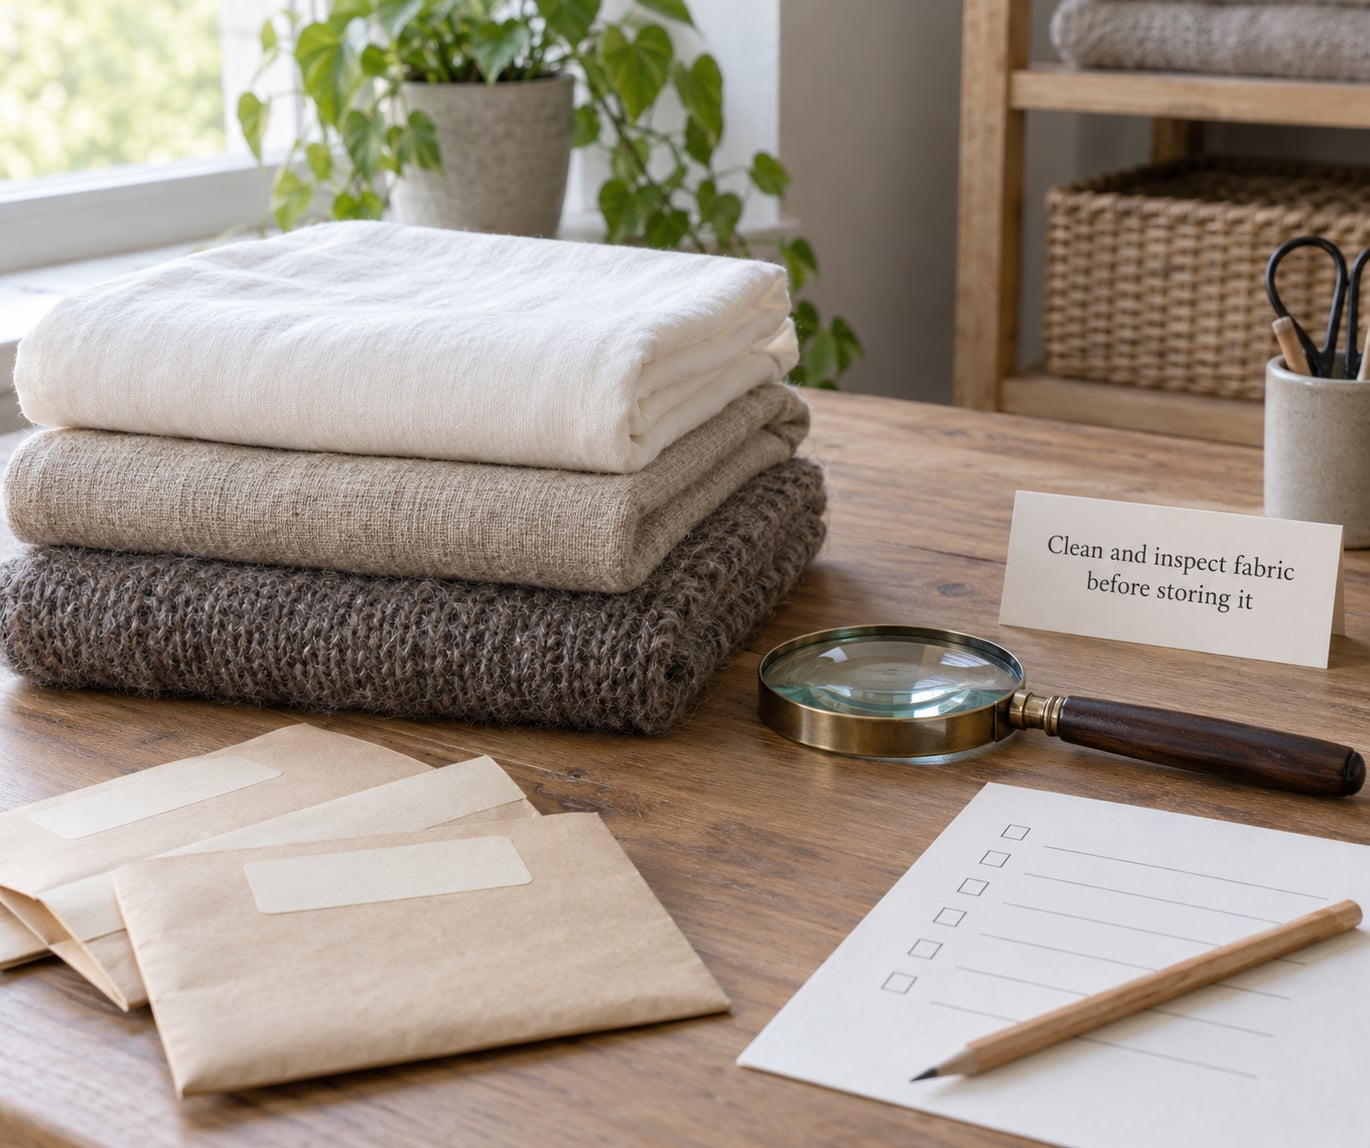
Storage amplifies whatever you put into it. A stained or musty piece stored next to good yardage will still be stained, only quieter about it. Go through the stack piece by piece with a magnifying glass and a paper checklist.
Look for four things: small holes or webbing that suggest moth or carpet beetle damage, yellow or brown staining, a damp or musty smell, and brittle or torn selvages. A fabric that smells musty when you unwrap it should go straight out of the room rather than into a bin, since that smell usually means storage dampness that will spread.
Clean by fiber, not by habit. Plain cottons and linens can be laundered and dried fully. Wool, silk, rayon and anything with metallic thread should not go in a machine at all; those pieces get aired in shade, brushed, and if they need more than that, professionally cleaned before they go anywhere near a long-term shelf. Dried-over fabric stored damp will smell for years.
One last check: press each piece flat, trim the frayed edge, and confirm the color is even across the whole width. Sun-faded fabric stored next to good fabric does not damage it, but it tells you that shelf gets light and needs a cover.
3. Fold fabric by size and keep the grain straight
Align the selvages — the finished edges of the cloth — before you fold, and keep them together through every fold. Grain that runs straight is what lets a stack sit flat and what makes a fold-over display read as one clean line instead of a sagging mess.
Fold yardage into units no wider than your shelf depth. Fat quarters and half-yards stack in small piles of five or six; more than that and the bottom pieces pick up a fold line. Cut scraps and strips into a couple of standard sizes — say six inch squares and two-and-a-half inch strips — and scraps of different sizes stop competing for the same bin.
Do not fold what folding ruins. Velvet, corduroy, knitwear, satin and silk creases badly and sometimes never comes back. Roll those around a board or a length of cardboard, tuck the loose end under the roll, and stand the rolls upright.
Oversized pieces — a wide backing, a full drape of interlining — are usually better on the roll too. A hard crease set in a large piece is a crease you cannot steam out later without re-pressing the whole thing, which is not something you want to do in a small room with no pressing space.
4. Use vertical shelving for narrow spaces
Vertical storage is the single biggest win in a small studio. Stand fabric on its edge and it occupies shelf depth rather than shelf height, so a 12 inch cubby can hold 20 folded pieces instead of four stacked ones.
The cheap version: cut cardboard grain boxes or foam core panels to the height and depth of your shelf, wrap folded fabric around them like a file folder, and stand the row in the cubby. The board makes the fabric stand, gives it a straight edge and keeps dust off the fold. The upgraded version adds two boards per wrap so both faces stay flat, which is what most fabric bolt racks sold for this purpose do.
Other vertical options for narrow rooms: a tension rod between two studs or a corner, holding a few rolled lengths; a rolling cart beside the cutting table for the current project only; an over-the-door rack for flat items; and a hanging organizer on the back of a closet door for small pieces.
Two rules keep vertical storage working. Stay under the shelf’s real load limit — thick cotton and canvas get heavy fast — and add a shelf lip, a tension rod across the front, or a single strip of removable shelf liner so the row cannot walk forward and topple.
5. Label every location and fabric category
Unlabeled storage means re-buying fabric, and the label is the part everyone skips. Use one consistent code that tells you three things: what it is, where it is, and whether it matters.
A workable label format reads something like B2 — cotton, floral, blue/cream, 2.5 yd, island quilt. B2 is the shelf position, the rest is content. For the pieces you rarely touch, add fiber content and a purchase date: C1 — linen, natural, 4 yd, reserve bolt.
Apply the same code to the bin, to the shelf edge above it, and to a map on your wall or door. Then you only have to remember one code, not find a bin by squinting at it. Photograph each labeled shelf on your phone — a photo of the whole labeled row beats hunting through six bins, and it takes seconds.
Write the label on the container, not on the fabric. Masking tape and sticky labels on cloth leave adhesive residue and can stain, so keep tape away from anything you would be upset to ruin.
6. Protect delicate, vintage and heirloom textiles
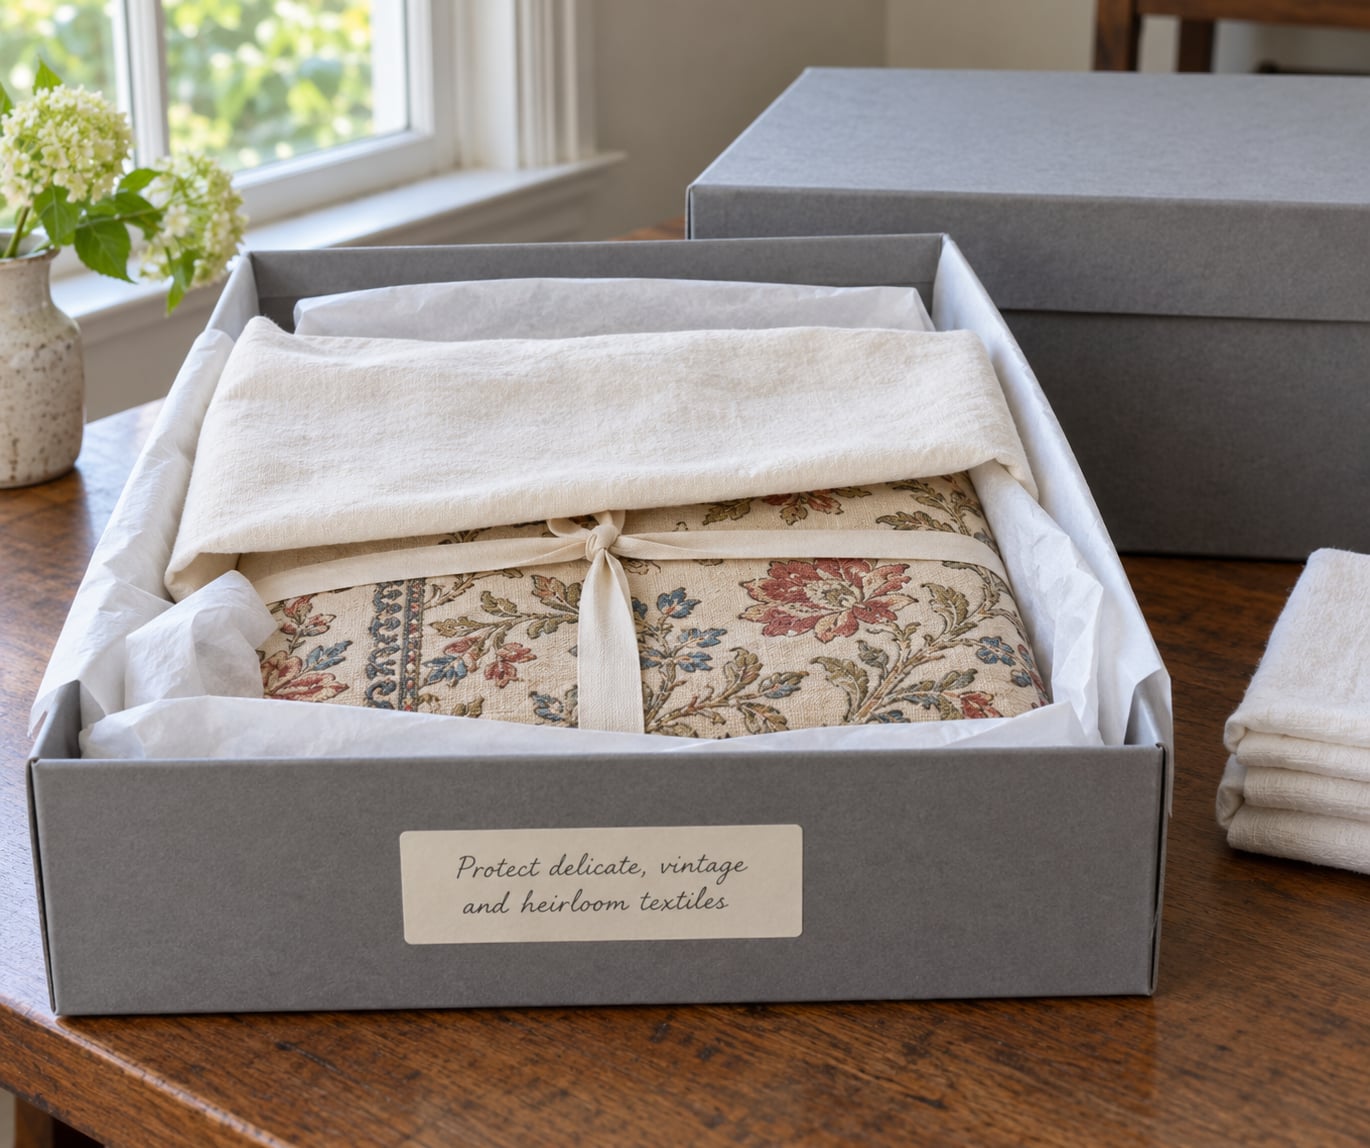
Heirloom and antique pieces last longer stored flat than stored folded. Cracks appear along fold lines, and those cracks are permanent. If you cannot give a piece flat space, at minimum slip acid-free tissue paper into every fold as a buffer, and roll it rather than creasing it.
Wrap the whole piece in clean cotton — an old pillowcase or muslin sheet works well. Cotton breathes, so air moves through the wrap and fabric stays conditioned. Plastic bags and plastic bins seal in whatever moisture is already in the cloth, and that trapped moisture is what turns a storage method into a storage failure. Keep plastics for short-term bins you open often and for nothing you intend to keep for years.
Store the wrapped piece flat, in an archival box if you have one, with a written location label on the outside of the box. Keep the box off the floor, out of direct sunlight, and away from exterior walls where temperature swings are biggest. Add cedar blocks nearby for a mild deterrent, with airflow around them, and never rely on lavender sachets or cedar as your only protection — they help, they are not a moth-proof lock.
7. Create a first-in, first-out rotation
Storage systems fail quietly. A shelf gets filled, new fabric arrives, old fabric disappears behind it, and two years later you find a faded or musty piece you forgot you owned. A rotation keeps old material in front, where you will meet it again.
When you put fabric away, put the oldest piece of that category in front and the newest behind it. When you pull from a shelf, take from the front and restack at the back. In practice you are not restocking by date — you are just never burying the same print twice.
Reserve the best yardage for committed projects. Fabric bought for one specific quilt is not stash, it is supply; label it with the project name so it gets used before it ages in a drawer. Whatever is left over becomes swap material, donation material or destash material.
Set two short maintenance moments: five minutes at the start of a work session to stage what you need, and one longer look each season when you pull the rarely opened bins and check for damp, fading or insect damage. Ten minutes twice a year is enough to catch damage before it ruins a stack.
Common Mistakes
Storing fabric damp or freshly washed
Damp cloth in a closed bin smells within weeks, and the odor spreads to everything beside it. Correction: dry fully, press, and let the piece sit exposed to air for a day before it goes into a container.
Tip: if a bin smells when you open it, empty everything, air the pieces separately, and wash or professionally clean the ones that still smell before restacking.
Overfilling bins
Packed-to-the-lid bins are heavy, and a heavy bin above shoulder height is a real hazard. In sewing forums this is one of the most common complaints about the system people love. Correction: fill each bin about two-thirds, keep the heaviest containers at knee height or lower, and split one overstuffed bin into two small ones.
Tip: a quick lift test — if you cannot comfortably raise a full container to shoulder level, the bin is too full or too high.
Folding expensive or special textiles along hard creases
Sharp, repeated folds leave lines that are very hard to remove, and on knits and velvets the damage is permanent. Correction: roll knits, velvet, corduroy, satin, silk and jersey; use tissue in folds for anything vintage.
Tip: if you can roll it, do. Rolling takes slightly more depth but none of the crease risk.
Using generic labels
“Misc” or “fabric” tells you nothing six months later, and that is when you need it most. Correction: label with position, fiber, color, yardage and project, using the same format on every bin and shelf edge.
Tip: photograph each labeled shelf after you label it. Your phone becomes the catalog you never wrote.
Leaving fabric in direct sunlight
Window light fades dyes unevenly, so the same print in two bins drifts to different colors over time. Correction: use an opaque cover on sun-facing shelves, or move that shelf to an interior wall entirely.
Tip: check your window direction in the morning and late afternoon before deciding where sun-facing storage is acceptable — the light moves.
Putting tape or sticky labels on the fabric
Adhesive leaves a residue, and residue on a silk or vintage piece is a permanent mark. Correction: label the wrap, the bin or the shelf edge, and keep all tape one layer away from the cloth.
Tip: if you need a note on the piece itself, write on a paper card and tuck it into the fold rather than onto the surface.
Frequently Asked Questions
What is the best way to store fabric in a small studio?
Store fabric vertically in small units so it takes shelf depth, not height: wrap yardage around boards or fold pieces over file folders and stand the row upright. Sort by color and fiber, keep current-project fabric near the machine, and cover any shelf that gets direct sun.
Should fabric be folded or rolled for long-term storage?
Fold stable woven cottons and linens in small stacks, no deeper than the shelf allows, with the selvages aligned. Roll velvet, corduroy, knits, satin, silk and jersey, and roll any piece large enough that a fold line would be hard to press out later. Vintage and heirloom pieces are best stored flat with tissue in the folds.
What containers are safe for storing fabric?
Clear or lidded plastic bins are fine for fabric you use often, as long as the fabric is completely dry first. For anything kept for years, use a breathable cotton wrap or muslin cover instead of sealed plastic. Cardboard grain boxes and foam core panels make good vertical wraps and are cheap to replace.
How do I keep fabric from getting moths in storage?
Start with clean cloth — moths are drawn to body oils, food residue and perspiration in unwashed fabric, so wash or professionally clean wool and linen before storing. Store it sealed or tightly wrapped, clean up crumbs and lint from bins, and check rarely opened containers twice a year. Cedar blocks help with airflow but are not a substitute for a tight seal.
How should I store fabric that is rarely used?
Give it the least accessible but most protected spot in the room, away from exterior walls, floor level and sunlight. Fold it small, wrap it in cotton, label it with fiber, yardage and the year it was bought, and record the bin location on your shelf map. Add it to a twice-yearly inspection so damage does not go unnoticed for years.
How do I organize fabric if I have no shelving space?
Use vertical and hidden space: stands of fabric wrapped around cardboard and stood on end, a tension rod holding rolled lengths, an over-door rack, a hanging organizer on the back of a closet door, and flat bins under the bed or on top of the cabinet. Keep only what is in use in the room, and move the rest to a labeled lidded bin elsewhere.
Conclusion
The whole system is seven moves: sort by project, size and frequency, inspect and clean each piece by fiber, fold with the grain straight, stand everything vertically, label every location the same way, wrap the valuable stuff in cotton, and keep older fabric in front so nothing disappears for years.
Start with the first three only. Pull out what you are working on this month, check each piece for damp, stains and insect damage, and put the clean usable fabric into labeled vertical storage within reach of the machine. Everything else can wait for a free Saturday — and the pile on your work surface gets smaller with every piece you put away.