How to organize an art studio on a budget comes down to three moves: get rid of what you do not use, reuse containers you already own, and give every remaining item one labeled home in a defined work zone. Most studios can be fixed with a purge, some thrift-store bins, and a weekend of effort rather than new furniture.
The whole job takes about four to six hours spread over three sessions, and none of it needs a contractor, a remodel, or a matching set of expensive cabinets. I have done this in spare bedrooms, basements, and one very small corner of a shared kitchen table, and the same sequence works every time.
Table of Contents
- What You Need
- Step-by-Step: How to Organize an Art Studio on a Budget
- Clear and Sort What You Already Own
- Map the Studio by Work Zones
- Choose Low-Cost Storage Solutions
- How to Organize an Art Studio on a Budget Without Buying Furniture
- Label Supplies and Create an Inventory System
- Set Up Cleaning, Safety, and Maintenance Routines
- Common Mistakes
- Frequently Asked Questions
- What is the cheapest way to organize an art studio?
- How can I organize an art studio in a small room?
- What storage is best for mixed-media art supplies?
- How do I organize art supplies without buying new furniture?
- Should every art supply be labeled?
- How often should I reset my art studio?
- Conclusion
What You Need
You need very little. What you need is a way to sort, something to protect work in, containers that stack, a way to label, and ten minutes a week to keep it. Almost all of it is already in your house or comes from a thrift store, a dollar store, a school art-room donation, or a free Buy Nothing group.
For sorting: a few cardboard boxes or laundry baskets, a marker, and a roll of painter’s tape for making floor zones. For protecting work: acid-free tissue paper, glassine envelopes, or clean sheets of paper to separate finished pieces on shelves.
For storing: clear plastic bins in one repeated size so they stack, a wire shelf or cube shelf, a rolling cart if you have one, and whatever jars, crates, trays, and boxes are sitting in your kitchen right now. For labeling: masking tape and a marker costs nothing, card stock and a pen is a step up, and a handheld label maker is worth it only if you already relabel often.
There are a few things to skip when you are starting out. Skip matching storage sets, skip a dedicated craft armoire, skip drawer dividers before you have measured a single drawer, skip lazy Susans, and skip any organizer marketed as a solution for supplies you have never owned. Skip the entire category of storage for a medium you tried once eighteen months ago and have not touched since.
Step-by-Step: How to Organize an Art Studio on a Budget
Clear and Sort What You Already Own
Start by pulling everything onto the floor and sorting it into five groups: keep, donate, sell, recycle, and discard. Most studios are not storage-limited, they are decision-limited. The clutter is not usually too much stuff, it is too many undecided things sitting in the same room as your work.
Set a hard test for the keep pile. If you have not used it in the last twelve months and it is not part of a project you are actively making, it goes. That rule clears out dried-out acrylic, half-empty solvent bottles, mystery tubes of gouache, and the reference books you keep meaning to read.
Donate to a school art room, a library, a community centre craft program, or a local guild before you buy a single bin. These outlets are genuinely useful and they take the decision out of your hands, which matters on the weeks when you cannot face another decision.
How do you tell this step worked? Open a container and it holds one coherent thing, and you can say what that thing is without checking the label. If a bin needs a paragraph to explain itself, split it.
Map the Studio by Work Zones
Tape zones on the floor before you move a single shelf. Painter’s tape lifts off most flooring and costs almost nothing, and it turns an abstract question about furniture into a visible plan you can change for free.
Most studios need five zones: active work in progress, cutting and painting, storage, a finishing or drying area, and a display spot for finished pieces. Put the zone you use most within one step of your chair. If you paint most days and quilt twice a year, the painting zone gets the good light and the closest reach, and the quilting supplies live in the bin at the bottom.
A zone is not a room. A corner with a cutting mat on the floor, a cart parked beside the chair, and a drying rack hooked over the door is a complete working setup for someone with no dedicated room at all.
Keep one surface deliberately empty as your landing zone. It is the single working surface that stays clear while you work, and everything else can be a pile for a week. If your only table doubles as your computer desk and your laundry catch-all, the studio is already two jobs fighting, and no bin will fix that.
You know the zoning works when you can sit down and start without rearranging anything first.
Choose Low-Cost Storage Solutions
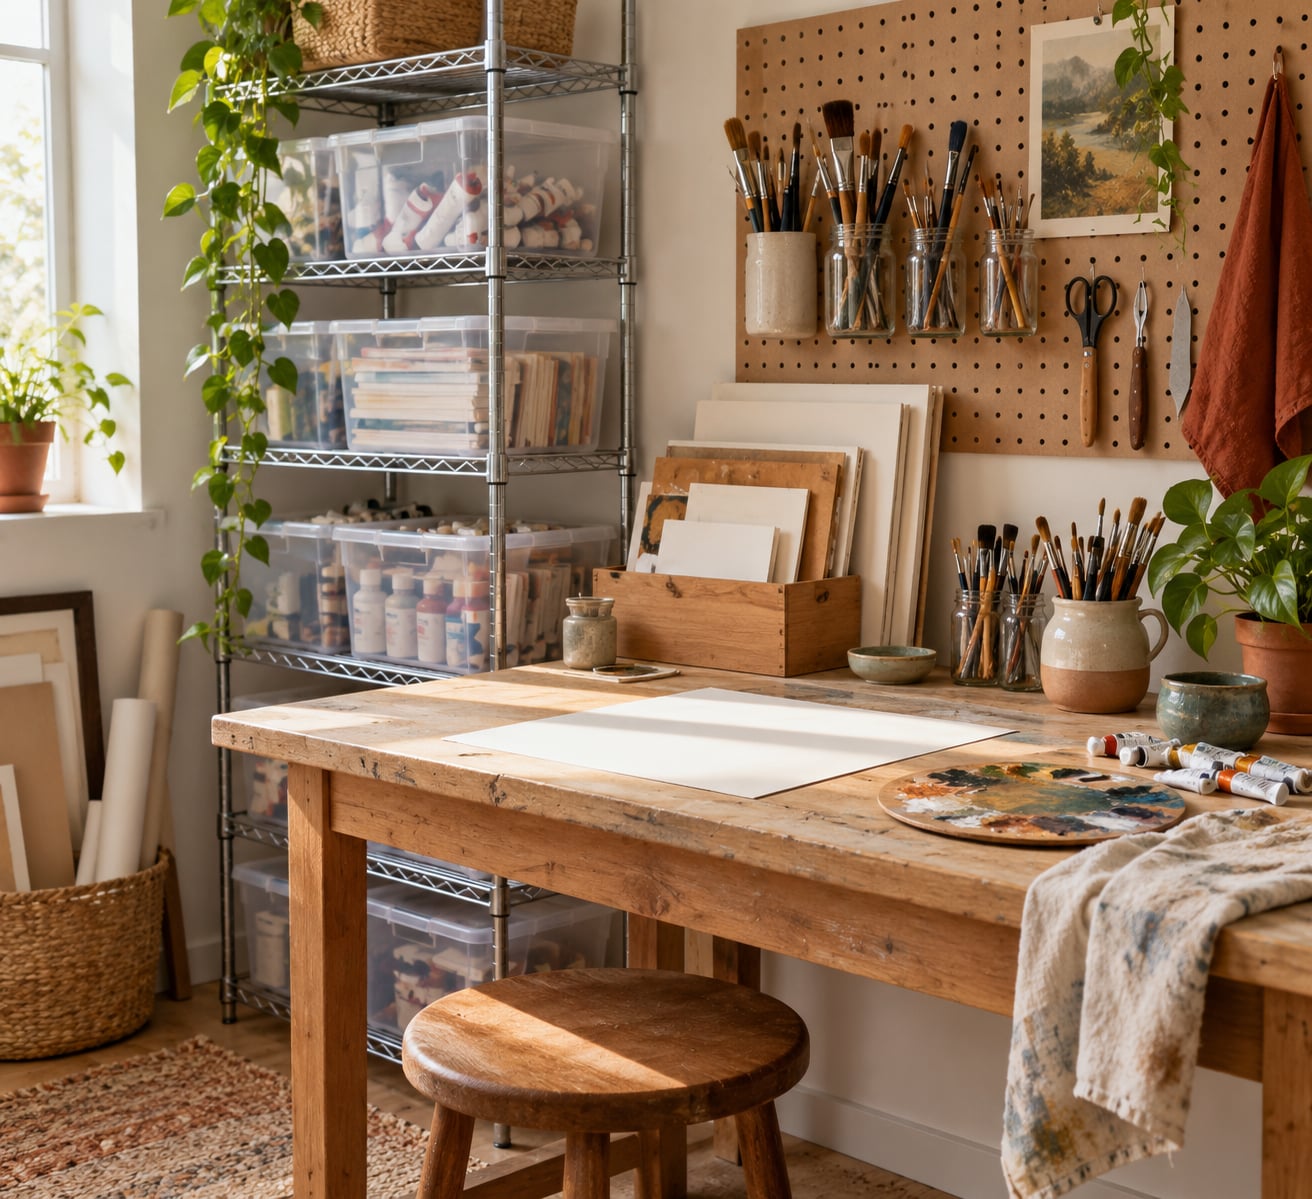
Match the container to the material, then buy every bin in one size so they stack and you can lift a whole bin onto the table instead of reaching into a shelf. Open storage for daily supplies, closed or covered for anything that collects dust, and never let open shelves hold paper.
- Clear plastic bins — the workhorse. Good for dry media, brushes in bulk, and paper stock. Their only weakness is that clear bins show every mistake, so keep them genuinely tidy.
- Wire shelving — cheap, holds a lot of weight, and lets you see what is there. Best bought secondhand, where you can check for rust and sagging shelves.
- Pegboard — hangs on a wall with a few screws and turns dead wall space into tool storage. Mason jars zip-tied to it become brush and pencil holders, and cheap cutting mats roll up onto it.
- Rolling carts — the single best thing you can own if your studio is a corner or a shared room, because the cart is the storage. Give each cart one medium and a parking spot.
- Drawer organizers — worth buying only after you measure. Small clear units are excellent for pencils, pens, and pastels once you know the drawer actually measures two inches deep.
- Repurposed cabinets — an old card catalog, a vintage curio cabinet, or a kitchen cabinet with a door that no longer closes all hold more than they look like they will. Paint them rather than replace them.
- Vertical storage — over-the-door hooks, wall-mounted rails, photo sleeves used flat, and stackable crates on the floor all buy you space without buying furniture.
- Free containers — jam and jelly jars for brushes and pencils, bottle crates for drawing tools, baking sheets or darkroom trays as portable creation stations, shoeboxes to corral one category, and jewelry or shipping boxes for small finished pieces.
A creation station is simply a tray or caddy holding everything one project needs, so you carry it to the table and take it back when you are done. It is the cheapest organizational idea there is, and thrift-store trays are the easiest to find.
How to Organize an Art Studio on a Budget Without Buying Furniture
If your space has no room for a desk, the answer is usually a surface that folds away and storage that hangs. A fold-down wall table gives you a full work surface when you need it and a clear wall when you do not. Over-the-door organizers hold paper, tools, and fabric by weight, and a rack of over-the-door hooks on the back of the door holds the wet or finished pieces you would otherwise put on the floor.
For storage, go vertical before you go shopping. A pegboard panel, a wall rail with S-hooks, and clip frames for drying small work will hold more than a low bookcase, and none of them eat floor space.
Paper deserves its own answer because it is the category most people struggle with. Store it flat, in the largest sheets you have, with each size in its own sleeve or bin, and store it vertically in a shelf with dividers made from cardboard. Never roll paper for long-term storage unless you roll it around a wide tube, because a tight roll makes a permanent curve.
Paint needs a different answer. Store tubes upright with the caps up in a bin deep enough that they cannot tip, keep oil and acrylic separate so a leak ruins one palette instead of both, and roll your brushes dry with the bristles flat rather than standing them in a cup, which bends them permanently.
Ephemera and collage material is the third hard category, and the honest answer is that no single system fits it. Sort by size and surface rather than by subject, keep ticket stubs, wrappers, and maps in a flat photo album or a shoebox standing on its side, and put anything genuinely sentimental where you can see it, because hiding it means you will not use it.
Label Supplies and Create an Inventory System
Label every container on two sides: the front and the side that faces you when it is on the shelf. Label what is inside, not where it lives, so you can move the bin later without rewriting it.
Use one naming pattern so you stop wondering whether it is “Blue 5” or “Phthalo 5”. Medium plus colour plus size works well, such as acrylic, phthalo blue, 60 ml. Masking tape and a marker is free and works fine; it just needs replacing when it gets scuffed, so write on the tape rather than the bin.
The inventory part matters most for people who re-buy things they already own. Keep one list, on paper or in a notes app, listing what you own in each category and how much is left. Mark things low. That single list fixes the most common budget leak, which is buying a fourth bottle of a colour you already own buried in a bin.
For shared classroom or family studios, the inventory list is also the checkout system. One clipboard, one line per container, one column for who took what. Labeling alone is not enough in a room with more than one set of hands.
Set Up Cleaning, Safety, and Maintenance Routines
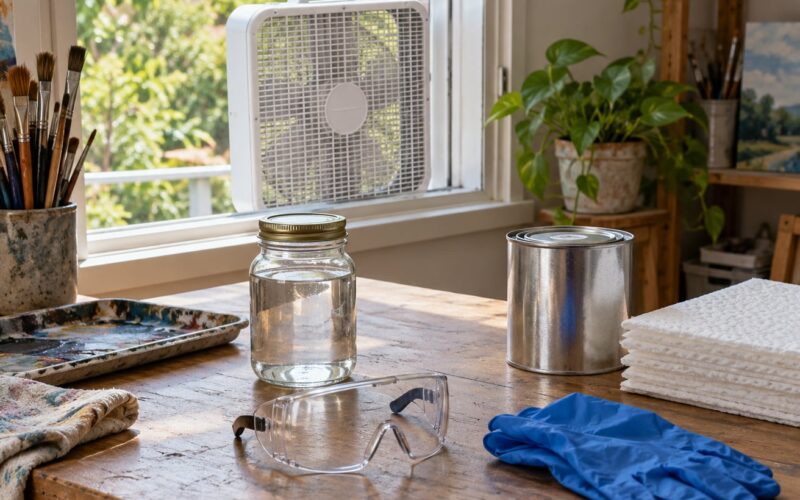
Organization fails on safety and ventilation long before it fails on tidiness. Keep an exit path clear, keep solvents and any flammable material away from heat sources, and if you use oil paint, solvents, or aerosols, work with a window open or a fan running. Out of the way of children and pets goes without saying.
Build a small cleaning station where it does not get in the way: a brush or dustpan for dry sweeping, a scraper for dried paint, a rag bucket or paper towel roll, and a jar for rinse water that you empty after every session. A slop sink, which is just a deeper sink or utility bucket reserved for rinsing brushes and washing out palettes, saves you from carrying muddy water across the room.
Then set a ten-minute reset. Wipe the surface, return everything to a labeled home, put wet work on the drying rack, and stop. Doing it every session means clutter never builds past a manageable level. Artists who solved this most successfully all describe the same thing: a short ritual at the end, not a heroic weekend once a month.
If you share the space, add a fifteen-minute weekly reset and make it a calendar commitment. Put it on the schedule the same way you would a dentist appointment, because it will get moved otherwise.
Common Mistakes
Buying containers before measuring. Measure the shelf depth, the drawer interior, and the width of the gap first. A beautiful bin that does not fit is a bin that lives on the floor forever, taking up the space it was bought to save.
Labeling too broadly. “Art stuff” or “misc” labels are worse than no labels, because they promise a system that does not exist. Label down to the specific colour, size, or medium.
Blocking the work surface. If the table is full when you sit down, you will not start. Leave a landing zone, and store work in progress on a cart or in a bin, not on the surface where you paint.
Storing paper badly. Folding, bending, and tight-rolling cause permanent damage that shows up as buckling in finished work. Flat and large, or vertical with dividers, never loose in a heap.
Standing wet brushes in a cup. It bends the bristles and dries the ferrule. Lay them flat to dry, bristles hanging slightly over an edge.
Over-organizing. This is the failure mode nobody warns you about. People buy organizers, then spend every free hour arranging instead of making, and end up with a beautiful studio and no finished work. Give the whole project three sessions and then stop. A system that keeps 80 percent of your supplies findable is plenty.
Doing it all in one marathon. The single most common reason an art studio never gets organized is that the task was attempted in one weekend and abandoned by Sunday evening. Phase it: one session for the purge, one for zones and storage, one for labeling and the routine.
Skipping the maintenance plan. Any system without a reset fails by month three, no matter how good the bins are.
Frequently Asked Questions
What is the cheapest way to organize an art studio?
The cheapest way to organize an art studio on a budget is to purge first, then reuse what you already own. Most supplies can go into jam jars, shoeboxes, baking trays, or a drawer you already own. Spend money only after the purge, and only on one size of clear bin so everything stacks.
How can I organize an art studio in a small room?
Go vertical and portable. Use a pegboard or wall rails for tools, an over-the-door organizer for paper and fabric, and a rolling cart that holds one medium and parks out of the way. A fold-down wall table gives you a full surface on demand. Keep one zone empty so the space never feels full.
What storage is best for mixed-media art supplies?
Separate by handling rather than by project. Keep wet media, dry media, paper, and ephemera in four distinct systems, because they need opposite conditions: paint tubes want upright bins, paper wants flat storage, and dry media wants airtight containers. Label each one and never mix them in a single catch-all bin.
How do I organize art supplies without buying new furniture?
Add storage that mounts or hangs rather than furniture that stands. A pegboard panel, over-the-door hooks, wall rails with S-hooks, and clip frames all hold tools and wet work using wall space. Repurpose what you own: a card catalog, a curio cabinet, or a kitchen cabinet with a stubborn door works as well as anything new.
Should every art supply be labeled?
Label every container you cannot identify at a glance, and skip labels on things you touch daily. Write on masking tape with a marker rather than on the bin, so you can relabel cheaply. Use one naming pattern, such as medium plus color plus size, so labels stay readable as your collection changes.
How often should I reset my art studio?
Ten minutes at the end of every session is enough for most artists: wipe the surface, return supplies to their labeled homes, and move wet work to the drying rack. Do a deeper fifteen-minute reset once a week if you share the studio. Consistency matters far more than length.
Conclusion
Start with one action tonight: clear a single work surface completely, then sort what came off it into keep, donate, and later. Once you know what you actually use, build the studio around those tools and the containers you already own.
Everything else is labels and a ten-minute reset. Do not buy furniture to fix a problem you have not sorted yet, and give yourself three sessions instead of one weekend. That is how to organize an art studio on a budget without spending money you would rather put into materials.