How to protect floors in a home studio comes down to one idea: put a sacrificial layer between your work and the floor, then match that layer to your floor type and the mess your medium makes. Most working studios end up with a combination, because no single material handles paint, water, dye and rolling chair wheels at the same time. The whole system takes an afternoon to install and about two minutes a week to maintain.
That last part is where most guides go wrong. They describe protecting the floor while a paint job is happening, then the canvas comes up and the studio goes back to bare hardwood. Studio floor protection is an always-on condition, not a one-time precaution. If you work at a table or an easel twice a week and a half, your floor takes concentrated wear whether or not anything spills.
A quick note before we start: if your space is rented, everything here has to come up cleanly at the end. Nothing in this plan requires adhesive residue, nails or a single drilled hole.
Table of Contents
- What You Need to Protect Floors in a Home Studio
- Step-by-Step
- 1. Assess the Floor and Studio Traffic
- 2. Choose the Right Floor Covering
- 3. Prepare and Clean the Floor
- 4. Install the Protection Without Creating a Trip Hazard
- 5. Add Secondary Barriers Where Spills Happen
- 6. Maintain the Protection During Studio Sessions
- 7. Clean and Replace the Covering Correctly
- Common Mistakes
- Frequently Asked Questions
- What is the best floor protection for an art studio?
- What do you do if you spill paint on a hardwood floor?
- What can I put on wood floors to protect them?
- Are felt pads and casters safe for hardwood floors?
- Will covering the floor hurt my studio acoustics?
- Is a cheap plastic drop cloth enough for a home art studio?
- Conclusion
What You Need to Protect Floors in a Home Studio
Gather these before you start laying anything. Most studios already own half of them.
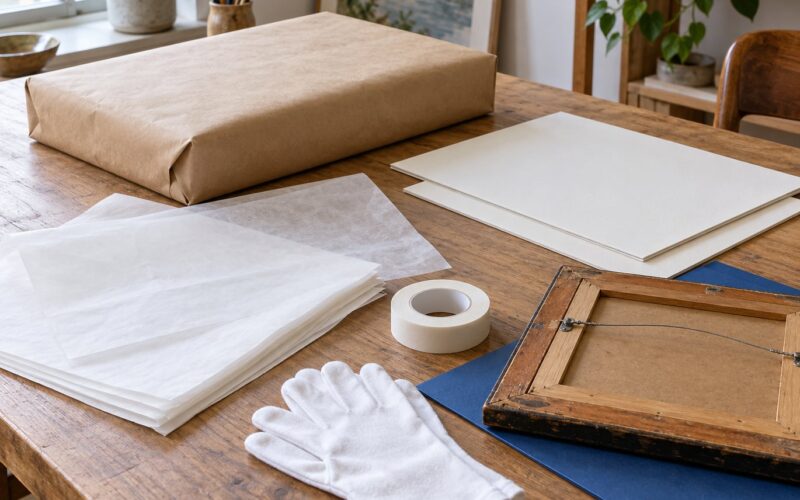
- A floor covering. A canvas drop cloth for absorbent work like oil and acrylic, heavy-duty plastic sheeting for wet media, rosin or builders paper for hard floors, rigid floor protection board where casters or ladders roll, or washable rugs in a music or dance space.
- Low-tack tape. Painter’s tape for painted trim and baseboards. On finished wood, laminate or vinyl plank, use a low-tack surface-sensitive tape that lifts without taking finish with it.
- A utility knife and straightedge for cutting coverings to size, plus a spare blade. Dull blades tear and leave ragged seams that catch feet.
- Felt pads, caster cups or a chair mat for anything with wheels. This is the single highest-return item on the list.
- Secondary barriers: washable plastic trays, silicone mats, plastic tubs, scrap cardboard and mesh screens for drying work.
- Cleaning kit: a vacuum, a microfiber cloth, a stiff broom for grit, and a cleaning product approved for your floor type.
- Storage for the spares. A covered bin or a rolled section against the wall, so the replacement layer is already in the studio when the old one gives out.
Two details worth checking as you shop. Mil thickness is the real spec on plastic sheeting, and anything around 0.7 mil is what most painters use for occasional work; the r/DIY consensus on protecting a home art studio floor is that a cheap drop cloth of that weight is enough. And read the floor manufacturer’s care instructions before you pick a cleaner, especially on an older finish.
Step-by-Step
1. Assess the Floor and Studio Traffic
Find out what you are standing on before you cover it. Solid hardwood, engineered wood, laminate, vinyl plank, tile and sealed concrete each react differently to water, tape and trapped moisture. Old finishes and previously repaired areas are the weak spots, so look for scuffs, open seams and any place the finish has worn through.
Then look at what actually touches the floor. A sewing studio has a chair on wheels and an iron on a heat-proof mat. A ceramics studio has water, clay slip and a wheel throwing a lot of both. A painting studio has drips, splatter and a stand that gets dragged around. Write down your three messiest activities and let those decide how much floor you cover.
The checklist for choosing between temporary and more permanent: rent or own the space, how wet your mess gets, how heavy the rolling equipment is, and how much you care about the look of the studio when nothing is covered. Renters usually want everything removable. Owners with a wheel or a kiln may be ready for a permanent layer.
2. Choose the Right Floor Covering
Match the covering to the floor type first, then to the medium. This is the table I keep coming back to, because most mistakes come from using one material everywhere.
| Floor type | Best covering | Why |
|---|---|---|
| Solid hardwood | Breathable canvas or rosin paper | Avoids trapping moisture against the finish, and lifts cleanly |
| Engineered wood | Canvas floor cloth, taped seams only | Thin wear layer dents easily and swells if water sits |
| Laminate | Canvas or a thin plastic-and-canvas combination | Cheap enough to replace; seams matter more than the surface |
| Vinyl plank | Plastic sheeting or washable rug | Waterproof and easy to scrub, but watch the slip risk |
| Tile | Canvas, paper, or foam tiles under rolling gear | Grout lines hold pigment if the covering lets liquid through |
| Sealed concrete | Rigid floor protection board or foam tiles | Stands up to wheels, ladders and kiln-room traffic |
| Carpet | A second canvas layer | Dye migrates into fibers, and plastic over carpet traps moisture |
Materials differ more than most guides admit, so it helps to compare them side by side.
| Covering | Absorbs | Waterproof | Reusable | Watch out for |
|---|---|---|---|---|
| Canvas drop cloth | High | No | Yes | Heavy; paint sets into fibers if left |
| Plastic sheeting | Nothing | Yes | Sometimes | Slip hazard; thinner cloth lets pigment through |
| Rosin or builders paper | Low | Yes | Single use | Tears when wet, so overlap generously |
| Floor protection board | Nothing | Yes | Yes | Edges are the trip hazard |
| Interlocking foam tiles | Low | Yes | Yes | Gaps catch casters; seams can curl |
| Washable rug | Moderate | No | Yes | Cannot handle a bucket of water or slip |
Two answers to questions that come up constantly. Canvas absorbs paint best and stays in place better than plastic, which is why it wins on wood floors and loses in front of a dye bath. And thin plastic bleeds through under pressure: a wet brush dragged across a 0.7 mil sheet leaves a color streak on the floor with it, which is why a canvas layer underneath a plastic layer is the usual fix for dyeing and slip work.
If you rent, the people on the ceramics forum asked exactly this question about hardwood in a second-floor apartment and got no usable answer. Their fix is also the general one: a covering that lifts without residue, with tape only at the seams and never around the whole perimeter of the finish.
3. Prepare and Clean the Floor
Never lay a covering over dirt. Dust and dried pigment under a sheet get pressed into the finish every time you walk on it, and you end up grinding that grit in when you pull the covering up.
Vacuum or sweep first, working from the far corner back toward the door so you do not walk through what you just moved. Wipe the surface with a damp cloth and a cleaner approved for that floor type. Check an inconspicuous corner first if the finish is old.
Wood, laminate and vinyl need to be fully dry before anything goes down. That sounds obvious, but sealing a damp floor is the most common way people damage it, and plastic over a damp engineered floor is how finish starts peeling. Give it overnight if you are not sure.
4. Install the Protection Without Creating a Trip Hazard
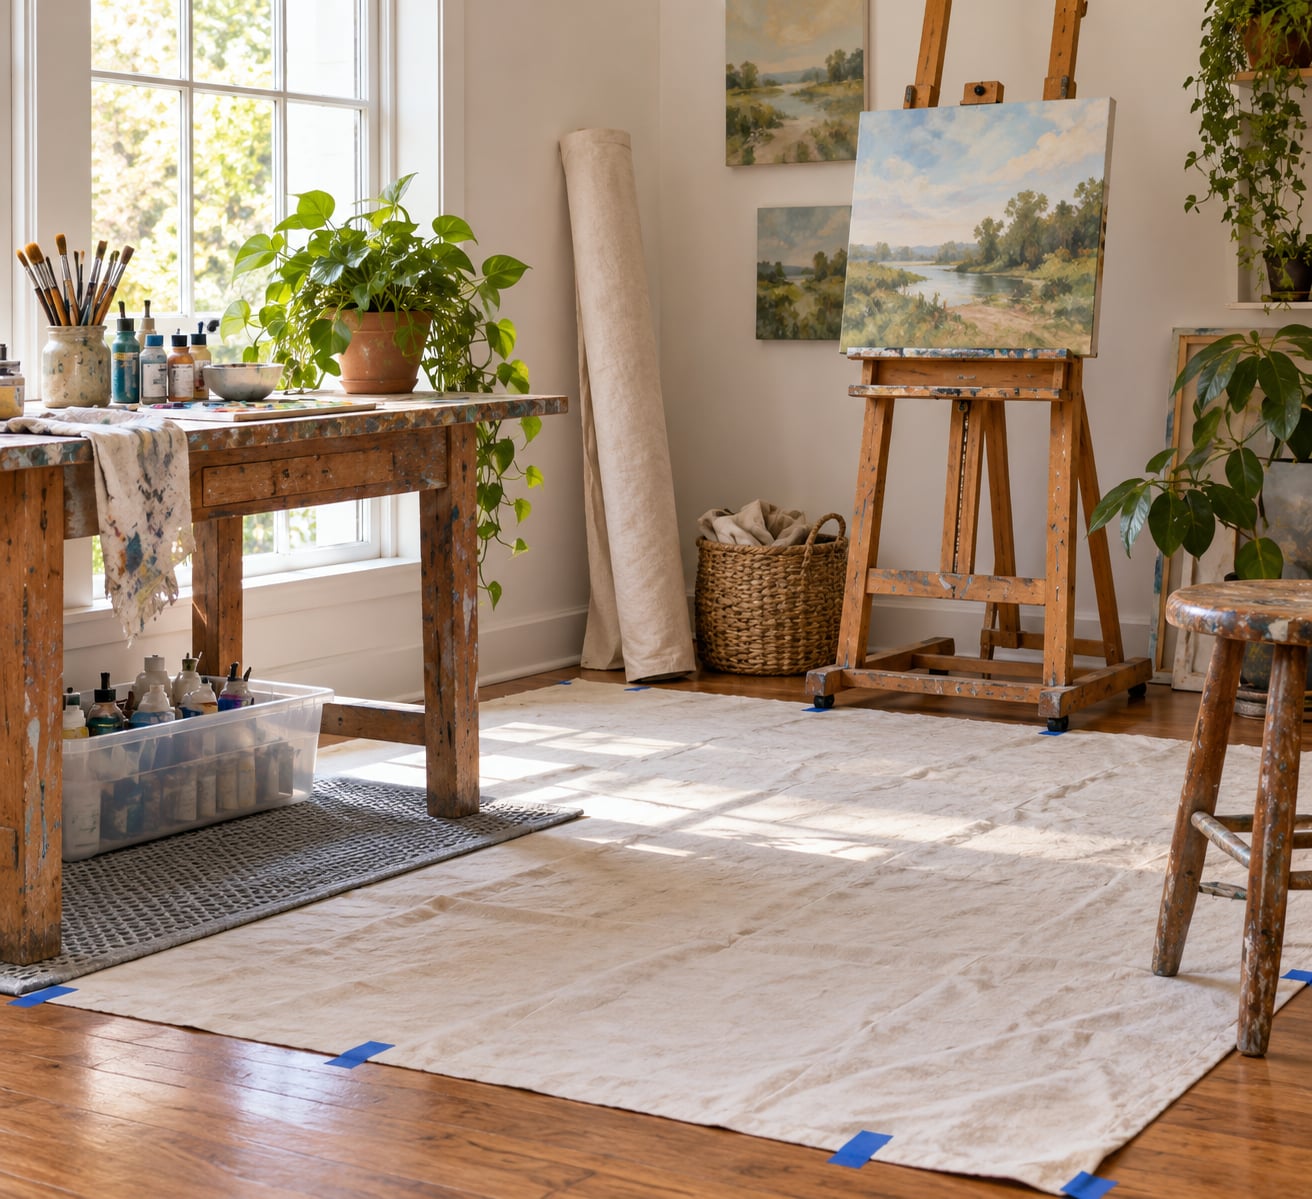
Lay your coverings in the order you will walk through the studio, so the least messy work happens farthest in.
- Start at a straight wall or a piece of taped reference line, so the edge you will see stays straight.
- Leave the covering a few inches longer than the floor at the baseboard, and cut the excess after it lies flat.
- Overlap seams by several inches, running them away from the main walkway rather than across it.
- Tape seams and edges with low-tack tape on wood and laminate; on tile and vinyl, standard tape is fine.
- Smooth from the middle outward with your hands or a floor squeegee so no bubbles or slack remain.
- Trim the overlap along doorways so you can open and close the door without catching the edge.
- Run one edge along the threshold rather than over it, and mark any raised area with tape so you remember it.
The test is simple: walk the full length of every route at normal speed, in socks and in shoes. If you feel a seam under your foot, it needs to be flattened or retaped. A wavy edge catches a caster and turns a small trip into a thrown easel.
Where casters roll, rigid board under the covering spreads the weight instead of concentrating it on a seam. The gearspace forum thread on hard floors in a home room has a practical answer worth stealing: lay pre-cut plywood or MDF over the floor when you need a hard, flat, reflective surface, then lean the panels against the wall when you do not. Cheap, removable and it doubles as a work surface.
5. Add Secondary Barriers Where Spills Happen
The floor covering catches what misses everything else, so stop the spill before it gets there. Trays under paint containers, silicone mats under hot tools and plastic tubs under dye baths cost less than re-finishing a board.
Under a sewing or textile setup, put a heat-resistant mat under the iron, a cutting mat under the rotary cutter, and a scrap sheet under any fabric you are dyeing or painting. Under a wheel, a shallow plastic tub catches slip and water together, which saves a mop every session. Under a kiln and drying area, a sheet of board or a stack of flattened cardboard keeps clay dust and stray water off the covering.
Furniture protection is its own barrier. Soft rubber casters are generally safe on hardwood, and felt pads under chair legs spread the weight, but protective cups and a chair mat do more than felt alone because they cover the whole wheel. On an easel, a cup under each leg and a scrap of board under the crossbar takes the dent out of the equation.
Rotate trays and mats weekly and wash them while the pigment is still wet. A tray that has been left to dry is a tray that transfers color to the next color you put in it.
6. Maintain the Protection During Studio Sessions
A few habits do more than any single product. Wipe spills before they dry, since dried paint is a sanding job. Lift wet tools and carry them rather than rolling them across a seam. Keep a designated route from the messy zone to the sink so muck is never tracked across clean floor.
At the end of every session, spend two minutes checking edges and seams. A lifted corner is a five-second fix on a Tuesday and a re-lay on a Sunday.
7. Clean and Replace the Covering Correctly
Sweep or vacuum loose grit first, then wash the covering according to its material. Canvas can usually be scrubbed or laundered once paint has not fully set. Paper gets replaced. Foam tiles get a damp wipe. Never pull a covering up over dirt, because the grit under it stays on the floor as you drag it across.
Dry it fully before folding. Paint that has soaked into canvas and then sat wet in a fold will be there next season. Once a section starts tearing, curling or thinning out, replace it rather than patching, because a patched spot becomes a seam you trip over.
Common Mistakes
- Wrong tape on a finished floor. Standard tape on an old finish can lift a thin layer of it. Use low-tack surface-sensitive tape, and press edges down rather than stretching them.
- Wrinkled or loose plastic. Smooth from the middle outward and re-tape the perimeter. Slack plastic is both a slip hazard and a collector of paint.
- Covering over dirt. Vacuum and wipe first. This is the one that costs real money later.
- Using a rug for heavy spills. Rugs handle drips and foot traffic. They do not handle a dropped bucket of water or a pot of slip.
- Leaving wet materials in place. Lift tools, close lids and clear standing water at the end of the session.
- Creating raised edges. Trim to the baseboard, tape flat, and test every route on foot.
- Using floor polish to protect against paint. The advice that comes up on painting forums is that polish does nothing here; varnish over dried paint is the accepted fix.
- Ignoring casters. No floor covering survives a chair rolled back and forth over it for months. Pads and cups first.
Frequently Asked Questions
What is the best floor protection for an art studio?
The best protection is usually a layered one: a breathable canvas or paper base over the floor, taped at the seams, plus a washable tray or mat under the messiest work area. Canvas absorbs paint and stays put on wood, plastic or paper waterproofs it for dye and slip work, and rigid board under rolling gear spreads the weight. Match the layer to your floor type and your medium rather than buying one covering for the whole room.
What do you do if you spill paint on a hardwood floor?
Blot, never rub, with a clean dry cloth, then lift what you can. If the paint has soaked in, address the floor itself: let it fully dry, then varnish over the dried paint, which sealing is the accepted fix according to painting forums. Skip floor polish as a response, it does nothing for paint. For a protected floor this never happens, which is the argument for a canvas layer under your work area.
What can I put on wood floors to protect them?
A canvas drop cloth or rosin paper, taped at the seams with low-tack surface-sensitive tape. Both lift cleanly and both let the floor breathe, which matters on solid hardwood and engineered wood where trapped moisture can dull or peel the finish. Avoid sealing a damp floor under plastic. For heavy rolling equipment, add rigid floor protection board underneath so casters and ladders spread their weight instead of denting the boards.
Are felt pads and casters safe for hardwood floors?
Felt pads under chair legs are safe and useful because they spread the weight of the leg rather than concentrating it. Casters are the bigger risk. Soft rubber casters are generally safe on hardwood, but a caster that has picked up a dried paint speck will grind that speck across the finish every time the chair rolls. Caster cups or a chair mat over the whole wheel give you the protection felt alone cannot.
Will covering the floor hurt my studio acoustics?
Yes, for music and dance studios, because hard floors reflect sound and soft coverings absorb it. If you are recording, a washable rug or foam tiles soften reflections while still protecting the floor, and rugs plus drapes are the usual combination people land on in recording forums. If you are a painting or textile artist, acoustics rarely matter, so go with whatever protects the surface best. Many people keep soft coverings only over their mix position.
Is a cheap plastic drop cloth enough for a home art studio?
For occasional painting, yes. The consensus in DIY forums is that a cheap 0.7 mil drop cloth handles a home art studio fine, and it costs little when it needs replacing. It is not enough for dye baths, water or slip, where pigment can bleed through a thin sheet and get tracked across the whole floor. For wet media, put a canvas layer under the plastic so the two together stop what one cannot.
Conclusion
Start with the floor, not the product. Identify what it is and what your three messiest activities do to it, then put down a breathable canvas or paper layer taped flat at the seams. Add washable trays, silicone mats and board under the messiest zones, put felt pads and caster cups under every wheel, and check edges and seams for two minutes at the end of each session.
The covering you keep in place between sessions is the one doing the work. A system you inspect weekly will outlast a heavier setup you abandon after a month, and for anyone renting the space, it will come up clean at the end.