Learning how to wrap art for storage long term comes down to four layers: an acid-free barrier that touches the surface, rigid boards that stop bending, a cushioning wrap, and a moisture barrier for the outside. Get that sequence right and a painting, print, quilt or collage can sit packed for years without warping, staining or cracking.
It takes about fifteen minutes per piece once you know what you are doing, and the whole job fits in one sitting for a small stack. The parts people skip are always the same ones: the face layer and the rigid support.
Table of Contents
- What You Need
- Step-by-Step: How to Wrap Art for Storage Long Term
- Assess and Clean the Artwork
- Add a Protective Face Layer
- Build Flat Support Layers
- Wrap the Package in Layers
- Add an Outer Moisture Barrier
- Label, Inspect, and Store
- Common Mistakes
- Frequently Asked Questions
- Should plastic ever touch artwork directly?
- How do I wrap a framed painting for storage?
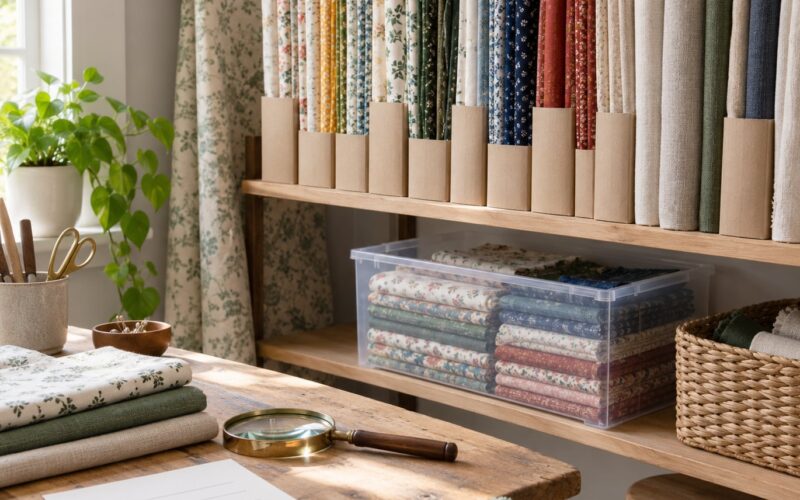
- Do quilts and other textiles need different wrapping than paintings?
- How long can artwork stay wrapped?
- What temperature and humidity are best for long-term art storage?
- Can I use parchment or wax paper instead of glassine?
- Conclusion
What You Need
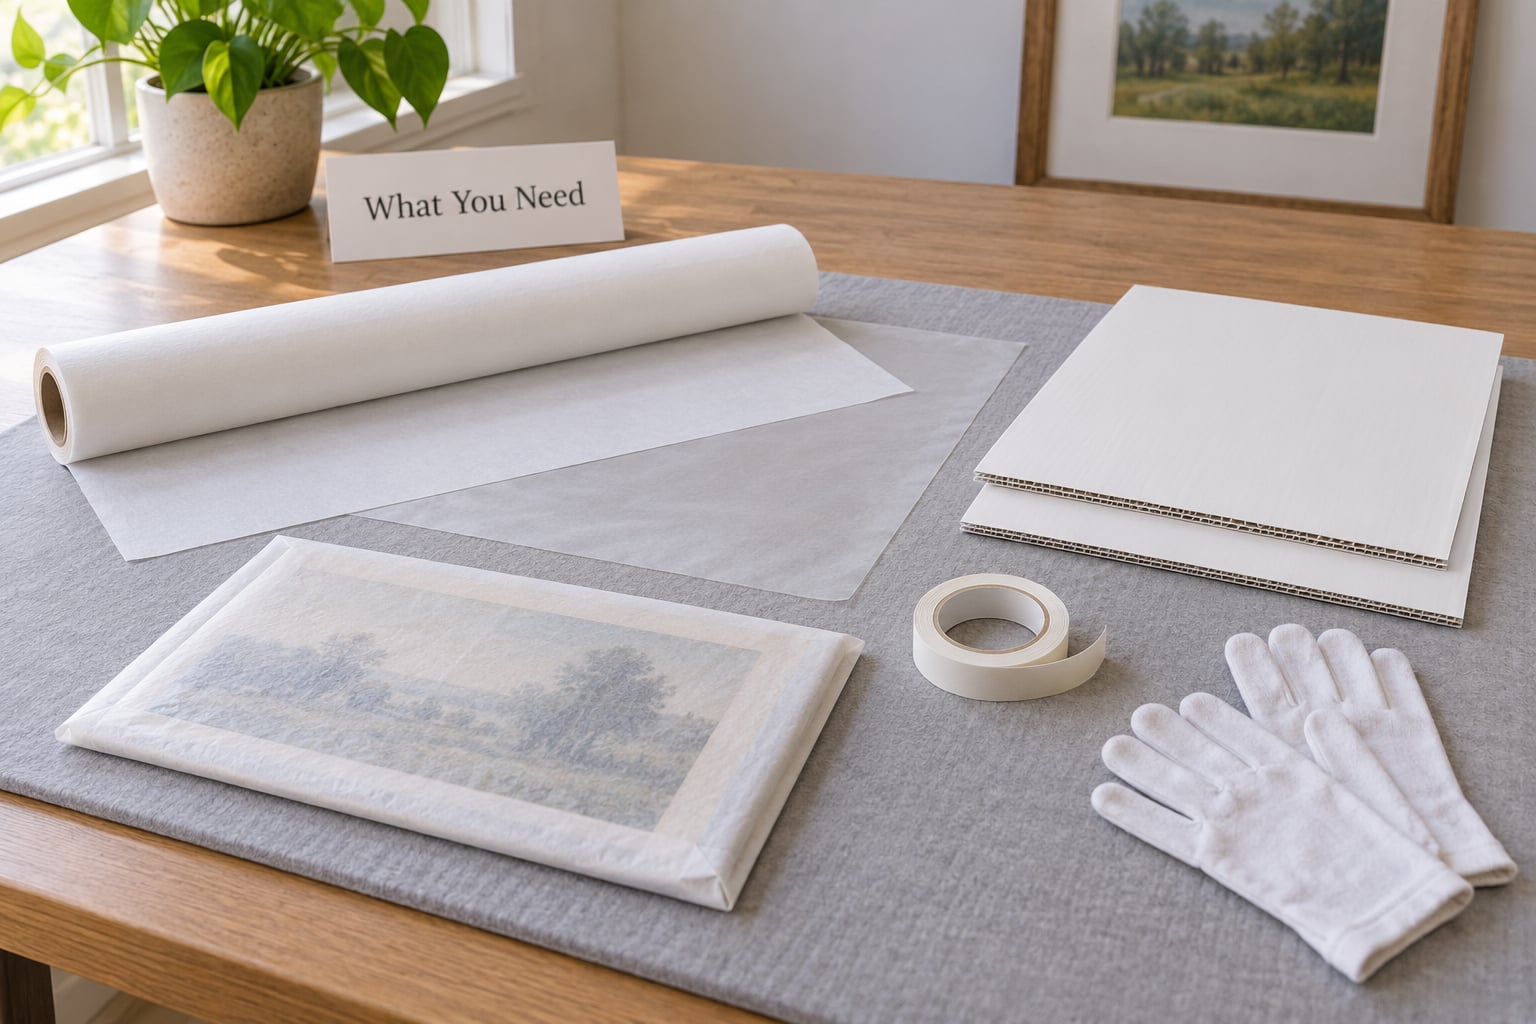
Start with the contact layer, because that is the only material that ever rests on the artwork itself.
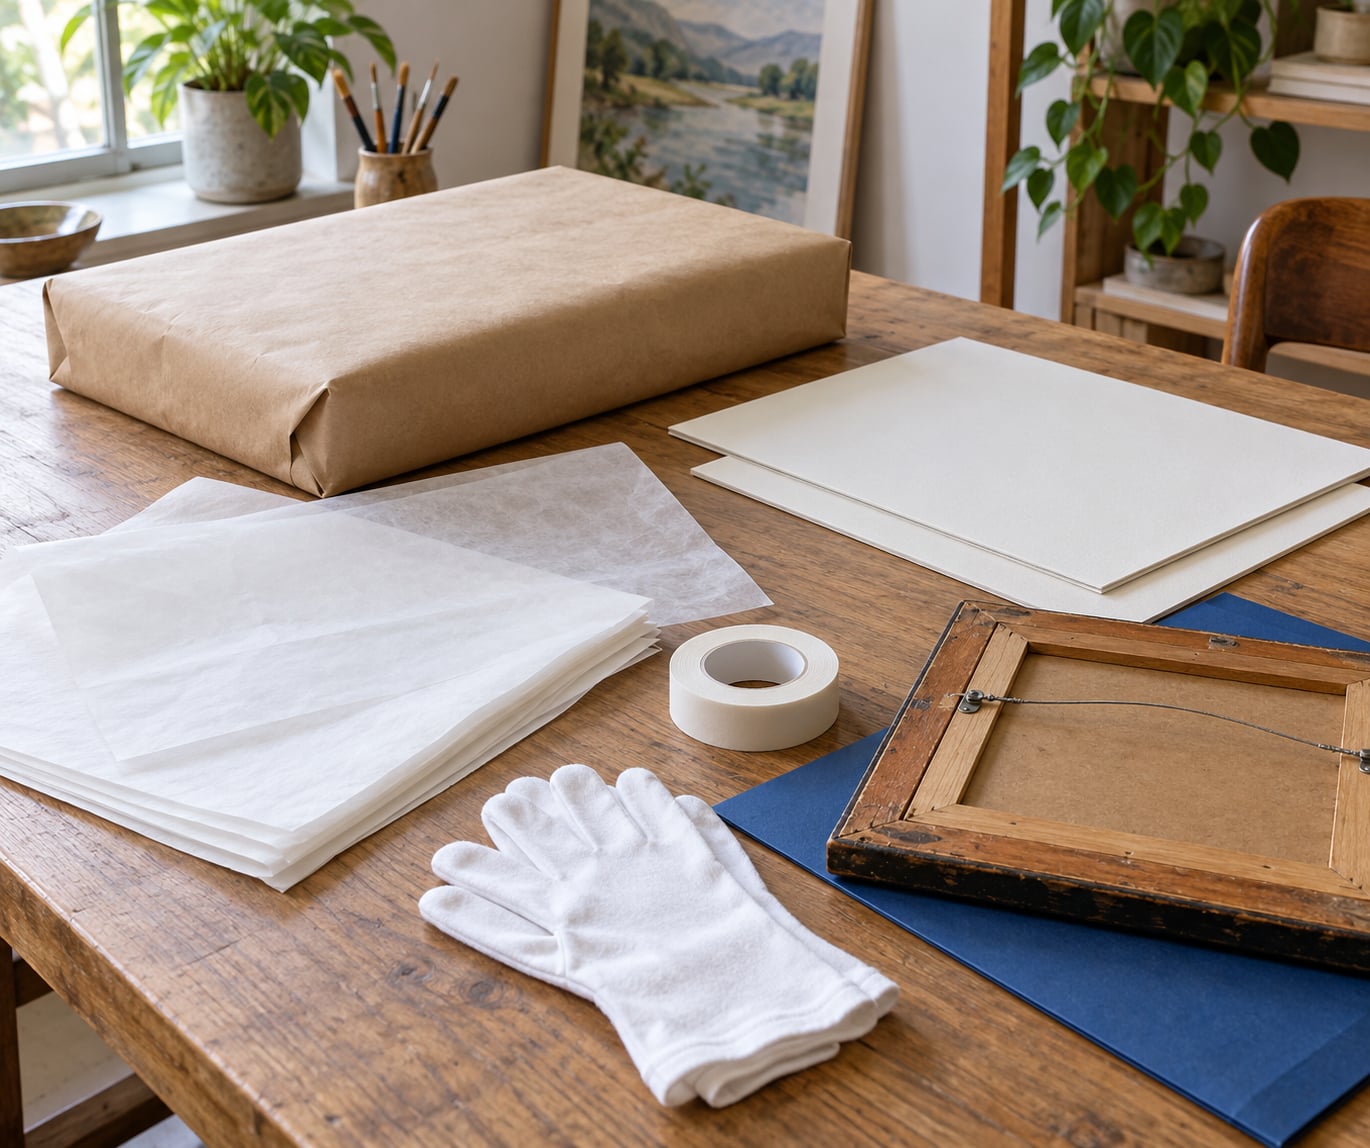
- Glassine paper — a supercalendered, pH-neutral translucent paper. It is the standard barrier for oil, acrylic and tempera surfaces because it does not stick to cured paint or varnish.
- Acid-free tissue paper — buffered tissue for works on paper, photographs, prints and collages with matte surfaces.
- Rigid support boards — two pieces of archival foam core or corrugated board, each 2 to 3 inches larger than the artwork on every side. Foam board is lighter; corrugated board resists flex more.
- Cushioning wrap — bubble wrap for framing edges and rigid items, soft tissue or acid-free paper for textured surfaces and textiles.
- Water-resistant outer covering — Tyvek, a heavy polyethylene sheet that sheds water but lets moisture vapour pass through.
- Archival tape — painter’s tape or gummed paper tape for sealing the package. Ordinary household tape is not archival.
- Cotton gloves and a clean mat — bare hands pick up oil and salt from skin, and a dirty table transfers grit straight onto the face.
Which combination suits your work matters more than which brand you buy. Glassine plus foam board is the right pairing for a framed or stretched oil. Acid-free tissue plus board is right for paper. Textiles want tissue and board only, no bubble wrap at all, because the plastic grid can imprint into batting and leave a permanent pattern on the surface.
For mixed-media pieces with raised collage elements, add a layer of soft padding over the face so the boards do not press into the texture. If you are working on a tight budget, kraft packing paper folded over the inner package works as the outer wrap, and corrugated cereal boxes opened flat substitute for support boards as long as they are clean and unstained.
Step-by-Step: How to Wrap Art for Storage Long Term
Assess and Clean the Artwork
Before anything touches the surface, look for loose media, lifted edges, paint cracks and loose fibres. Check the back of the frame for a hanging wire or a protruding staple, because that is what punctures the board later.
Cleaning is minimal by design. Dust with a soft brush on unframed work, and use a barely damp cloth only on the back of the stretcher or the frame moulding, never on the painted face. Framed glass can be wiped with a dry microfibre cloth if there is a light film, and you should leave any flaking or lifting paint alone entirely and pack around it.
You will know the artwork is ready when you can handle it by the edges without feeling a flaking area shift under your fingers. If you can see a lift, add extra tissue over that spot before the next layer goes down.
Add a Protective Face Layer
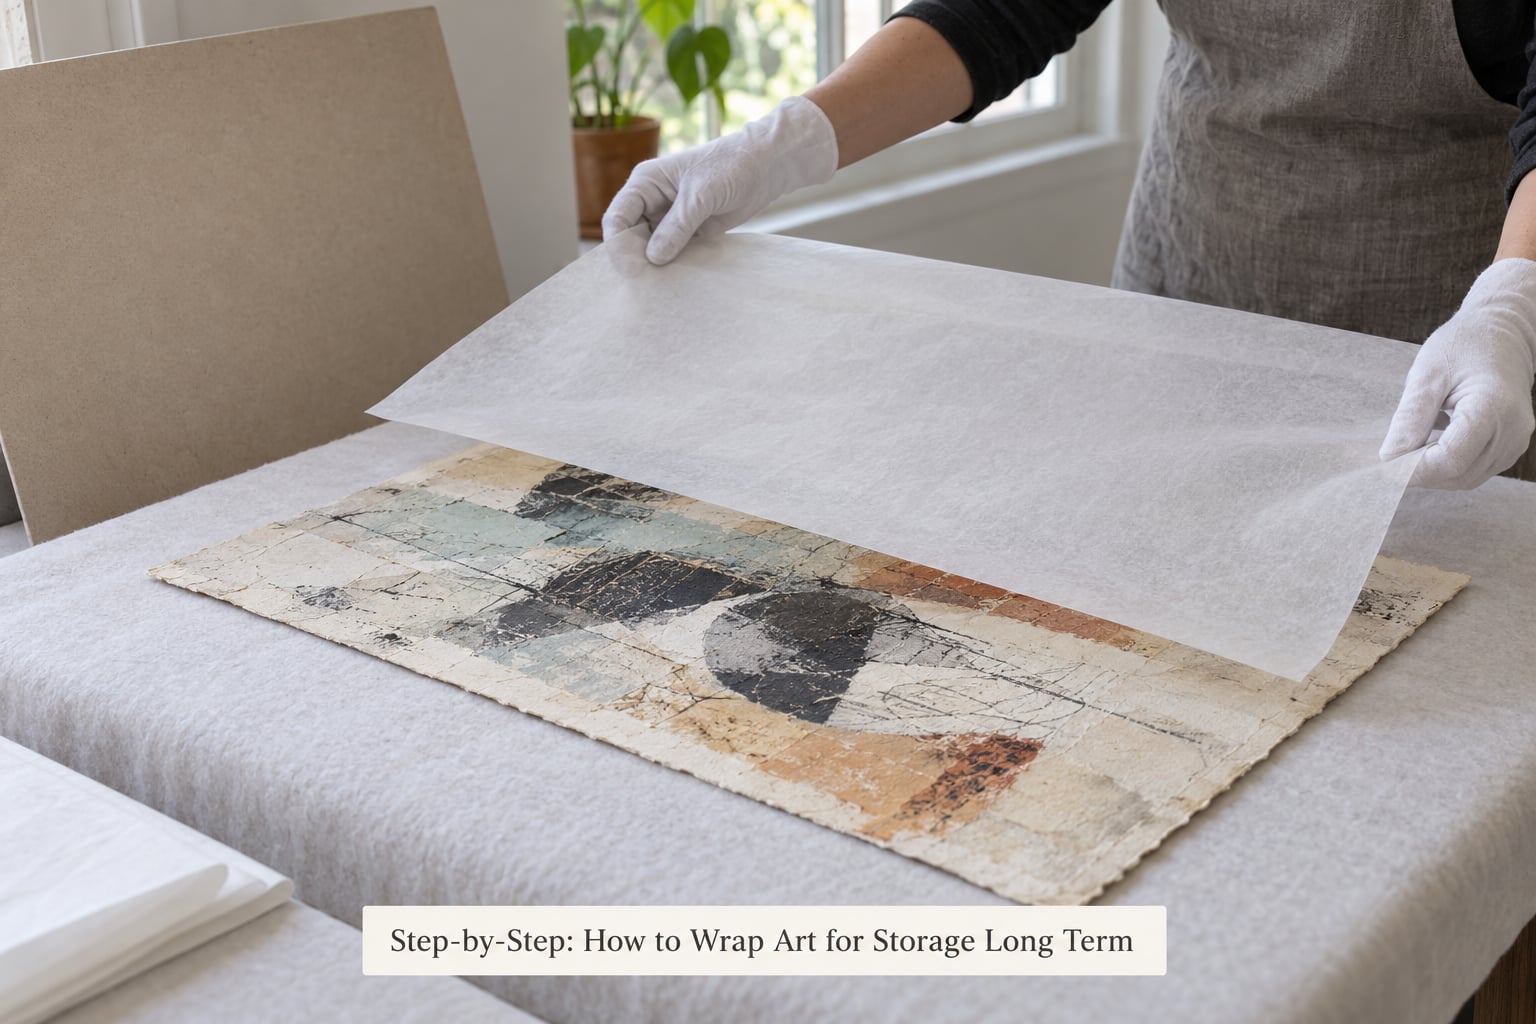
Lay glassine or acid-free tissue directly on the face. Lower it rather than dropping it, starting at one corner and easing it across so air escapes instead of getting trapped. Let the sheet extend past the edges by two inches all round.
Do not smooth or rub the sheet flat. Any pressure on impasto, thick gesso or a wax surface can leave a mark that never comes out. For a raised texture, lay the tissue on loosely and follow it into the valleys with your finger instead of a roller or a brush.
Tape the face layer to the backing, never to the artwork surface. On a framed piece, run painter’s tape in an X across the glass or acrylic so a crack cannot travel across the whole pane, and continue that pattern down over the frame corners. On unframed work, tape onto the back edges of the stretcher or the board.
Build Flat Support Layers
Place one rigid board face down on your mat, put the artwork on top of it, then the second board on top. Boards larger than the artwork catch the weight so nothing presses on the edges or corners, which is where paper tears first.
Keep the sandwich flat by checking it against the table from eye level. If one board is warped, replace it rather than packing around the curve, because a bowed board curls the artwork over time. For thin papers, use two boards to keep the weight even.
Wrap the Package in Layers
Now you have finished the hardest part of how to wrap art for storage long term, and the rest is cushioning and closure. Wrap the supported board sandwich in two or three layers of the cushioning material, overlapping each seam by a few inches and running seams along the edges rather than across the face.
Tape each layer down. Bubble wrap is fine around a frame or a board, since it cushions edges and fills voids, but keep it away from a painted surface because the adhesive can creep under pressure and stick to varnish over time.
Framed work that is too large to lay flat needs a different route. Wrap the frame in bubble wrap with extra padding at the four corners, cover it in packing paper or Tyvek, then stand it upright in a box with other pieces so nothing shifts.
Add an Outer Moisture Barrier
The inner archival package goes inside a clean water-resistant outer covering. Tyvek is the usual choice because it blocks liquid water while staying breathable, which stops condensation from forming between the wrap and the artwork.
Plastic sheeting on its own is not a long-term storage plan. Sealed plastic can trap humidity that came from the room, and on textiles it can hold a musty smell against the fibers for a long time. If you use a plastic bag, add a desiccant packet inside, leave a small air gap, and keep the package in a dry room.
Seal the outer layer with archival tape along all seams and fold the edges like a parcel so nothing can creep open. Squeeze gently at the middle: a firm, even resistance with no hollow sound means the packing is tight and the boards are carrying the load.
Label, Inspect, and Store
Label both sides and all four edges with your name, the title, the date, the medium, the orientation and the packing date. An arrow marked this side up removes most of the handling errors, and an inventory number lets you find the piece without unpacking everything.
Photograph the front and back before it goes into the package. If the artwork is ever damaged, that photo is the reference for what it looked like before, and it is the first thing an insurer asks for.
Store flat for works on paper and textiles, upright for framed pieces, and never in an attic, garage or basement, where temperature and humidity swing hard. Aim for roughly 65 to 70 degrees F and 45 to 55 percent relative humidity, keep it out of direct light, and check the stack a few times a year for damp patches or a slipped package.
Common Mistakes
Almost every damaged package I have seen came from one of the same handful of errors.
- Newspaper as a wrap. The ink transfers and stays permanently. Fix: plain kraft paper or unprinted tissue only.
- Bubble wrap directly on paint. The plastic can bond to varnish or leave an imprint under heat. Fix: glassine first, bubble wrap only around the board sandwich.
- Household clear tape. It yellows, becomes brittle and grabs at the surface when removed. Fix: painter’s tape or gummed paper tape.
- Folding rigid media. A fold in paper or canvas is permanent. Fix: build a board sandwich large enough that no fold is needed, and never roll a painting to save space.
- Leaning artwork against a wall. Nothing stacked behind it carries weight properly, and one damp wall can wick into the edge. Fix: upright on a shelf with the piece behind it taking no load.
- Unlabelled boxes. Half of all damage happens on the first handling, before the box reaches its final shelf. Fix: label every side the day you pack it.
- Damp or fluctuating rooms. Packing protects against handling, not humidity. Fix: a conditioned interior room, or a buffered package with desiccant inside if the room is marginal.
One more worth naming: an oversized plastic bag slid over the whole package. It fits nothing, it does not cushion, and it traps condensation. A snug water-resistant outer wrap with an overlap of several inches does far more.
Frequently Asked Questions
Should plastic ever touch artwork directly?
No. Plastic wrap and bubble wrap can creep into varnish and leave an imprint, and sealed plastic traps room humidity against the surface. Put glassine or acid-free tissue on the artwork first, then plastic outside that barrier only. For textiles, skip plastic entirely and use tissue with rigid boards, since trapped moisture leads to musty smells.
How do I wrap a framed painting for storage?
Tape the glass in an X pattern with painter’s tape so a crack cannot spread across the pane, then continue the tape down over the frame corners. Wrap the frame in two or three layers of bubble wrap, overlapping the seams, and add extra padding at all four corners. Cover in Tyvek or kraft paper, seal with archival tape, and store upright.
Do quilts and other textiles need different wrapping than paintings?
Yes, and the difference is mostly about pressure. Bubble wrap is never used on a quilt because the plastic grid can imprint into batting and leave a lasting pattern. Fold the textile with acid-free tissue at every crease, sandwich it between rigid boards that are larger on all sides, and wrap the outside in tissue or paper rather than plastic.
How long can artwork stay wrapped?
A properly wrapped piece can stay packed for years without trouble, provided the environment is conditioned and the materials are archival. Check the package a few times a year, especially in seasons with big humidity swings. Replace outer wrapping that has torn or gone damp, and keep the original condition photos with the inventory record.
What temperature and humidity are best for long-term art storage?
Aim for roughly 65 to 70 degrees F and 45 to 55 percent relative humidity, and keep the range steady rather than perfect. Fluctuations cause more damage than a slightly warm room, because paper expands and contracts with every change. Store away from direct light, exterior walls, pipes and anything that radiates heat.
Can I use parchment or wax paper instead of glassine?
Parchment is the closest DIY substitute because it is pH-neutral and translucent, so it works as a barrier over dry, fully cured paint. Wax paper is a poor substitute: it can transfer wax to the surface, is not archival and softens in warmth. Neither is safe over matte paper, which is why works on paper want buffered acid-free tissue instead.
Conclusion
If you do one thing differently after reading this, put the acid-free face layer on before anything else touches the artwork. That barrier is the part you cannot repair later, and it is what keeps paint, tissue and fibre from ever meeting glue, plastic or dirty board.
Then add rigid support sized generously past the edges, wrap for cushioning, and keep the finished package in a conditioned indoor room. The exact method still follows the medium: glassine and board for painted surfaces, tissue and board for paper and textiles, extra corner padding for framed work. Match the method to the piece and it stays safe for as long as you need it stored.