Most working studios only need two things: bright, neutral light and one adjustable lamp aimed at whatever surface you work on. Target 5000-5500K light with a color rendering index of 95 or higher, keep it off to the side rather than overhead, and you can judge color and value honestly all day. Learning how to light a studio for making art takes about an hour of planning and an afternoon of rearranging.
Here is the part that catches people. Your eyes adjust to whatever light surrounds them, so a bad setup never announces itself. Paint under a warm bulb for a few months and you will stop noticing the warmth, but you will keep over-using the blues you can barely see. That painting looks dull the moment it hangs in someone else’s daylight-lit living room.
Everything below works whether you paint, draw, sew, quilt, cut wood, or photograph your own work for sale. Budget for it or not, the order of operations is the same.
Table of Contents
- What You Need
- Planning information
- Lighting equipment
- Measuring and testing tools
- Safety gear
- How to Light a Studio for Making Art: Step-by-Step
- Map Your Main Artmaking Tasks
- Start With Indirect Ambient Light
- How to Light Your Work Surface With a Task Lamp
- Control Glare, Shadows, and Color Distortion
- Test the Setup Before Buying More Equipment
- Common Mistakes
- Frequently Asked Questions
- What color temperature is best for an art studio?
- How bright should my studio lighting be for painting?
- Can I use daylight as the main light in my art studio?
- How do I stop studio lights from creating glare on canvas?
- Should I use the same lighting for sewing, painting, and woodworking?
- What is the safest way to add extra lighting to a studio?
- Start With a Layered Lighting Plan
What You Need
Most of what you need is information, not hardware. Gather it before you buy anything, because half the problems people complain about come from buying a bulb before knowing what is already in the room.
Planning information
- A list of every task you do in the room and where each one happens
- The bulb specs already in your fixtures, read off the base or the box the bulb came in
- A rough measurement of your main work surface and how far you sit or stand from it
- An honest note of what you cannot change, such as no rewiring in a rental
Lighting equipment
- One general ceiling fixture or a single flush panel for the room as a whole
- One adjustable task lamp with a diffuser, or an arm-and-clamp lamp you can aim
- A floor lamp or light stand if you work at an easel and cannot clamp anything nearby
- A second lamp on the opposite side, which is the cheapest cure for stubborn hand shadows
Measuring and testing tools
- A cheap light meter app if you want numbers, though a phone lux reading is enough to spot a dim corner
- A small grayscale value card, or a printed black-to-white step wedge
- A swatch of pure white and a mid gray to check for color casts
Safety gear
Extension cords rated for the load, a surge protector, and bulbs that stay cool enough to touch. If you plan to add a circuit or run track lighting, hire a licensed electrician and pull a permit.
How to Light a Studio for Making Art: Step-by-Step
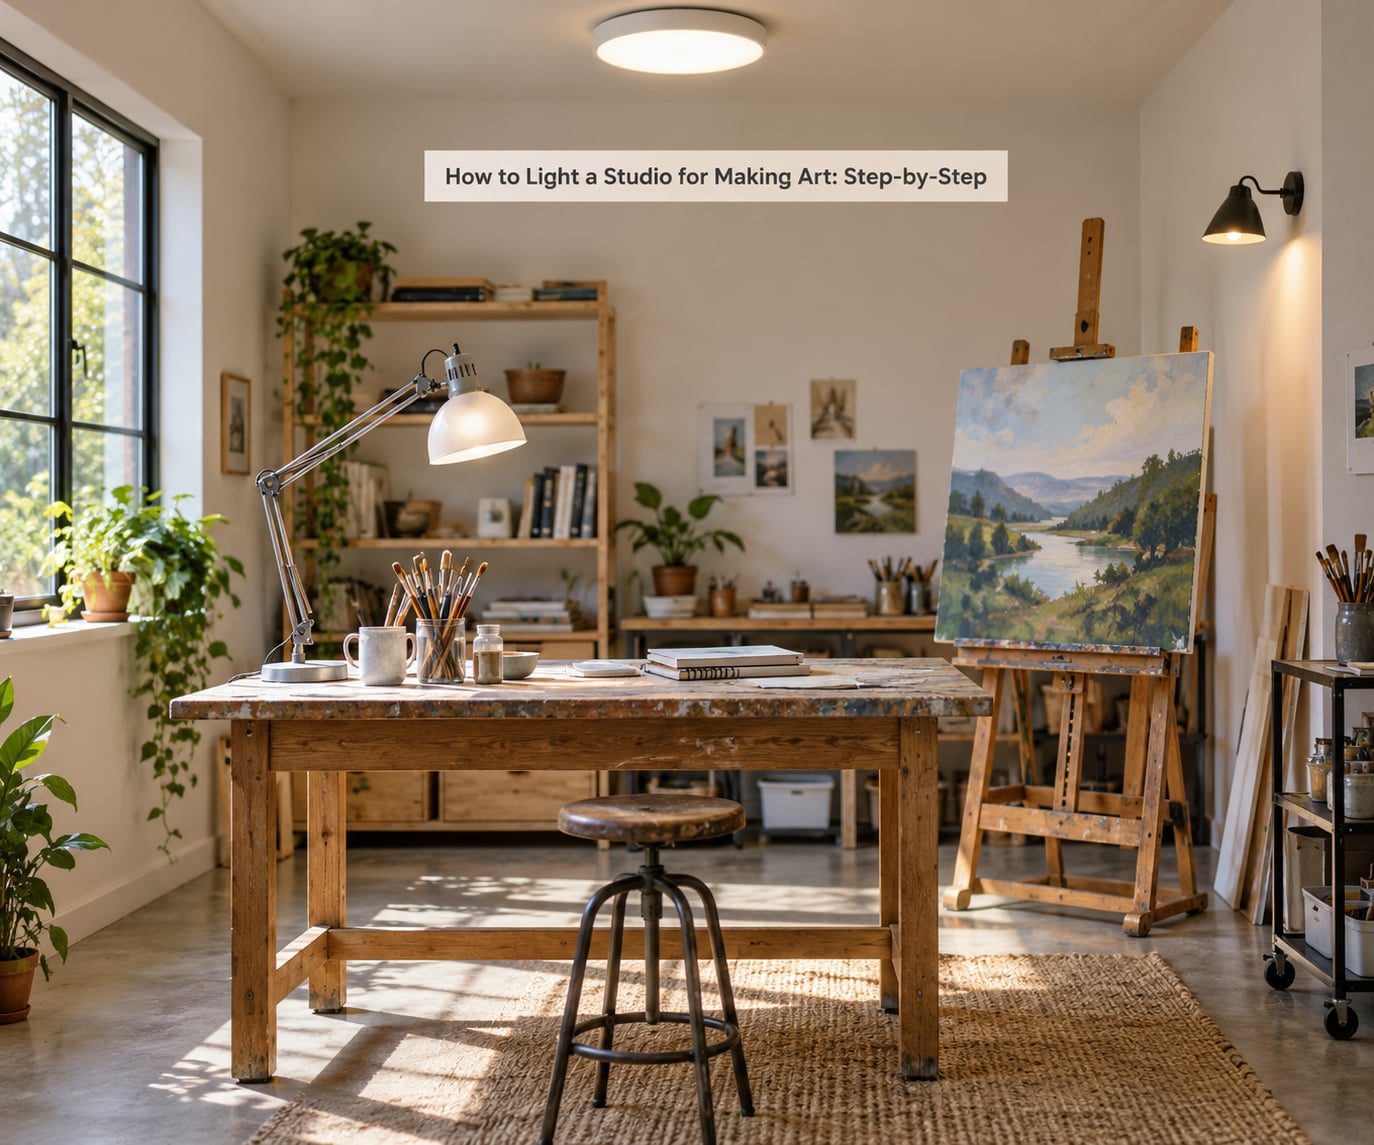
Work through these in order. Each one depends on the last, and skipping ahead is what leaves people with three lamps and glare that will not go away.
Map Your Main Artmaking Tasks
Every task wants something slightly different from the light. Mixing paint and judging color need even, neutral illumination with no strong shadow. Reading pencil lines, threading a needle, or checking a quilt seam needs brightness and low shadow at the exact spot where your hands are. Cutting, sanding, and clay work need light from a high angle so debris falls away and edges stay readable. Photographing finished work needs a separate, flatter setup entirely.
Walk the room and note where each of those happens. Most studios have two or three distinct zones, and that map is what tells you how many lamps you need. One adjustable lamp handles a flat table. An easel plus a table usually means two.
Start With Indirect Ambient Light
Ambient light is the general glow that keeps you from working in the dark corners of your own room. It should be soft and it should not be in your line of sight.
A bare bulb hanging over a table is the worst of both worlds. It sits exactly where glare forms, and it drops a hard shadow of your head across whatever you are working on. Replace it with a frosted shade, a diffuser panel, or a flush-mount fixture that throws light up into the ceiling as well as down onto the table.
Here is how the common bulb types compare for a studio, and why two of them cause most of the complaints:
| Bulb type | Typical color temperature | Color rendering | Heat output | Lifespan |
|---|---|---|---|---|
| Incandescent | Warm, roughly 2700K | Excellent | Very high | Short |
| Halogen | Warm to neutral, 2800-3200K | Excellent | Very high | Moderate |
| Fluorescent tube | Cool, 4000-6500K | Varies widely | Low | Long |
| Compact fluorescent | Cool, 4000-6500K | Moderate | Low | Long |
| LED bulb or panel | Any Kelvin available | Check the CRI rating | Very low | Very long |
Incandescent and halogen render color beautifully and run far too hot for a small room. Artists who switch from halogen to LED report relief for a simple reason: the room temperature stays manageable. Fluorescents and CFLs are cool and efficient but need the right fixture, and cheap ones often land you at 4000K, which pushes everything blue.
One warning: avoid color-changing and RGB bulbs on any surface you mix paint on. A slightly warm bias is bad, but a bulb that shifts hue mid-session makes consistent judgment impossible. If you want tunable light, pick a white tunable fixture that moves between 3000K and 6000K, not one that goes red and purple.
How to Light Your Work Surface With a Task Lamp
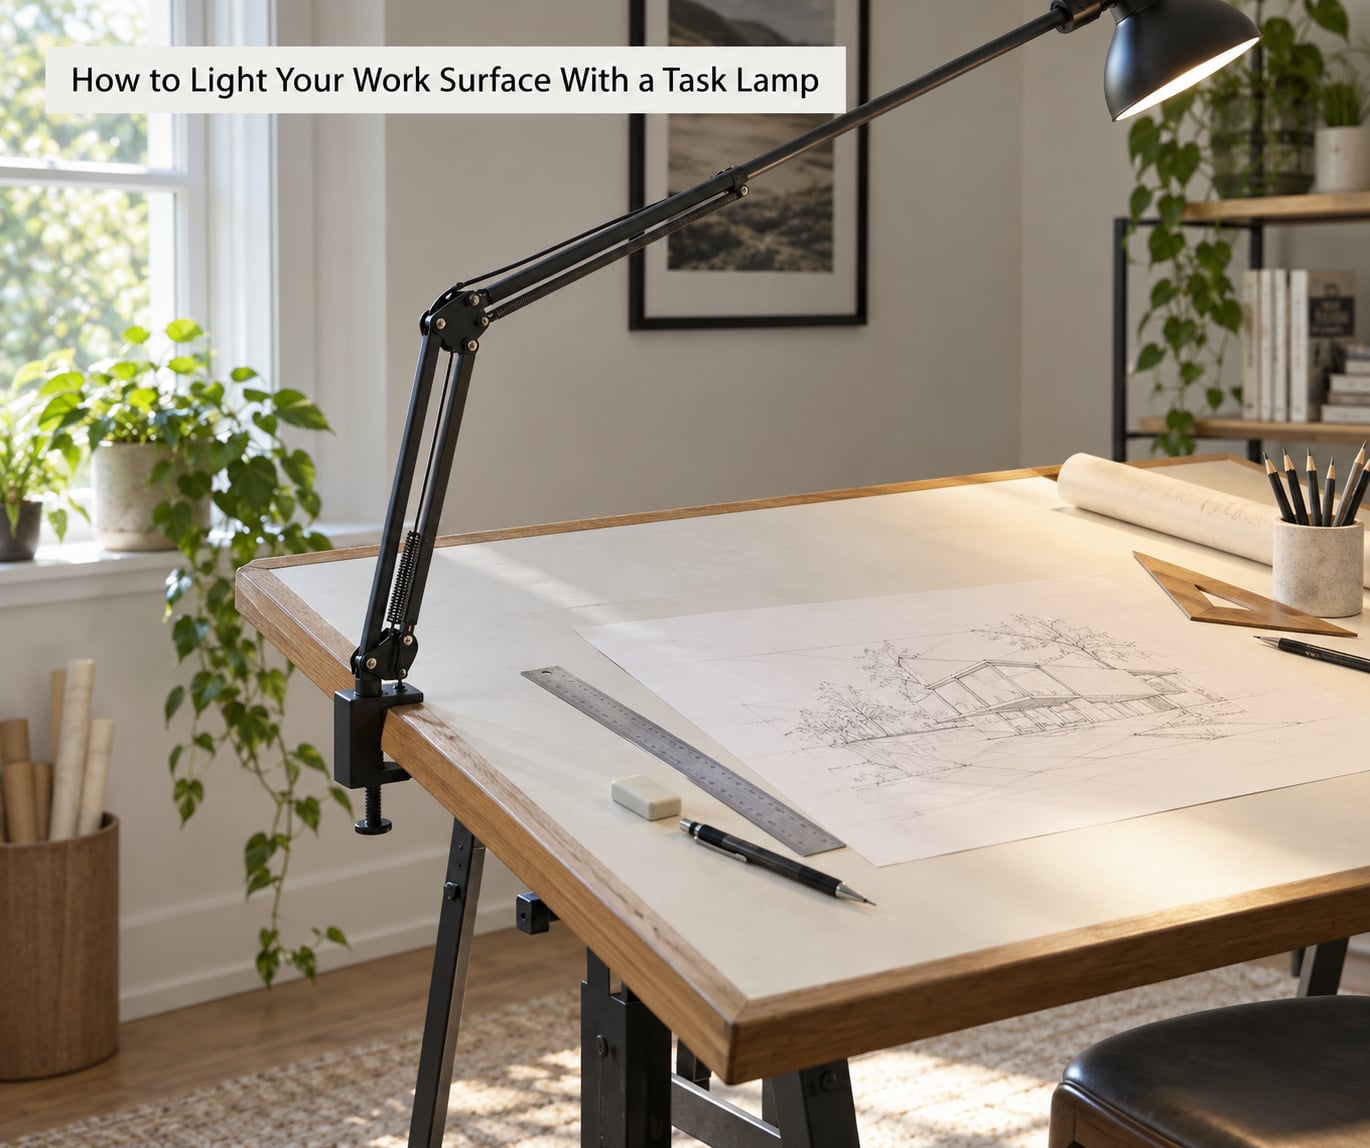
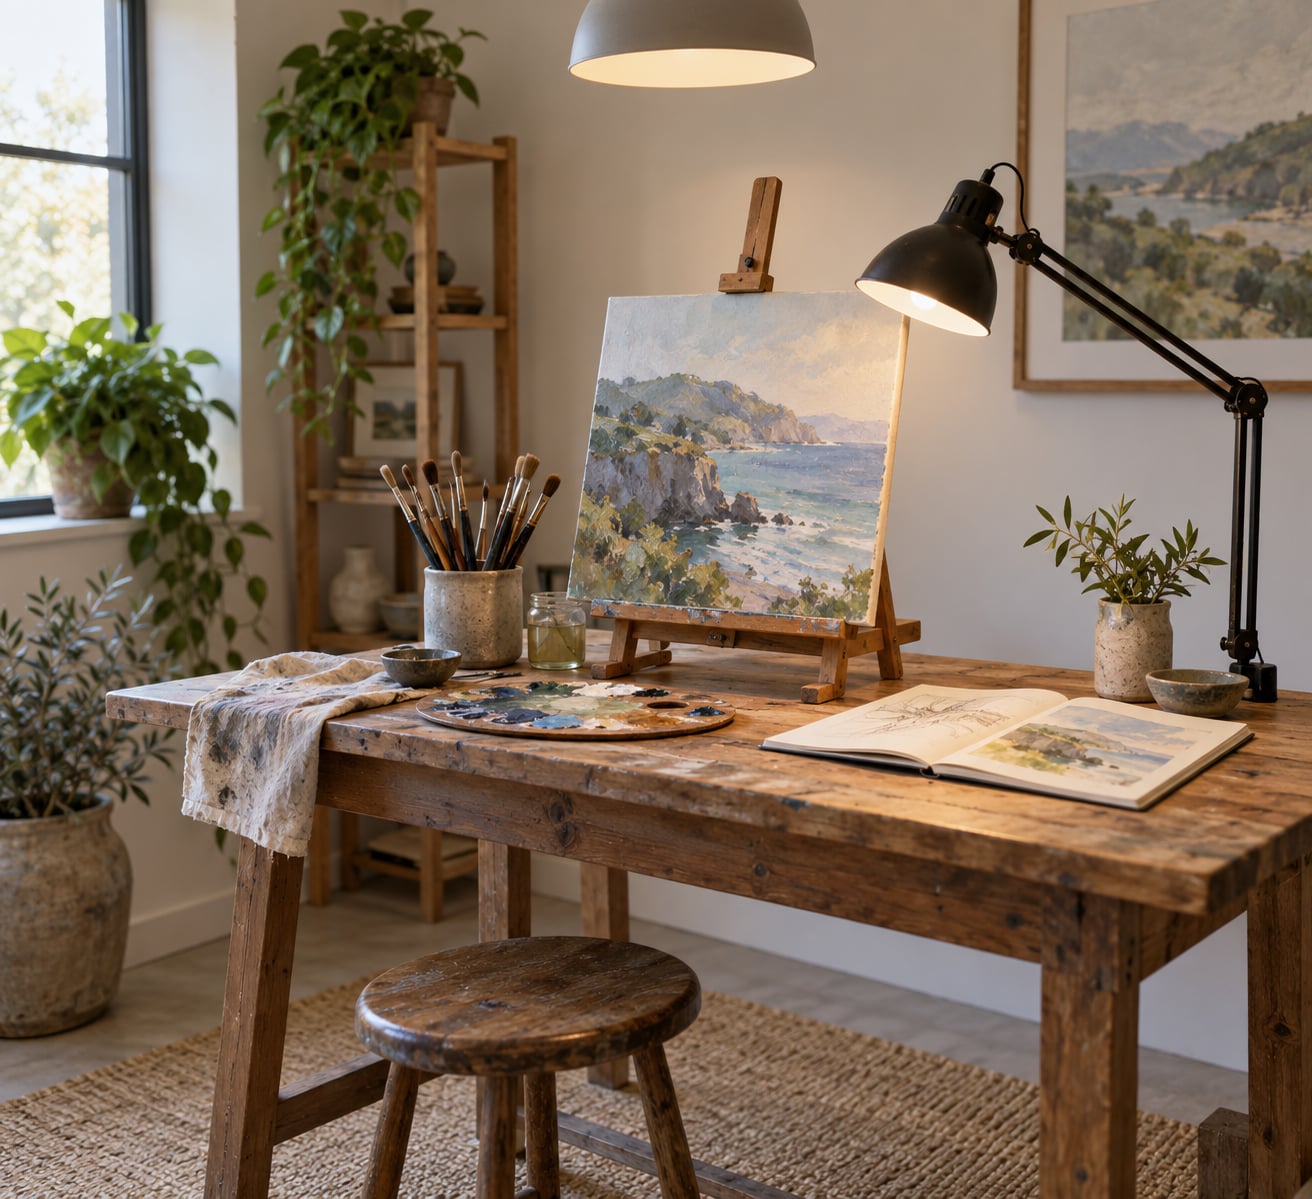
Task lighting is what actually lets you see. Position it about 45 degrees off to one side of your dominant hand, high enough to reach the whole surface but low enough to stay out of your sightline. That angle gives you a working shadow from your hand without throwing your whole forearm across the work.
Different surfaces need different setups. At a flat drafting table, an arm lamp clamped to the edge and reaching across the board works well. At a tilted drafting desk, mount or clamp it high on the wall so the light still lands at roughly 45 degrees after the tilt. At an upright easel, put a light on a stand about three feet to one side and slightly in front, high enough to light the lower half of the canvas.
People who cannot touch their ceilings report good results with clamp lamps and floor lamps placed at 45 degrees beside the easel. It is the same geometry, just on the floor instead of the ceiling.
Control Glare, Shadows, and Color Distortion
Glare is reflection, not brightness. It happens when the light source sits at the mirror angle between your eyes and your work, which is why moving a lamp forward a few inches can kill it instantly. Work through the problem in this order: reposition first, add a shade or diffuser second, change bulbs last.
Color distortion comes from two numbers. Color temperature in Kelvin tells you whether the light skews warm or cool. CRI tells you how faithfully the light reveals each individual hue, on a scale of 1 to 100. A bulb can be a perfect 5000K and still be useless if its CRI is 70, because it will flatten every subtle mix on your palette.
| Light source | Color temperature | What it looks like in your studio |
|---|---|---|
| Candle | 1800K | Deeply warm, orange |
| Sunrise | 2000K | Warm, candlelike |
| Household incandescent | 2700K | Noticeably yellow |
| Late afternoon sun | 3400K | Softly warm |
| Midday sun | 5000K | Neutral white |
| Overcast sky | 6500K | Cool and bluish |
Aim for 5000-5500K. It matches midday sun closely enough that a painting finished in your studio still reads correctly outdoors, and it sits at a temperature that lets you sleep at night without your brain objecting. If your finished pieces hang in warm domestic interiors, 4500-5000K is a reasonable compromise because it will not fight the yellow of incandescent bulbs in someone else’s house.
For intensity, light falls off with the square of distance. Doubling the distance quarters the light reaching your table, which is why a lamp that seems bright in the shop can feel weak two feet above your easel. As a working range, 300-500 lumens per square foot of floor covers painting and general studio work, and detail-heavy tasks such as needlework or jewelry want the higher end. Aim for roughly 1,000-1,500 lux at the work surface for fine detail, and put your dimmer or switch somewhere you can reach without leaving the chair.
Test the Setup Before Buying More Equipment
Test with real work, not with the bulb. Hold a grayscale step wedge under the light and check that each step separates cleanly and that the white steps all look equally white. A color cast shows up immediately in the white steps as a tint, usually warm yellow or cool blue.
Then run your actual tasks. Mix a set of colors and let them dry, then look at them again the next day under the same light. Read a page of your sketchbook at arm’s length. Stitch a seam and check the puckering. Photograph a finished piece and compare it to the painting in your hand.
Finally, view the work from somewhere other than your chair. Walk across the room and look at it from the doorway, the way a visitor will. If the values hold up from there, your setup is doing its job. If something swings warm at a certain angle, add a second lamp on the opposite side rather than moving the one you have.
Common Mistakes
Running on one ceiling fixture. A single overhead light leaves every surface in your studio evenly dim and still full of moving shadows. Layer it: general light plus one aimed lamp.
Putting the lamp in your sightline. Any light source above eye level and in front of you creates glare on canvas, paper, and glossy fabric. Move it behind or beside your head.
Choosing a bulb by brightness alone. Brightness is lumens, not watts, and a higher wattage tells you nothing about color. Check the Kelvin and CRI numbers on the box, or the print on the bulb base.
Measuring brightness at the wrong surface. A wall reading means very little. Measure at the canvas or the table, with the meter held where your eyes are.
Stacking extension cords. Daisy-chained cords and undersized adapters are the leading cause of studio fires and failed lamps. Use one rated cord per fixture, keep it off the floor where it can be walked on, and add new lighting to a circuit an electrician has checked.
Judging color only at night. Mixing under lamplight and never re-checking in daylight is how a whole series ends up too blue. Look at finished work in a second, neutral light source before you sign it.
Trusting packaging that lists no specs. Cheap clip-on craft lights rarely publish CRI or Kelvin. If the box says nothing, assume the CRI is mediocre and keep them for utility spaces rather than your main work surface.
Frequently Asked Questions
What color temperature is best for an art studio?
Aim for 5000-5500K. That range sits close to midday sunlight, so colors you mix will look the same in your studio, in daylight, and in most gallery spaces. Lights under 4000K read yellow and make you overuse your blues; lights above 6500K read blue and make warm mixes muddy. If your work is displayed in homes with warm incandescent lighting, 4500K is a sensible compromise.
How bright should my studio lighting be for painting?
For general studio work, 300-500 lumens per square foot of floor is a practical range, and detail tasks such as needlework or jewelry want the higher end. Aim for roughly 1,000-1,500 lux at the work surface itself. Remember that light falls off with the square of distance, so raising a lamp two feet higher can cut the light on your canvas to a quarter of what it was.
Can I use daylight as the main light in my art studio?
Yes, and a north-facing window remains the most even natural source there is, because it never gets direct sun. The limitation is consistency: the light changes all day and vanishes on cloudy days, so color decisions made at 9am may not match ones made at dusk. Most artists use daylight for general work and keep a 5000-5500K lamp on the work surface so their judgment stays the same at night.
How do I stop studio lights from creating glare on canvas?
Glare is reflection, so the fix is position, not brightness. Start by moving the lamp forward a few inches or dropping it lower so it is no longer at the mirror angle between your eyes and the canvas. If you need more control, add a diffuser panel or a deep shade. Aim every lamp at about 45 degrees to your dominant hand so your own hand casts a shadow you can see instead of one you cannot.
Should I use the same lighting for sewing, painting, and woodworking?
The temperature and color rendering should match across every task, but the intensity and angle differ. Sewing and painting both need even color and low glare, with light coming from the side. Woodworking and sanding want a brighter, higher light from above so edges and dust are visible. Textile and fiber work also catches light differently from matte paint, so check your setup with the actual materials in your hands, not just with a page of paper.
What is the safest way to add extra lighting to a studio?
Add light in layers rather than by overloading a circuit. Use one rated extension cord per fixture with a surge protector, keep cords off walkways, and never daisy-chain cords or adapters. Replace hot halogen lamps with LEDs to cut heat and load. If you want new ceiling fixtures, track lighting, or a dedicated circuit, hire a licensed electrician and check what you plan to install against local electrical code.
Start With a Layered Lighting Plan
Do not rewire anything yet. Find the surface where you spend most of your time, put one adjustable lamp about 45 degrees to the side of it, and confirm there is no bare bulb in your sightline. That single change fixes the glare and the hand shadows that make up most of what artists complain about.
Once that feels right, soften your ceiling fixture so it lights the room without shadowing your work, and check the specs on your bulbs for 5000-5500K and a CRI of 95 or above. Test with a grayscale card and one finished piece viewed from across the room. Add a second lamp from the opposite side only if something still swings warm or dark at a certain angle. That is how to light a studio for making art, one layer at a time.