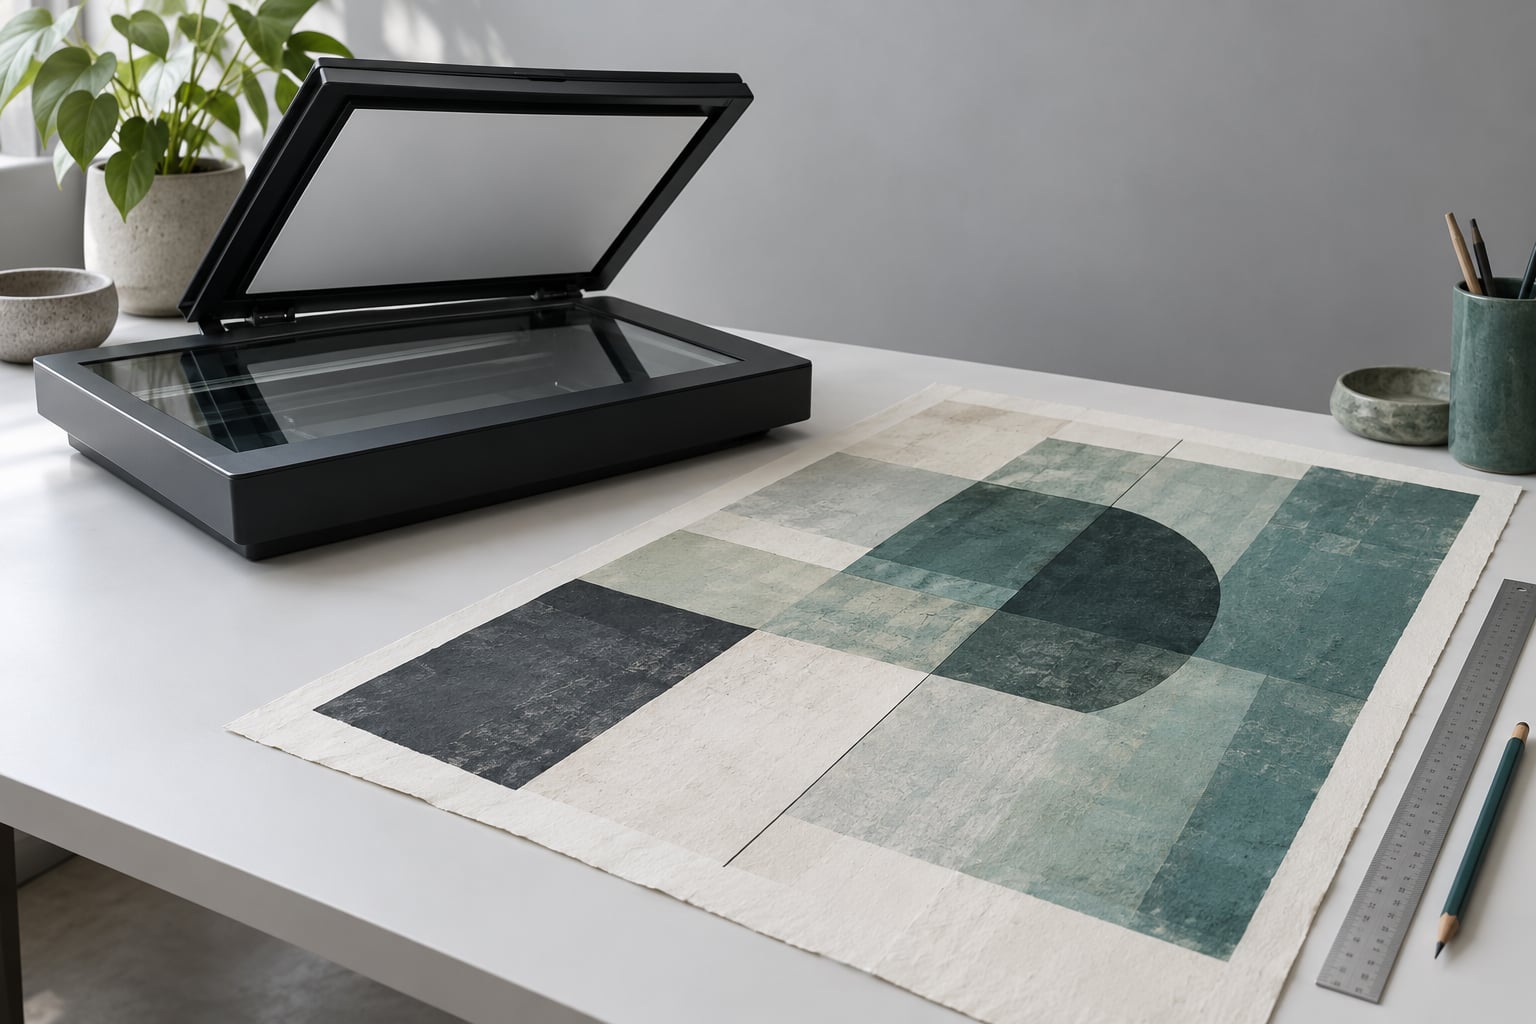
To scan artwork larger than the scanner bed, capture the piece in overlapping sections that fit the glass, then merge those sections into one file in Photoshop, Affinity Photo or a free panorama tool. Overlap each section by roughly 10-20 percent so the software has matching content to align. A camera or a large-format scanner is the only alternative when the work is fragile, heavily textured or too wide to slide across the glass safely.
Most of the work is preparation rather than software. A 16×20 inch piece on a letter-size bed comes out to six sections, roughly an hour of capturing, then twenty minutes of merging. Do that for every oversized original in a year and you have replaced a very expensive piece of hardware with a workflow.
I keep two rules that save me rework: identical scanner settings on every pass, and a deliberate overlap rather than edges trimmed to meet. The second one is the whole trick. Details below.
Table of Contents
- What You Need
- Which method fits your piece?
- Pick your resolution before you start
- Step-by-Step
- Scan the Artwork in Overlapping Sections
- Photograph and Stitch the Full Artwork
- Create a Large Composite from a Camera Scan
- Use a Large-Format Scanner When Maximum Accuracy Matters
- Common Mistakes
- Frequently Asked Questions
- How much overlap do I need between scans?
- Is photographing large artwork accurate enough for prints?
- Do I need Photoshop, or is there a free way to stitch scans?
- What DPI should I scan artwork at for printing?
- How do I scan quilts or thick textile pieces?
- Why do my stitched scans have visible seams?
- Conclusion
What You Need
What counts as “the equipment” depends on which route you take, but every route needs a clean flat surface, controlled light and somewhere to merge the pieces.
- A flatbed scanner. Measure the platen itself, not the paper size printed on the box. A bed that takes A4 gives you about 11.7 by 8.3 inches of glass to work with.
- A camera on a tripod, or a phone on a stand, if photography is your chosen route.
- Even lighting. Two identical lamps at roughly 45 degrees beat one overhead light, which reflects straight into the lens or the glass.
- A tape measure, a straightedge and low-tack tape for marking section boundaries on the mat or floor.
- A thin mat, sheet of glass or registration marks to stop sections sliding between scans. Painter’s tape tabs work fine.
- Editing software. Adobe Photoshop (Edit > Auto-Align Layers, Edit > Auto-Blend Layers), Affinity Photo, GIMP or a free panorama tool.
- A soft brush or a blower for dust and lint on the glass between sections.
Which method fits your piece?
Four routes handle oversized work. Here is how they compare on the things that actually slow you down.
| Method | Best for | Watch out for |
|---|---|---|
| Scan in overlapping sections | Paper originals, ink, coloured pencil, most work up to about 24 inches | Colour shifts between passes, seams in loose washes |
| Camera on a tripod, stitched | Very large pieces, canvas, anything that will not sit flat on glass | Perspective, glare, uneven light, focus across a big plane |
| Large-format scanner | Consistent colour and texture, repeated production of similar work | Platen depth, weight limits, cold light and varnish |
| Fine art scanning bureau | One-off very large work, fragile pieces, framed or stretched originals | Turnaround time, shipping and insurance for the original |
If you only ever do a handful of oversize pieces a year, the bureau row is often the cheapest honest answer. Ask what resolution they deliver, whether they return a TIFF master, and how they handle a piece that is not flat.
Pick your resolution before you start
Resolution is the one setting you cannot change after the merge. Decide it first, then use the same number on every section.
| Resolution | Use it for | Reality check |
|---|---|---|
| 300 DPI | Screen viewing, portfolio pages, marketplace listings | A 16×20 inch piece becomes about 4800 by 6000 pixels |
| 600 DPI | Print reproduction up to the original size, print-on-demand products | Files get heavy fast; plan storage before you start |
| 1200 DPI | Fine line work, pencil, and enlarging past original size | Only worth the time on tight, detailed originals |
Always capture at 48-bit colour, which is 16 bits per channel. It gives Auto-Blend Layers the tonal range to hide the joins instead of banding them. Interpolation is not a real resolution increase, so ignore any advertised figure the scanner spec sheet does not call optical.
Step-by-Step
Scan the Artwork in Overlapping Sections
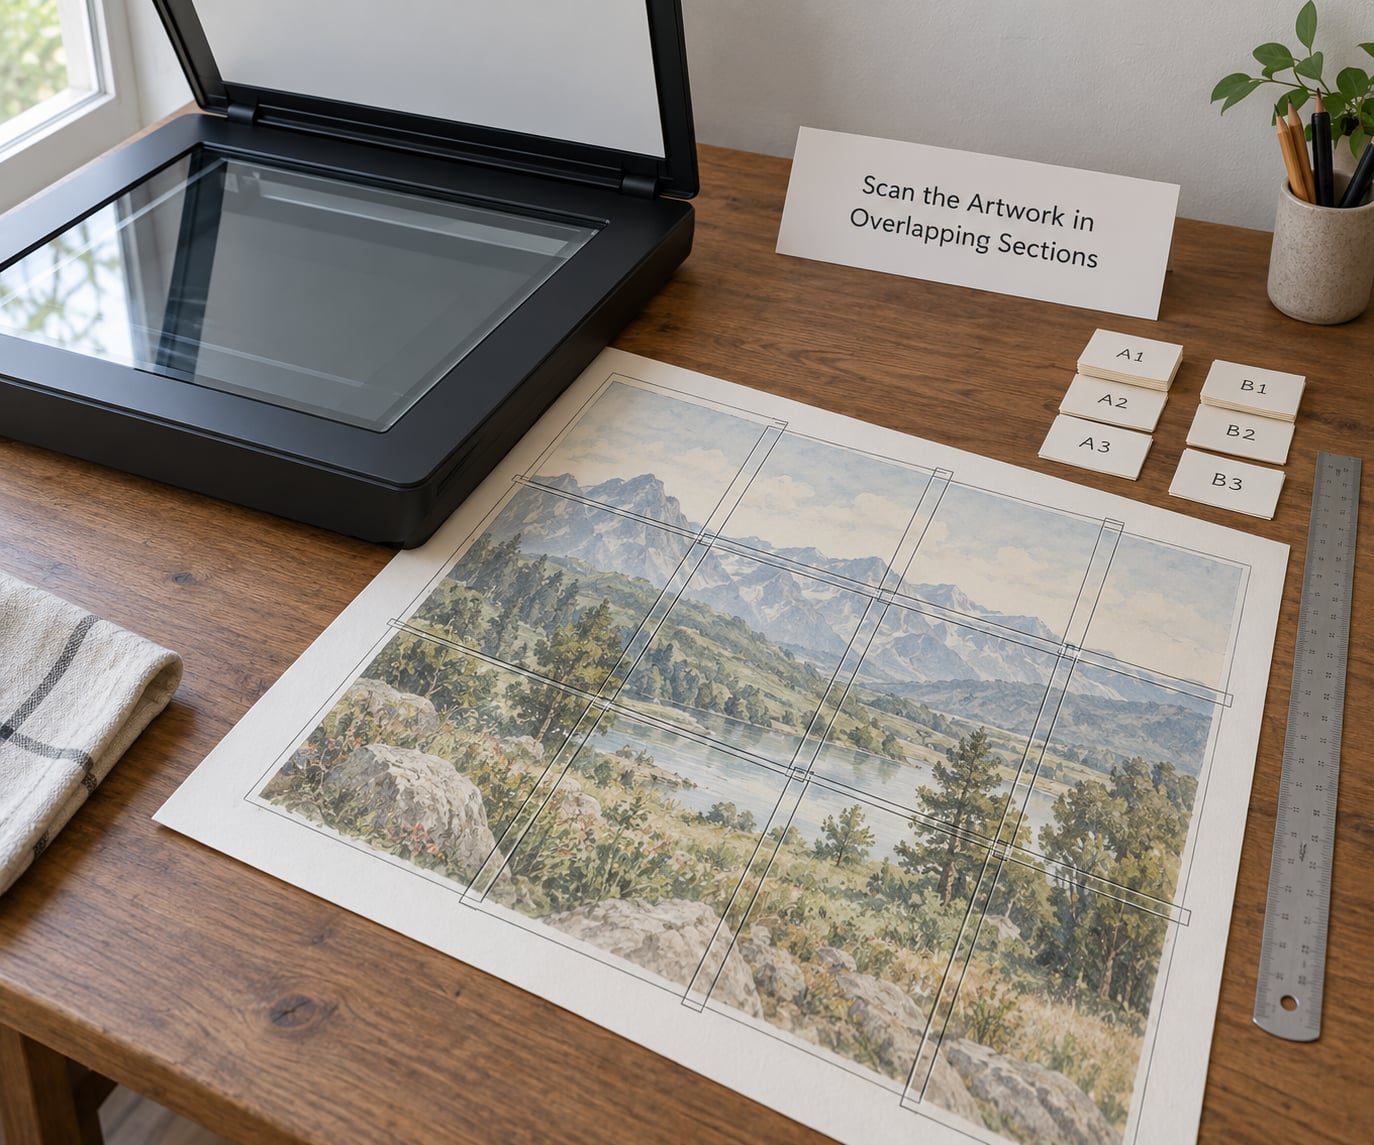
This is the method most artists use, and it works because the overlap gives the software two versions of the same marks to match.
- Measure and mark the grid. Lay the piece face up on a clean mat. With a 16×20 inch painting and an 11 inch tall bed, a 20 percent overlap means about 2 inches, so each pass advances roughly 9 inches. That gives you two rows. Across the width, each pass advances about 7 inches, so three columns. Six sections total.
- Fix the settings first. Resolution, colour mode, sharpening off, dust removal off, white balance set manually or fully automatic but then never touched. Write the settings down on the mat with a pencil.
- Scan row by row. Start at a top corner and work left to right, then drop down one step. Mark each section on the back of the sheet as you go.
- Do not trim edges. Leave the full overlap in place. Trimming to a perfect butt joint removes exactly the content the merge needs.
- Do not move the piece between rows if you can avoid it. Slide the scanner over a fixed mat, or tape the mat down and lift the artwork each time without shifting the mat.
- Check each pass for a straight line at the top of the frame, dust, and a shadow from your own body before you close the lid.
Once every section is in, open them all in your editor as layers in a single document, largest layer at the bottom, select each layer and choose Rasterize Layer, then run Edit > Auto-Align Layers with Auto and Projection settings. It finds the shared content and places the layers. Follow with Edit > Auto-Blend Layers, Panorama, which dissolves the overlaps. Crop to the artwork with the crop tool, flatten, and save.
Auto-Align will not run at all if the layers are un-rasterized or the document is not RGB at 8 or 16 bits per channel. That greyed-out button is the single most common failure, and it is nearly always a settings problem rather than a content problem.
Artists on r/ArtistLounge reach the same conclusion from experience: leaving sections deliberately repeated between passes gives the merge something to match. It sounds wasteful until you try it once and it works.
Photograph and Stitch the Full Artwork
When the piece will not go near glass, photography is the honest route. A camera at full resolution beats a flatbed at 300 DPI for a large original.
- Mount the camera on a tripod with the lens as close to parallel to the artwork as you can get, ideally on a copy stand or with a spirit level on the camera body.
- Light it with two identical lamps at 45 degrees, out of frame, and turn off every other light in the room.
- Shoot RAW if the camera allows it. Set ISO 100, a mid-range aperture around f/8, and use the two-second timer or a remote release so the camera never shifts between frames.
- Include a grey card or colour target in one frame at the start for later correction.
- Take overlapping frames, then correct perspective before stitching so the software is matching content rather than tilt.
Merge in the same way: correct lens distortion and perspective first, then align and blend, then crop. Perspective correction before alignment saves a lot of frustration, because a trapezoid will never align cleanly with a rectangle.
Create a Large Composite from a Camera Scan
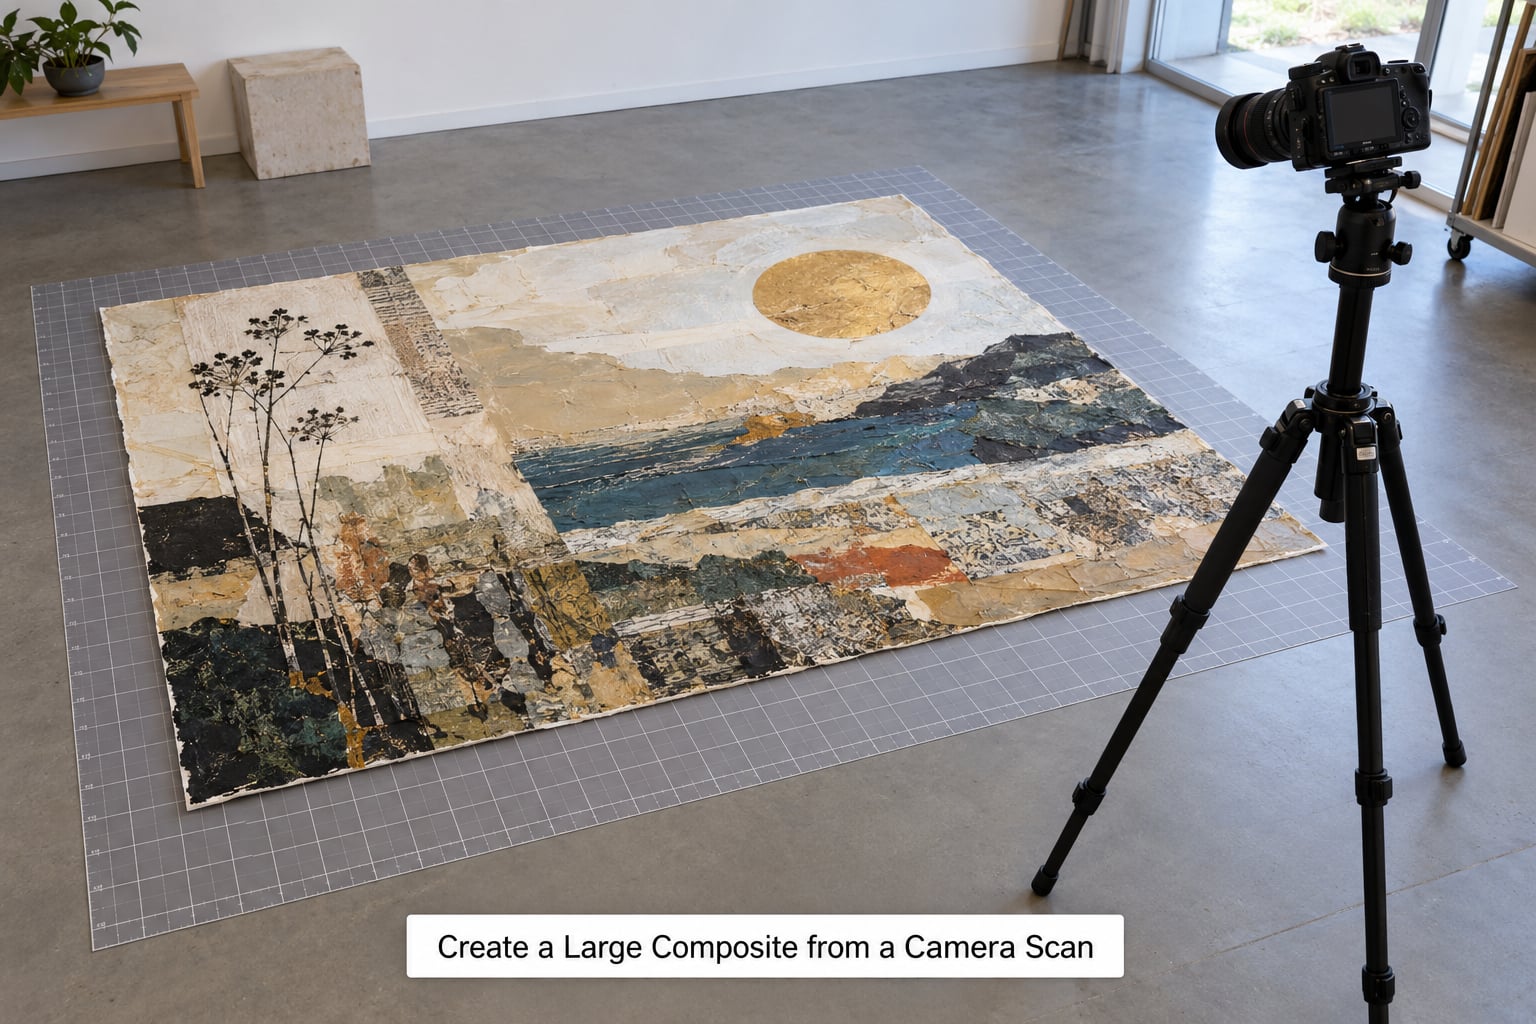
For work several feet wide, quilted textiles or thick wood panels, treat the camera as a copy stand and shoot it section by section, exactly like the flatbed method but with the lens instead of the glass.
- Mark a grid on the floor or a large mat with tape, and number the cells so you know the order.
- Fix the camera height and leave it there for every frame. Moving the tripod is what creates scale drift between sections.
- Hold the same distance in every shot and keep focus manual, focused once on the nearest part of the surface you are capturing.
- Add short registration marks in the corners of each frame if the surface texture is flat, such as plain canvas or a large sheet of paper.
- Merge, then match exposure across sections before blending if any frame looks brighter.
Texture is the hard part here. Focus has to land on the surface height, not the centre of the frame, and a deep texture such as heavy impasto or thick weave needs you to shoot slightly stopped down and accept the extra frames. If a quilt will not lie flat, weigh the sections you are capturing with something soft and matte so the drape does not change mid-way through.
Quilts and thick textiles also fight a flatbed. The pile stands off the glass, so focus and illumination are both uneven. Photographing them, or using a camera overhead with raking light to bring out the stitching, is usually faster and kinder to the quilt.
Use a Large-Format Scanner When Maximum Accuracy Matters
Large-format scanners have platen sizes from about 36 by 48 inches up to 44 by 62 inches and beyond, which removes the stitching step entirely for most pieces. That is the whole argument for them.
Set them up the same way as a flatbed, with one added decision: cold LED light sources with a glass platen, or warm fluorescent lamps without one. Glass captures surface texture faithfully and suits prints on textured paper. Warm light sources without glass are gentler on works with a varnish that can fluoresce under cool light and shift colour.
Respect the platen limits. Depth is usually shallow, often a few millimetres, so thick canvas, moulding and frames will not sit flat unless the light head can be lifted. Weight limits exist too, and a long platen can flex under a large sheet of heavy paper, which shows up as a soft-focus band. Test with a ruler before you trust the corners.
A bureau handles what a home setup cannot: pieces over 48 by 72 inches, framed or stretched originals, and surface work too dimensional for any platen. Give them a TIFF master at the resolution you need, ask them to send a low-resolution preview for approval first, and keep the original insured in transit.
Common Mistakes
- Overlap that is too small. Under about 10 percent the sections share too little detail and alignment fails. Twenty to thirty percent costs you nothing but scanning time, and it is worth it on loose media.
- Moving the artwork between sections. Any shift breaks alignment. Mark the mat, tape it down, and move the mat rather than the piece.
- Changing settings mid-job. A different sharpening, colour or dust-removal choice between sections creates seams that blending cannot hide. Lock everything after the first pass.
- Auto-enhance left on. Brightness and contrast correction applied per section means every scan is graded slightly differently, and the joins show as bands. Fix it globally after the merge instead.
- Camera perspective. Shooting a large piece from standing height gives a trapezoid. Level the camera, correct verticals before aligning, and accept the extra minute.
- Compression too early. Saving each section as a small JPEG throws away exactly the shadow detail the blend needs. Scan straight to TIFF or PSD and compress at the end.
- Scanning fragile work straight onto the glass. Watercolours, pastels and soft pencil take an impression. Put a thin glass or acetate sheet over the artwork and scan that, or photograph it.
- Resolution chosen too low for the print. Decide the finished print size first, divide by the original dimensions, and take the larger figure. That number is the scan resolution you need.
- Auto-Align Layers greyed out. Rasterize every layer, set the document to RGB 8 or 16 bits, and check that no layer has a layer mask.
- Scanning dimensional work flat. Canvas that will not sit flush on the glass is the classic r/artbusiness workaround: lay the piece face down, take the scanner lid off so the light bar has room, and scan with generous overlap.
One more worth knowing: you can rotate the artwork rather than the scanner when the piece is taller than the bed is deep, which keeps the platen lid out of the way. Rotation changes nothing about the merge as long as you keep the same order in your layer stack.
Frequently Asked Questions
How much overlap do I need between scans?
Overlap each section by 10-20 percent, and go to 25-30 percent when the artwork has loose texture such as a dry brush edge or a soft pastel gradient. The overlap gives the merge software two versions of the same marks to match, so wider is safer. Do not trim section edges to meet neatly. Artists on r/ArtistLounge describe repeated sections as the thing that makes alignment work first time.
Is photographing large artwork accurate enough for prints?
Yes, as long as you shoot it properly. A RAW frame from a current camera at around 100 megapixels holds more real detail than a 300 DPI flatbed scan, and it avoids seams entirely. Level the camera, light the piece evenly from two sides, shoot at ISO 100, and correct perspective before stitching. Glare and a crooked camera are what make phone photos unusable, not the sensor.
Do I need Photoshop, or is there a free way to stitch scans?
No. Photoshop bundles Photomerge under File u0026gt; Automate, and Affinity Photo has a panorama stitcher under the panorama tools. GIMP runs panorama stitching scripts, Hugin handles wide angles and overlapping frames, and Microsoft Research Image Composition Editor is a free standalone panorama tool. Each works from the same principle: align the overlapping regions, then blend them away. Budget tools are a genuine answer here.
What DPI should I scan artwork at for printing?
Work backwards from the print. Divide your intended print size by the original size and take the larger figure. A 16×20 inch piece printed at 16×20 inches needs 300 DPI, at 24×30 inches needs about 450 DPI, and 32×40 inches needs 600 DPI. For screen use and portfolio pages, 300 DPI is plenty. Capture at 48-bit colour so blending has tonal room to work with.
How do I scan quilts or thick textile pieces?
A flatbed is the wrong tool for most of them. Pile stands away from the glass, so focus and illumination both go uneven and the quilt grabs the glass. Photograph it from overhead with even raking light to bring out the stitching, or use a large-format scanner if the quilt is rigid and flat enough to sit within the platen limits. Weigh the area you are capturing with something soft and matte so the drape does not shift.
Why do my stitched scans have visible seams?
Four causes cover almost every case. Too little overlap, usually under 10 percent. Per-section auto-enhance, so each pass was graded slightly differently. Settings that changed between scans, which stops the blend matching. Or loose media such as open watercolor washes, which have no hard edges for the software to lock onto. Raise the overlap, lock white balance and turn auto-enhance off, and accept that loose washes will always need hand blending.
Conclusion
Start with section scanning on the flatbed you already own. Mark a grid, overlap every pass by 10-20 percent, lock your settings, and merge with Auto-Align and Auto-Blend. That covers most oversized originals without spending anything.
Move to a camera composite when the piece is too large, too textured or too fragile to sit on glass. Choose a large-format scanner only when the same size work comes through repeatedly, or hand a one-off very large piece to a bureau. Prepare the surface and the lighting before you capture the first frame, and the join stops being the hard part.