To use varnish on mixed media work, wait until every layer is fully dry, run a small test first, then brush or spray on several thin coats of a removable varnish chosen to match your materials. A good varnish seals dust and fingerprints, holds color saturation, slows light fade, and gives you a finish you can still remove years later with a conservator.
That last part matters more than people expect. Mixed media surfaces are porous, textured, and absorbent, so handling oils and dust work their way into the layers and become part of the piece. A removable varnish lets you clean the surface later instead of living with it.
This guide covers how to use varnish on mixed media work built from paper, canvas, wood, fabric, thread, found objects, and ink. Budget about an hour of hands-on time plus drying time between coats, and treat the first coat as a rehearsal rather than the real thing.
Table of Contents
- What You Need
- How to Use Varnish on Mixed Media Work Step by Step
- 1. Identify the surface and choose the right varnish
- 2. Wait until the artwork is fully dry
- 3. Test the varnish on a sample
- 4. Clean the surface without damaging it
- 5. Thin and stir the varnish
- 6. Apply a thin first coat
- 7. Remove bubbles and let the first coat dry
- 8. Apply additional coats and finish the edges
- Common Mistakes
- Frequently Asked Questions
- Do you have to varnish mixed media art?
- Can you use varnish on every kind of mixed media?
- Does varnish make artwork glossy?
- How many coats of varnish does mixed media need?
- Why did my varnish turn cloudy or milky?
- Can I use Mod Podge or polyurethane as a varnish?
- Final Checklist
What You Need
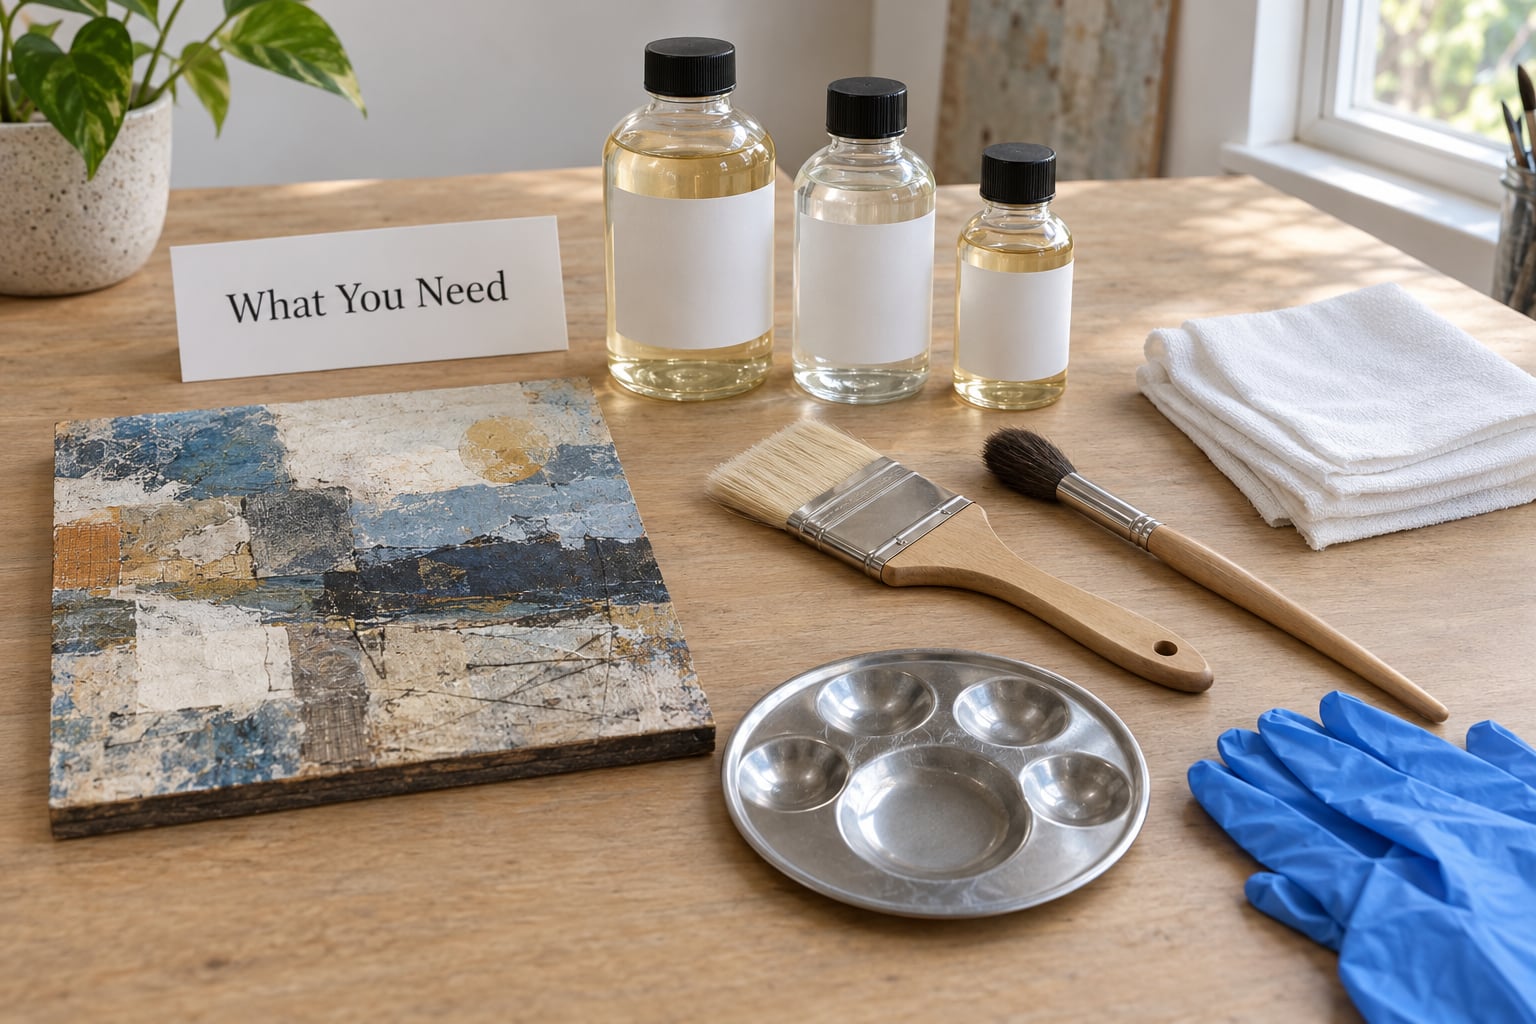
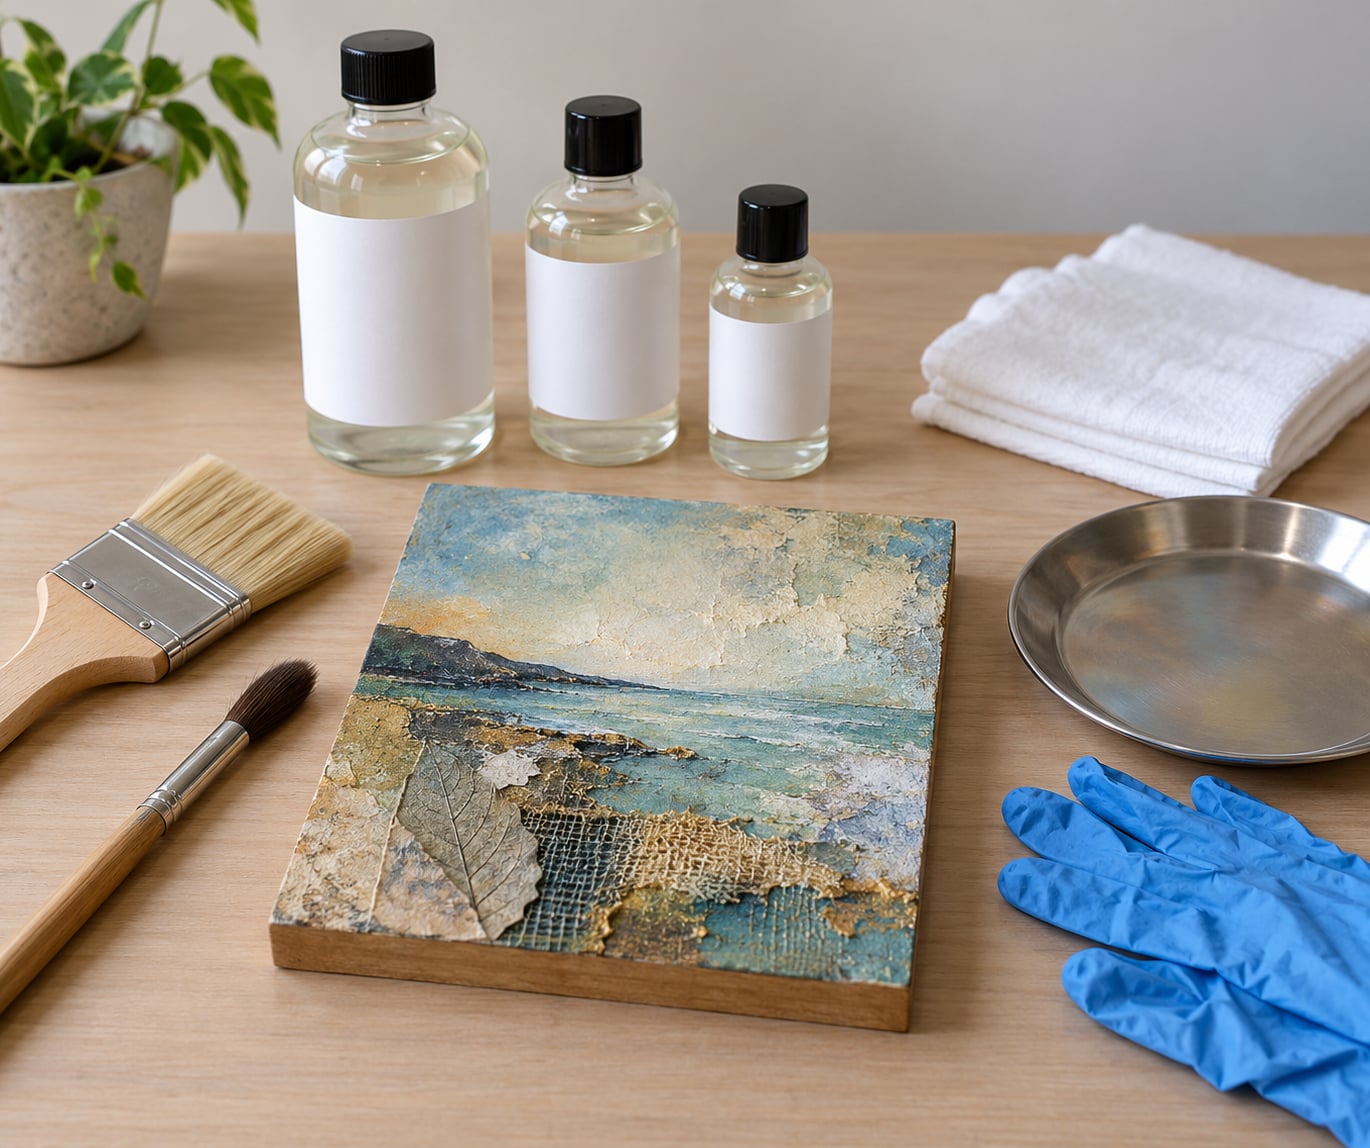
Gather the artwork, a varnish that suits its materials, and a clean workspace before you open the bottle. Varnishing goes wrong in a dusty room, not in the technique, so the setup does half the work.
- The artwork, fully dry. Every component, including glue, gel medium, and ink.
- A compatible varnish. A water-based acrylic varnish for cured acrylic work, or a solvent-based varnish for anything with oil, ink, or absorbent paper in it.
- A wide flat brush for smooth areas and a soft round brush or mop-style varnishing brush for edges and texture.
- A palette for thinning and for catching drips.
- The manufacturer’s recommended thinner — water for water-based varnish, mineral spirits for most solvent-based varnishes.
- Nitrile gloves and lint-free rags so fingerprints never land in a wet coat.
- A test scrap made from the same materials as the artwork, not a clean piece of primed canvas.
- A ventilated, dust-free room and something to tent the work with while it dries.
Read your own surface before you read the varnish label. Paper, fabric, and raw wood drink varnish in and dry flatter than expected. Glossy acrylic, resin, and glass-like media shed it and stay glossier. Thread, fiber, and found objects with edges can snag a brush mid-stroke.
Then check the label. Manufacturers publish compatibility guidance and technical data sheets, and those numbers beat anything written on a forum. Look for whether the varnish is removable, whether it carries UV light stabilizers, and what the stated drying and cure times are.
| Varnish type | Works over | Sheen options | Removable | Best surface |
|---|---|---|---|---|
| Water-based acrylic varnish | Cured acrylic, fully cured gesso | Gloss, satin, matte | Yes | Canvas and panel with acrylic layers |
| Solvent-based varnish (MSA or mineral spirits) | Acrylic, oil, ink, paper collage | Gloss, satin, matte | Yes | Collage, panels with found objects, ink work |
| Aerosol spray varnish | Textured and impasto surfaces, mixed media | Usually gloss or satin | Usually yes, check the can | Rough texture a brush would skip over |
| Hardware clear coat or polyurethane | Nothing you care about preserving | Gloss | No — it yellows and goes brittle | Furniture, not artwork |
Never use polyurethane or a hardware clear coat as a picture varnish. It yellows with age, becomes brittle, and a conservator cannot lift it without taking the surface with it.
How to Use Varnish on Mixed Media Work Step by Step
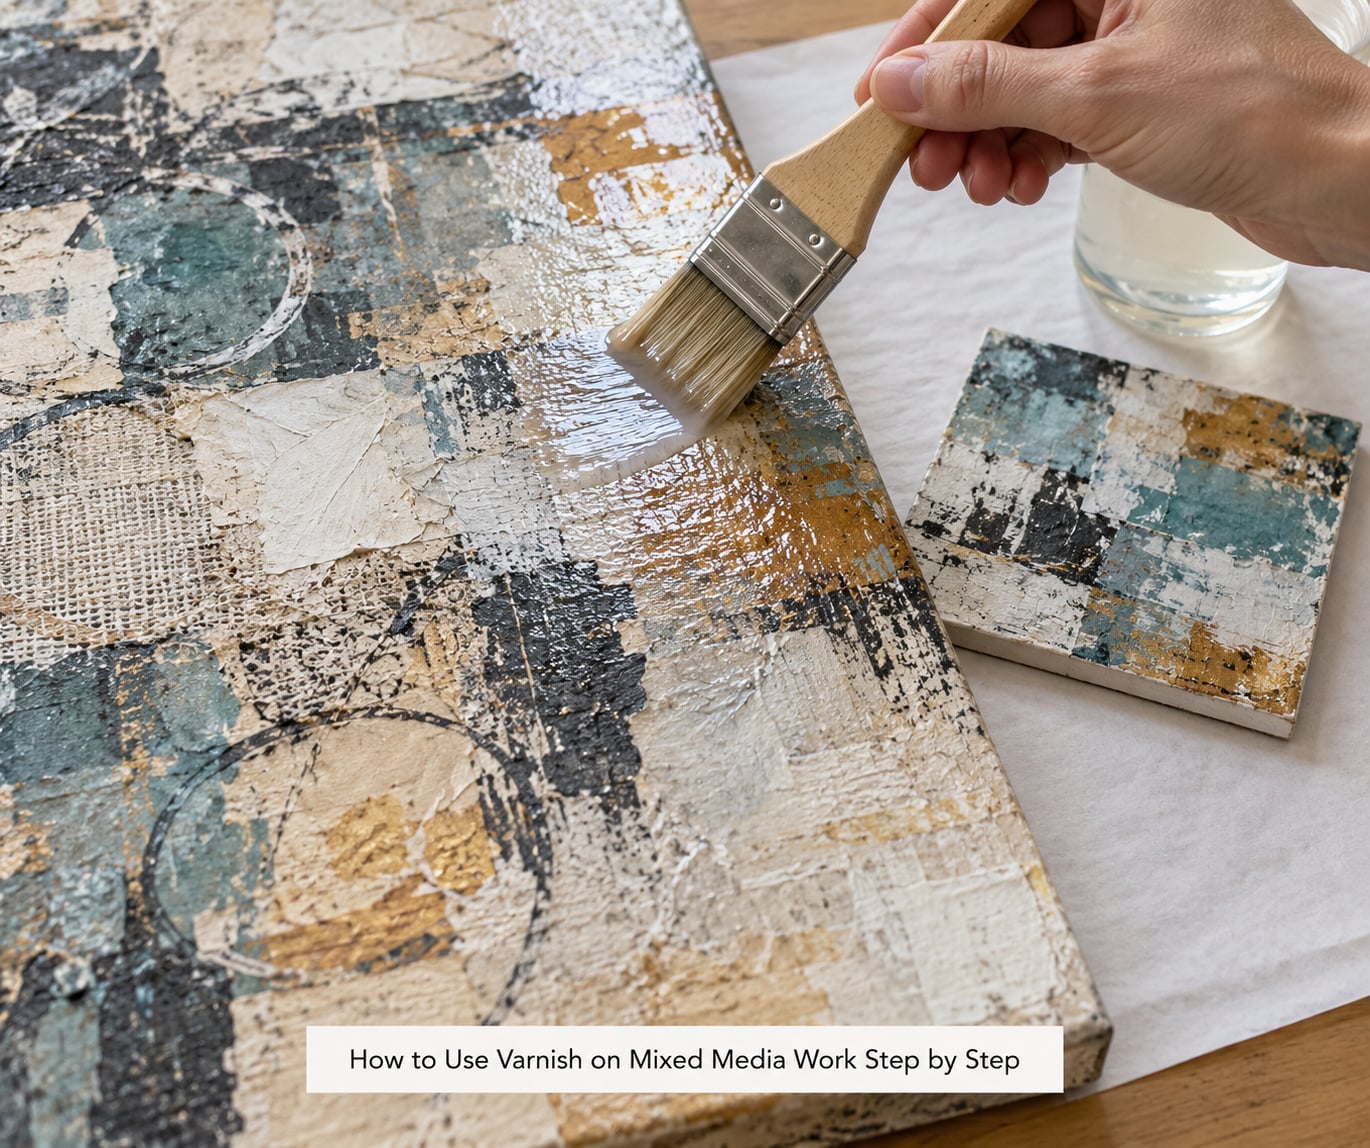
Work in one direction, keep every coat thin, and never touch a coat that has started to set. The whole process is about restraint.
1. Identify the surface and choose the right varnish
Different media react to varnish in different ways, and that reaction decides your product. Acrylic is fully plastic once cured, so a water-based acrylic varnish sits on top and stays clear. Paper, fabric, and raw wood are absorbent, so the varnish soaks in and dulls the sheen. Glossy media, resin, and some glazes repel varnish and stay glossier than the surrounding area. Alcohol inks, watercolors, and felt-tip marker work can bleed or shift under a water-based coat.
When you mix oil and acrylic in one piece, the piece is not ready yet. Oil needs months to cure, and a varnish applied too early locks in a soft, shifting layer. Wait out the full window described in the next step before you start.
Follow the manufacturer’s compatibility instructions for your exact combination. Their technical data sheet will tell you whether the varnish is safe over your mediums and how long to wait.
2. Wait until the artwork is fully dry
Dry to the touch and fully cured are two different things. A painting can feel dry in a few hours and still be soft underneath, and varnish applied then traps moisture or solvent inside the layers.
| Component | Before varnishing | Why it matters |
|---|---|---|
| Thin acrylic layers | 24 to 48 hours | Surface skins over quickly; the layer underneath lags |
| Heavy impasto or thick gel medium | Up to one week or longer | Thick ridges hold moisture in their valleys |
| Oil paint, any thickness | 6 to 12 months | Oil cures by oxidation, not evaporation |
| Collage paper and card | Fully dry adhesive, usually 24 hours | Damp glue under varnish traps moisture and can wrinkle |
| Gel medium and matte medium | 24 to 72 hours | Water must leave the emulsion fully |
| Alcohol ink, watercolor, markers | Several days, tested not timed | Any remaining solvent can lift or blur the color |
These are starting ranges, not promises. Label directions come first, and a cool room with poor airflow stretches every one of these times out.
3. Test the varnish on a sample
Make a test from the same materials as the artwork, not from clean primed canvas. Include the problem areas — absorbent paper, an ink passage, a metallic passage, a raised edge.
Run a solvent sensitivity check before anything else: dab a small amount of the thinner onto the test with a cotton swab and wait. If color lifts, smears, or softens, that varnish is wrong for that material, and a water-based version or a spray application will not fix it. Then apply one thin coat of the varnish and note three things over the next day — a color shift, a change in sheen, and whether the texture reads the way you want.
Scratch the dried test lightly with a fingernail. A coat that scuffs easily needs another pass or a better product.
4. Clean the surface without damaging it
Sweep off dust, loose fibers, crumbs, and stray hairs with a soft brush. Vacuum with a screen over the nozzle or hold the hose a hand’s width away, since a hard suction pulls pigment off a dry surface.
Skip damp wiping on pastel, metallic, textile, and raised collage areas unless your test showed it is safe. Water leaves rings, lifts threads, and dulls metallic leaf faster than dust ever would. Dry cleaning fixes most problems, and the varnish itself will trap whatever is left.
5. Thin and stir the varnish
Stir slowly with a flat tool, lifting settled solids off the bottom. Never shake the container, because shaking aerates the varnish and those bubbles are the reason you get bubbles on the finished surface.
Thin only as much as the label allows, usually to the consistency of whole milk. A coat that is too thick dries bumpy, dries cloudy, and can lift the layers underneath. A coat that is too thin behaves like a weak glue. Wiping the brush along the edge of the palette, then flattening one side against it, loads a soft even film before the first stroke ever lands.
6. Apply a thin first coat
Load the brush lightly and use long, even strokes from one side of the piece to the other. On a flat piece, work from the center outward. On textured work, follow the peaks of the texture so the brush bridges the valleys instead of catching in them.
Do not go back over an area you have already covered, even if it looks uneven. Working a setting coat spreads it and turns it milky. Leaving a missed patch is fixable in the next coat; a smeared one is not. Most tutorials on how to use varnish on mixed media work cut back on varnish thickness far more often than they cut back on coat count.
7. Remove bubbles and let the first coat dry
Look at the wet surface under angled light, not under bright overhead light, so shadows show the bubbles. Pop any small ones with a clean dry brush tip, using one light touch. Large bubbles mean the varnish was too thick or was shaken, and the coat is better left to dry and covered with another.
Then give it the full stated drying time. Dust is the enemy at this stage, and anything airborne while the coat is wet stays embedded in the finish. A perforated box, a clean sheet tented over a frame, or the piece set face-down on a clean wall all work. Do not put the wet piece in an enclosed cabinet.
8. Apply additional coats and finish the edges
A second coat is useful when the first one looks thin, uneven, or dull. It is rarely useful on a piece whose sheen is already where you want it. Two or three thin coats beat one heavy coat in every case.
If you are protecting a matte or satin finish, keep going with the same product rather than reaching for gloss. Where you want gloss on top of a matte base, that is a deliberate choice: varnish the matte areas first, let them cure, then brush or spray gloss over the areas you want to shine, feathering the boundary so the change reads as design.
Run varnish along the sides and edges with the flat brush, painting away from the corner so nothing gets pushed off. Leave no wet margin where the face meets the edge, because that seam pools and dries as a visible ridge. On a stretched canvas, tape off the stretcher bars so varnish does not run onto them and dry white along the join.
Write the varnish brand, type, sheen, and date on the reverse of the stretcher or the back of the frame, not on the canvas back itself. A conservator or framer in thirty years will thank you, and the whole point of a removable varnish is that somebody can remove it.
Common Mistakes
Nearly every varnishing failure traces back to one of seven habits. Each has a straightforward fix.
Varnishing damp work. Trapped moisture softens media, causes cloudiness, and can wrinkle collage paper. Wait for full cure, and extend that wait in a cool or humid room.
Using an incompatible varnish. A water-based coat over alcohol ink, watercolor, or marker lifts and blurs the color. Switch to a solvent-based varnish and retest, or leave those areas unvarnished and frame under glass.
Shaking the container. Shaking aerates the varnish and you spend the next hour chasing bubbles. Stir from the bottom and pour through a strainer if the container has been sitting.
Applying too much at once. Thick coats dry bumpy, cloudy, and tacky, and they can seal dust inside themselves. Thin to the label’s consistency and count on several light coats.
Going back over a setting coat. Dragging a brush through varnish that has started to set is the main cause of a milky finish. Stop at the edge of your last stroke and move to the next section.
Ignoring edges and corners. Unvarnished edges darken first and collect grime, and pooled edges dry as hard ridges. Wrap the brush on the flat and work the perimeter last, on its own.
Working in a dusty or humid space. One speck that lands in a wet coat stays there permanently. Varnish outdoors on a still, dry, overcast morning or indoors with the door shut and no fans running.
Avoid sanding between coats. Abrasive paper on a mixed media surface cuts into soft media and exposes the layer underneath, and any grit left behind becomes part of the finish. If you want a softer matte, use a matte varnish rather than knocking down a gloss one.
Two habits protect the result for years. Keep the piece out of direct sun and away from radiators, and dust it with a soft brush rather than a damp cloth. Both matter more with a varnish than without, because the varnish gives dust a hard surface to sit on instead of sinking in.
Frequently Asked Questions
Do you have to varnish mixed media art?
No, and some pieces look better without it. Varnish earns its place when you want the surface cleanable, protected from fingerprints, and slow to fade, or when the work will be framed under glass or submitted to a gallery. Skip it when the matte texture, soft pastel, or metallic contrast is the point of the piece and you can keep it away from handling.
Can you use varnish on every kind of mixed media?
Most of it, but not blindly. Paper, fabric, and raw wood absorb varnish and go duller than expected. Alcohol ink, watercolor, and felt-tip markers can bleed or shift under a water-based coat. Glossy acrylic and resin shed it. Test the exact combination on a scrap made from the same materials, and follow the manufacturer’s compatibility guidance for your mediums.
Does varnish make artwork glossy?
Not by itself. Matte and satin varnishes are made specifically to leave a low or no sheen, and they are usually the safer choice for collage and heavily textured pieces because texture holds dust. If you want the shine, use a gloss or satin varnish, or protect the matte areas first and then add gloss selectively over the areas you want to reflect light.
How many coats of varnish does mixed media need?
Two or three thin coats on most pieces, with full drying time between each. A textured or impasto surface often needs one more than a smooth panel. The test is appearance, not count: keep adding thin coats until the sheen is even across the whole piece and the texture still reads through. One heavy coat always gives a worse result than several light ones.
Why did my varnish turn cloudy or milky?
Three causes account for most cloudy coats. You went back over an area that had started to set, you thinned the varnish past the point the label allows, or moisture in the artwork came up into the coat. Let a cloudy coat fully cure before judging it, since some haze clears as it finishes drying. If it stays cloudy, the usual fix is a light further coat of the same varnish applied more thinly.
Can I use Mod Podge or polyurethane as a varnish?
PVA sealers like Mod Podge are fine as an isolation layer or a matte sealer under a proper varnish, but they yellow, stay soft, and collect dust, so they are not a final picture varnish. Polyurethane should never be used on artwork at all. It yellows, turns brittle with age, and cannot be removed, which removes the one advantage that makes a varnish worth choosing.
Final Checklist
Before you pick up the brush, run through this once.
- Every layer is fully dry, including glue, gel medium, and ink.
- The varnish label says it is compatible with your materials, and it is removable.
- You tested the exact combination on a scrap and it passed the thinner check.
- The room is clean, ventilated, and free of dust, pet hair, and fans.
- Thin coats, long even strokes, and no going back over a setting coat.
- Edges and corners done last, with no pooled seam and nothing on the stretcher bars.
- Full cure time allowed before framing, glazing, stacking, or display.
- Varnish brand, type, sheen, and date written on the back.
Start with the dryness question, then the test. Everything after that is technique, and technique is the easy part.