If you have looked into how to stop applique edges lifting, the reason is rarely one single mistake. An appliqué edge lifts when nothing structurally locks the raw cut edge to the background fabric: the adhesive bond failed, the positioning stitches never caught, the edge stitching was too sparse or set too far inside, or thread tension pulled the top layer into a tunnel.
The fix is to rebuild all three locks in order: adhesion underneath, positioning during sewing, and permanent stitching over the edge. Most lifted edges need about twenty minutes of work per piece once you know which lock failed.
Table of Contents
- What You Need
- Fabric and adhesive
- Backing and stabilizer
- Needles, thread, and pressing tools
- Step-by-Step: How to Stop Appliqué Edges Lifting
- Diagnose Why the Edge Is Lifting
- Stabilize the Entire Seam Allowance
- Use the Right Adhesive for the Fabric
- Stitch the Edge Completely
- Press and Flatten the Seam
- Common Mistakes
- Using too little adhesive
- Stretching the shape while sewing
- Stitching too far from the edge
- Skipping the stabilizer
- Machine tension set too tight
- Fusing no-sew interfacing onto anything washable
- Pushing at an edge already lifting
- Frequently Asked Questions
- Can I fix appliqué that has already started to lift?
- What is the best adhesive for keeping appliqué edges down?
- Does fusible web prevent appliqué edges from lifting forever?
- Why does my appliqué edge lift after washing?
- Should I use a blanket stitch or a running stitch for appliqué?
- How do I stop appliqué edges from curling before sewing?
What You Need
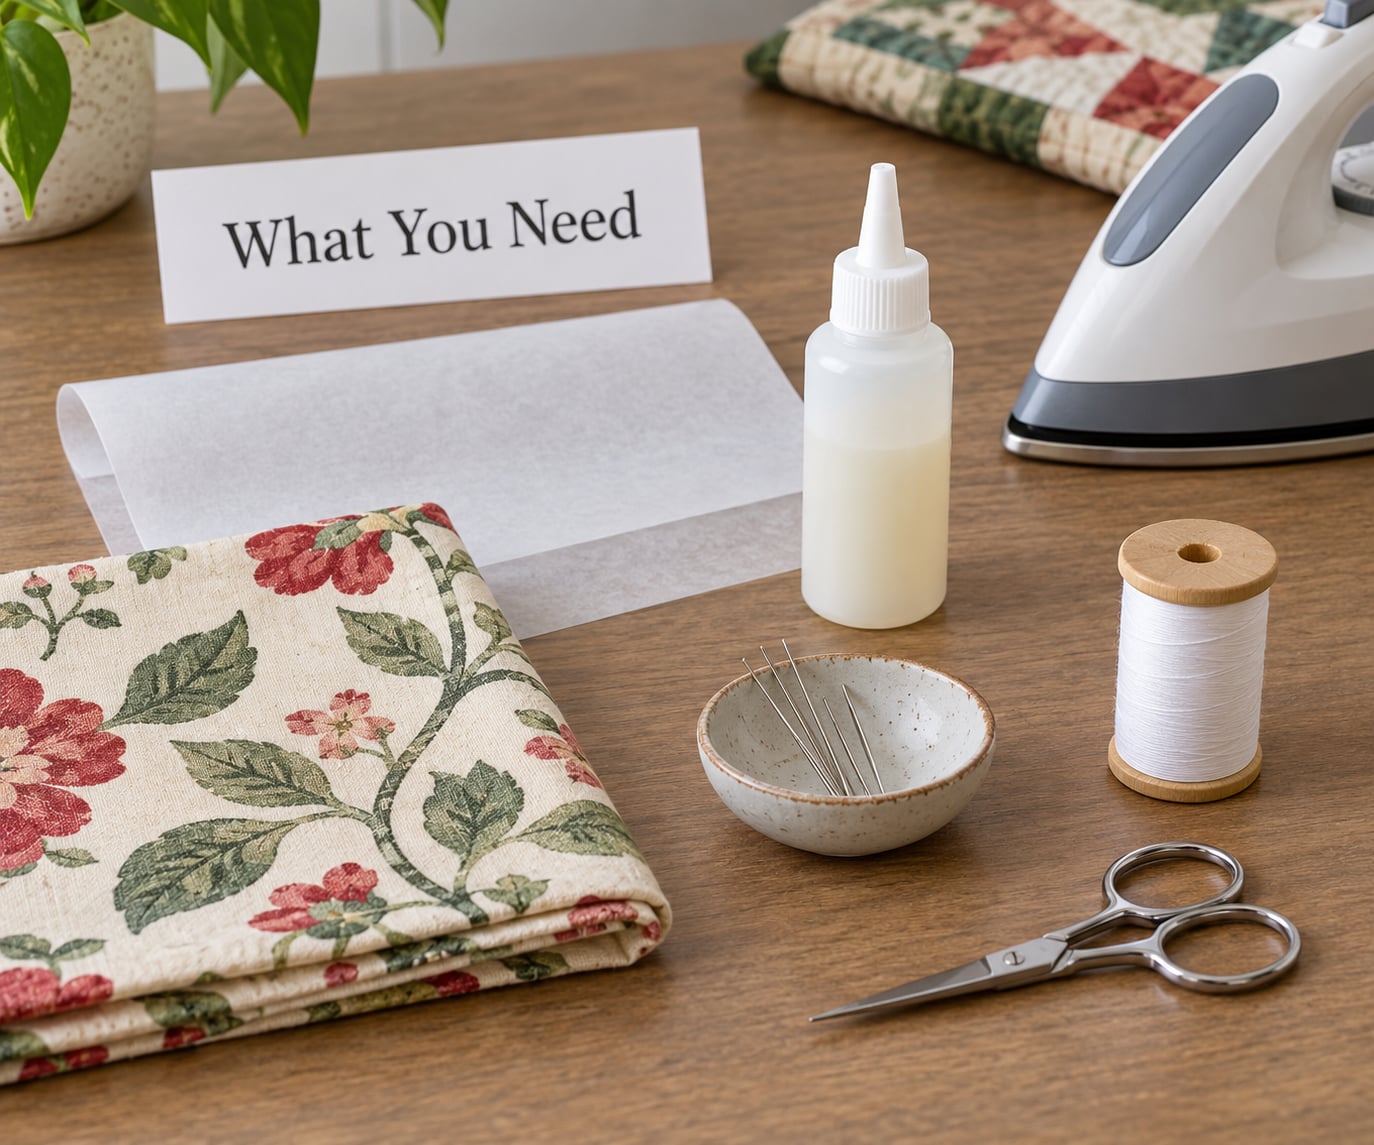
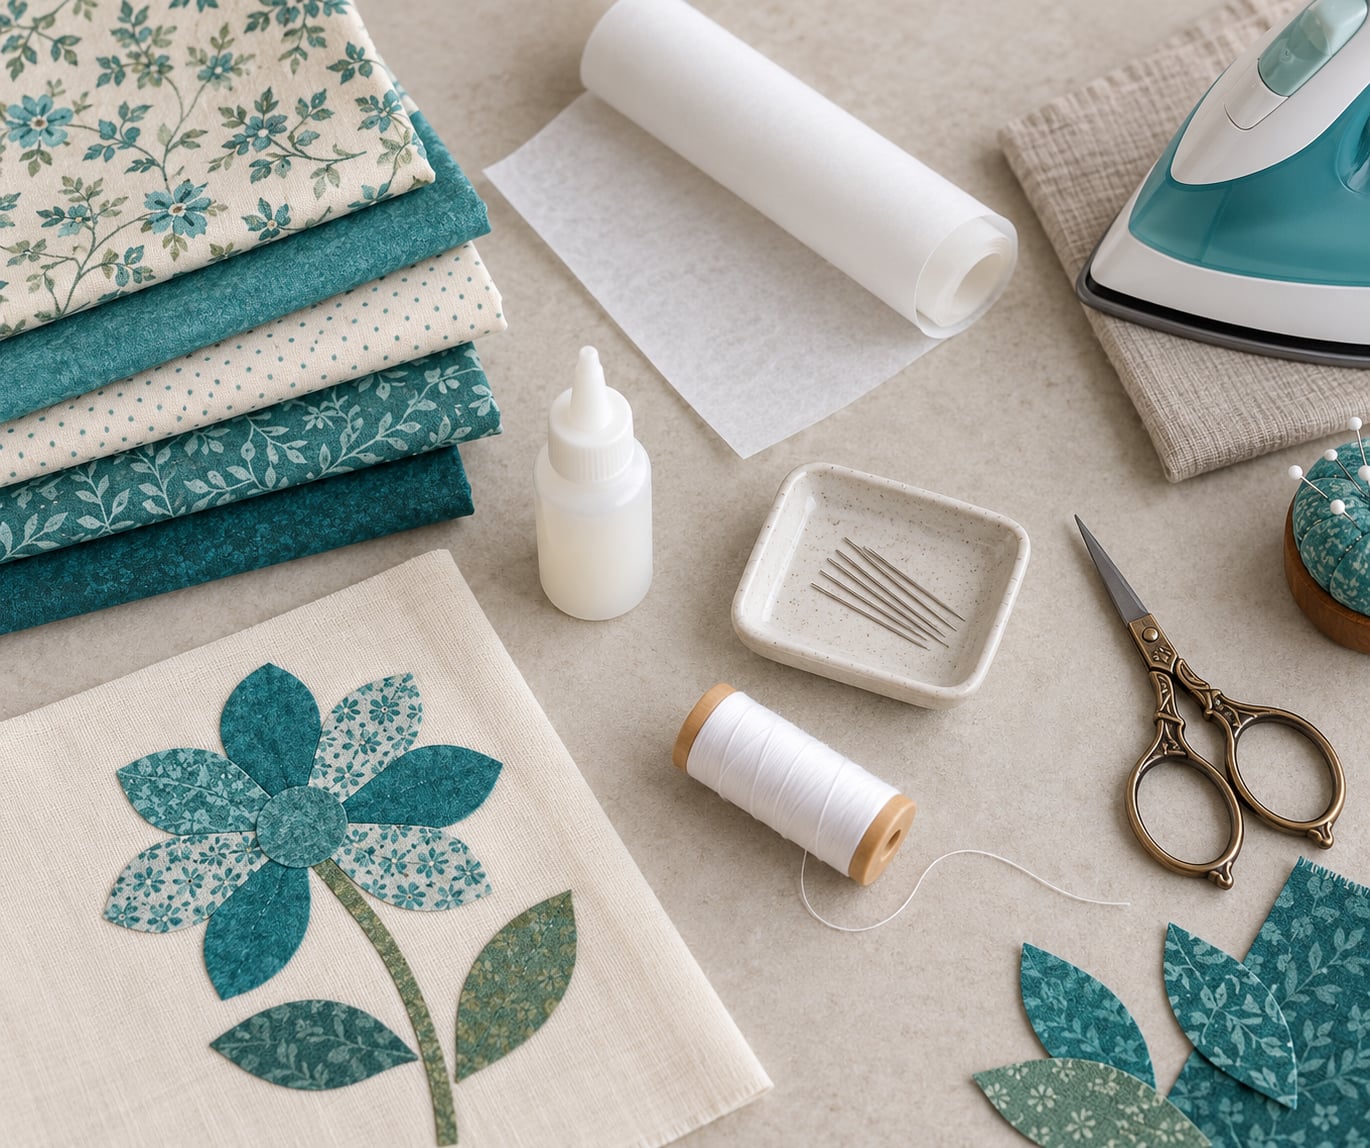
Nothing here is specialist equipment, but three items do most of the work: a sewable fusible web or fabric adhesive, a stabilizer, and a needle fine enough to disappear into the fabric without punching visible holes.
Fabric and adhesive
- Appliqué fabric: medium-weight cotton is the easiest to keep flat. Prewash it before cutting so shrinkage does not push the edge up later.
- Lightweight sewable fusible web: a paper-backed web that you stitch through and stay bonded to. This is the adhesive of choice for anything that gets washed.
- Temporary spray adhesive or a repositionable glue stick: useful for auditioning placement and for hand work where you want the edge to move again.
Skip heavy-duty no-sew iron-on fusible on anything that will be laundered. It feels reassuringly stiff and behaves like glue that eventually lets go under heat and agitation.
Backing and stabilizer
- Tear-away stabilizer: the first choice for most appliqué. You stitch through it and tear it away afterwards, which does not distort the stitches.
- Water-soluble wash-away stabilizer: good for intricate shapes you reposition several times; it rinses out of the finished piece.
- Cut-away stabilizer: reserve it for designs that will take heavy abrasion, such as a quilt that lives on a sofa.
Needles, thread, and pressing tools
- Sharp hand-sewing needles: size 9 or 10 for cotton appliqué. A ballpoint or jersey needle handles knits without cutting the fibres.
- Fine thread: 60-weight or 80-weight for hand work. A polyester thread in the shade of the background fabric disappears best.
- Machine needle: a Microtex or sharp universal needle for wovens; a 90/14 ballpoint for knit jersey.
- Pressing cloth and a flat surface: a wooden board or thick towel gives you a surface that resists the background drawing up.
Step-by-Step: How to Stop Appliqué Edges Lifting
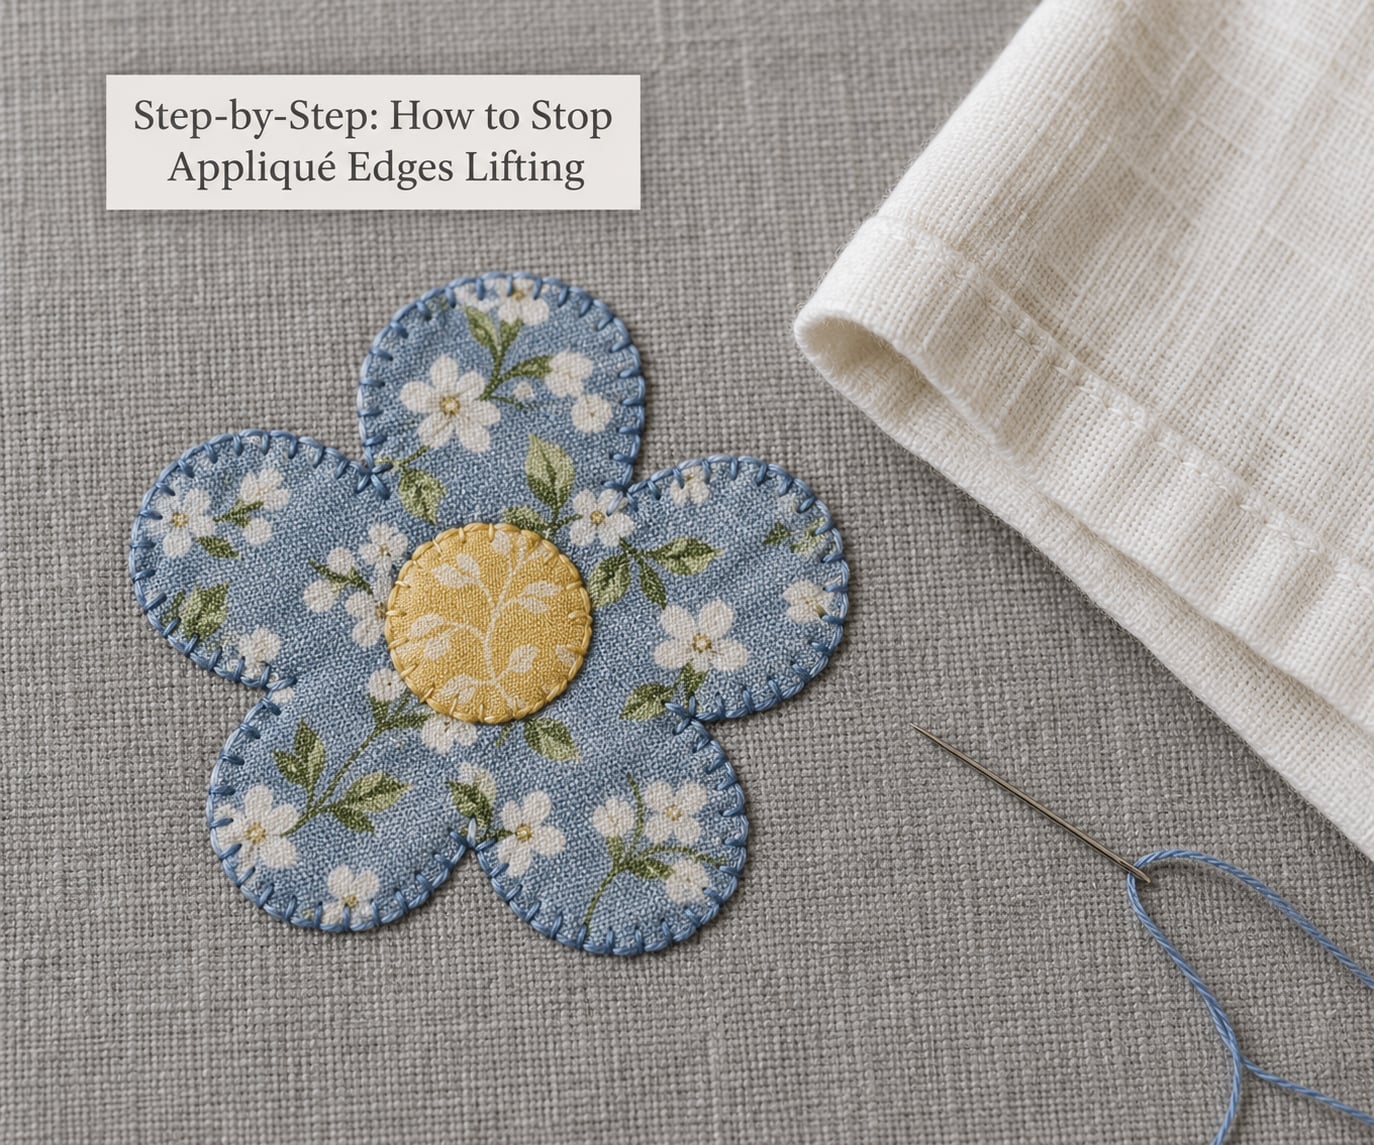
Work in this order and you will not repeat yourself. Diagnose first, because each cause has a specific fix, and stabilizing the seam allowance before you add adhesive saves you re-fusing later.
Diagnose Why the Edge Is Lifting
Start by looking at how the edge failed rather than guessing. A lifted edge that stays flat when pressed but rises again after a wash points to a failed fusible bond, while an edge that never caught at all points to positioning or stitch density.
| What you see | Likely cause | The fix |
|---|---|---|
| Edge rises only after washing | Fusible bond failed, or a no-sew fusible was used | Re-fuse with sewable web, then restitch |
| Frayed threads, stitches intact | Raw edge left exposed or stitched too far inside | Trim close, enclose the edge with a narrow zigzag |
| Skipped-looking stitches, raised bumps | Thread tunneled under the appliqué layer | Loosen upper thread tension, shorten stitch length |
| Ripples in the background fabric | No stabilizer, or the appliqué shifted while sewing | Add tear-away stabilizer, re-baste, sew slowly |
| Soft puffy ridge, edge not actually detached | Uncut backing or batting loft behind the shape | Trim the backing close, press from the wrong side |
| Edge frayed evenly and softly all round | This may be intentional raw-edge fray | Leave it; see the note below |
One thing to check before you start repairing: some raw-edge appliqué is designed to fray. Deliberately frayed split appliqué and distressed-edge work look almost identical to a failure at first glance, so check whether the fray is even and intentional before you restitch over an edge that was meant to be soft.
Stabilize the Entire Seam Allowance
Secure every loose thread under the appliqué shape before you add any adhesive. Pinning or tacking the allowance to the background stops the top layer sliding while you work on the next section.
Work from the middle of the shape outward. If you start at one end and sew toward the other, the fabric stretches and the finished edge waves no matter how carefully you press it.
A thin fusible web cut about 1/4 inch inside the shape line is the tidiest version of this. The 1/4 inch frame bonds the allowance while the centre stays soft, which avoids the stiff cardboard feel that a full piece of interfacing gives you.
You can tell it worked when you lift one edge of the appliqué and the allowance comes up with it as a single layer instead of peeling away from the background.
Use the Right Adhesive for the Fabric
Sewable fusible web bonded with heat is the most durable option for cotton and denim. Iron the web to the back of the appliqué shape first, then to the background, pressing from the wrong side with a pressing cloth.
Temporary adhesive is the better choice when you plan to reposition the piece more than once, and it is a sensible holding method for hand appliqué where the shape needs to settle before you stitch. Follow the product instructions for drying time; most spray adhesives need a short dry window before the fabric is handled.
Test any adhesive you have not used before on two scraps of the same fabric. Adhesives that behave well on cotton can leave a residue on synthetics or soak through wool felt.
Check that it took hold by flexing the shape gently. The bond should resist a light tug without the edge peeling away at the allowance.
Stitch the Edge Completely
Stitching is the only permanent lock, which is why it decides whether you have really solved how to stop applique edges lifting. Adhesive alone cannot survive repeated washing, so treat any exposed raw edge as unfinished until it has stitches running over it.
Trim the seam allowance close to the stitch line before you sew, so the finishing stitch sits right on the raw edge and encloses it completely. Leave about 1/8 inch if you want a slightly softer turned look.
Only exposed edges need stitching. Edges trapped beneath another appliqué piece are already held by the piece covering them, so stitching them wastes time and adds drag.
| Edge stitch | Security | Distortion risk | Best for |
|---|---|---|---|
| Narrow zigzag | High | Low | All-round choice, especially around curves |
| Satin stitch | High | Low | A flat, clean finish on small shapes |
| Straight stitch 1/8 inch in | Moderate | Low | Beginners and straight runs |
| Blanket stitch | High | None | Hand work and visible raw-edge finishes |
| Whip or overcast stitch | Moderate | None | Quick repair of an existing piece |
For hand work, a blanket stitch with about six stitches per inch works well. Start at a point where the thread can be buried inside the allowance, pull the first loop taut so it locks, then keep the spacing even as you go.
A secure edge looks even from the front and has no gap where the background shows through. From the back, the stitches should be evenly spaced rather than clustered or long.
Press and Flatten the Seam
Set the adhesive with heat and pressure from the wrong side, using a pressing cloth and a flat surface. Steam sets the bond; pressure flattens the seam allowance so the edge cannot curl back up.
Let the piece cool completely before you handle it further. Pushing a warm appliqué shape shifts the layers and undoes the flattening you just did.
Never iron directly over an appliqué edge without a cloth, and avoid pressing the seam allowance toward the background. Turning it toward the shape keeps the bulk inside the outline instead of building a ridge around it.
Pressing will not rescue a failed bond, but it will tell you quickly whether the bond held: press, wait, then check whether the edge stays flat.
Common Mistakes
Almost every lifted edge traces back to one of a small number of habits. Here are the ones I see most often, with the correction for each.
Using too little adhesive
A thin, patchy coat leaves bare spots that lift first. Lay a full, even layer and press the whole shape, not just the perimeter.
Stretching the shape while sewing
Pulling fabric taut as you guide it around a curve creates a wavy edge that no amount of pressing fixes. Lay the fabric on the bed of the machine, guide it with your fingers, and never pull.
Stitching too far from the edge
A straight stitch placed well inside the outline leaves the raw edge exposed and free to fray. Move it out to 1/8 inch or closer so it encloses the raw edge.
Skipping the stabilizer
Without backing, the background draws up in ripples while you stitch, and the appliqué rocks as you sew. Stabilizer goes underneath, behind the background fabric.
Machine tension set too tight
Tight upper thread tension pulls the needle thread under the appliqué layer rather than through it, so the stitch looks broken and the edge bunches. Set the upper tension slightly loose and test on a scrap.
Fusing no-sew interfacing onto anything washable
No-sew fusible is built for craft foam and lightweight projects, not laundry. Use sewable web instead.
Pushing at an edge already lifting
Pulling a lifted edge back into place by hand enlarges the fray and thins the allowance. Press it flat first, trim the stray threads, then stitch.
Frequently Asked Questions
Can I fix appliqué that has already started to lift?
Yes, in most cases. Press the piece flat, trim any frayed threads back to sound fabric, lay a strip of sewable fusible web over the allowance and press it, then run a narrow zigzag or blanket stitch right over the raw edge. If the allowance is so thin it keeps tearing, cut a new shape from a paper template in matching fabric and stitch it over the damaged piece.
What is the best adhesive for keeping appliqué edges down?
Lightweight sewable fusible web bonded with heat is the most durable choice for cotton, denim, and other stable wovens, because stitching through it does not break the bond. Temporary spray adhesive works when you need to reposition a piece several times before sewing. Avoid heavy no-sew iron-on fusible on anything that will be washed.
Does fusible web prevent appliqué edges from lifting forever?
No. Fusible web handles positioning and light abrasion, but it is not a permanent mechanical lock. Heat, detergent, and repeated flexing eventually weaken any bond. On any piece that gets used or laundered, treat every exposed raw edge as unfinished until it has a narrow zigzag, satin stitch, or blanket stitch running over it.
Why does my appliqué edge lift after washing?
The most common causes are a failed fusible bond, stitching set too far inside the edge, and abrasion where the quilt rubs against itself or furniture. Wash agitation also loosens any thread that was already under strain. Wash finished appliqué pieces inside out, in cold water, and air dry them flat to reduce the strain on the edge stitching.
Should I use a blanket stitch or a running stitch for appliqué?
A blanket stitch secures the raw edge because the thread passes under every stitch and locks each loop in place, so it holds well on knits and heavy fabrics. A running stitch is fine for temporary positioning but does not close the raw edge against fraying. Use about six blanket stitches per inch and keep the spacing even.
How do I stop appliqué edges from curling before sewing?
Curl almost always comes from a bias-cut edge and an untrimmed allowance. Cut on the straight grain where you can, trim the allowance close, and press from the wrong side with a pressing cloth on a flat surface. Cutting the fusible web about 1/4 inch inside the shape line holds the edge without adding stiffness that makes the shape curl.
Start with the edges that are already loose: press them flat, trim back to sound fabric, and run a narrow zigzag right over the raw edge. Once that is secure, fix the cause for the rest of the piece by bonding the allowance with sewable fusible web and stitching every exposed edge before the piece ever sees a washing machine.
None of this changes often, so this guide stays as it is for 2026. If you have already lost an edge to a wash, tell me which of the five fixes was missing — that pattern tells you which one to check first next time.